
The alternator is a simple magnetic field device. It puts out raw power that must be regulated and controlled, like the engine’s speed. This is the voltage regulator’s job, which converts the AC voltage from the alternator into DC voltage. It also regulates how much energy the alternator makes.
Maintaining the correct voltage of the system is essential, because too little will not be enough for the electronics to work, and too much will damage them.
Read: The Signs of a Bad Car Battery vs. Alternator
How Does a Voltage Regulator Work?
The regulator, which is essentially a smart switch, uses a series of diodes and transistors to switch the alternator’s field off and on quickly, as fast as 2,000 times per second. This controls the duty cycle of the alternator, which in turn manages the output. When running, the alternator should maintain 13.6 to 14.4 volts.
Read: How to Test an Alternator (And Fix It!)
Vehicles built before the mid-1970s used outboard regulators that were prone to failure. From the late-1960s to the mid-2010s, most alternators used internal regulators with a simple module. Newer vehicles are changing to computer-controlled variable output alternators, which only output what the engine control module (ECM) requests. This reduces the drag on the engine, increasing efficiency to reach stringent EPA fuel economy regulations.
The symptoms of a failing regulator vary greatly depending on the vehicle.
- Newer vehicles will set a check engine light code for the charging system, or your vehicle may display a message that says, “Service Charging System.”
- Other symptoms include dimming lights, a dead battery, being slow to crank, and poor engine performance.
How to Test a Voltage Regulator
You can test the regulator using a digital multimeter (DMM). If your vehicle has a variable output alternator system, you need an OBD-II diagnostic tool.
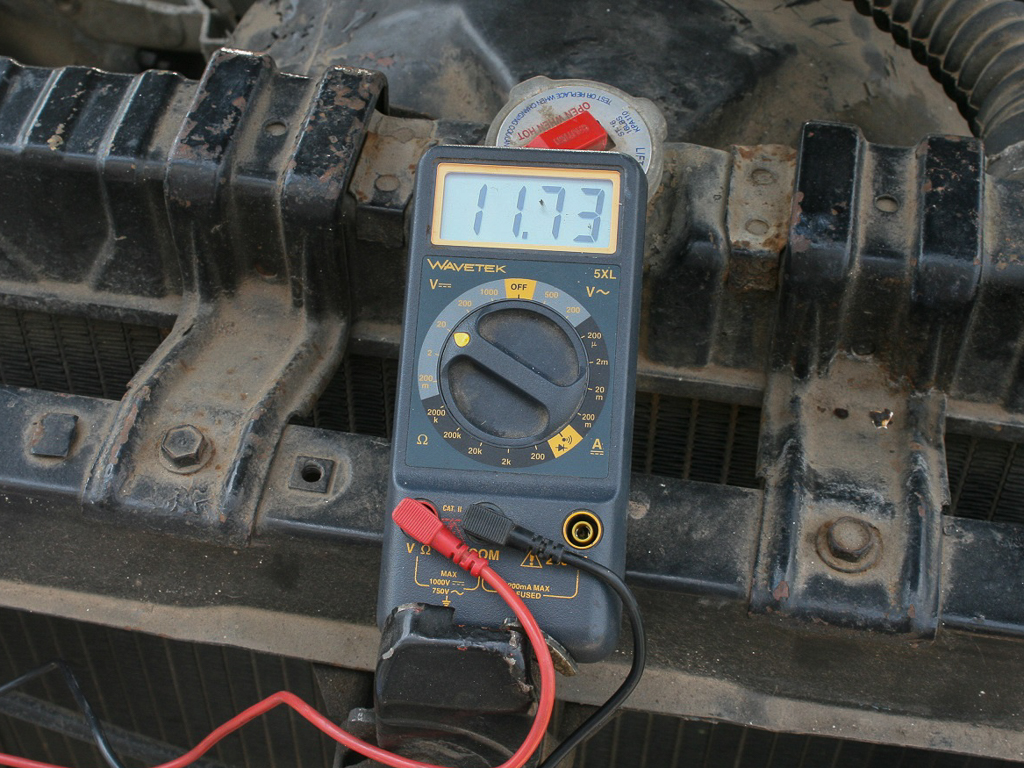
The battery at rest should be between 11.5 and 12.8 volts.
- Open the hood and locate the battery and alternator.
- Set the DMM to DC volts in the 20-volt range or auto-ranging.
- Use the two probes to check the battery’s resting voltage with the engine off. It should be between 11.5 and 12.8. If it is below 11.5, it likely needs to be charged.
- Ensure the probes are clear of the engine’s moving parts and start the engine.
- With the meter still connected to the battery, check the voltage. The alternator should be putting out 13.5 to 14.4 volts.
- Rev the engine to 2,000 to 2,500 rpm for 10 to 15 seconds. This should trigger the regulator to kick in and output its full voltage.
- Check the meter again. It should show 14 to 14.5 volts. If the output is the same as the resting battery voltage, the regulator is not working. If the output is above 14.5 volts, the regulator is not working.
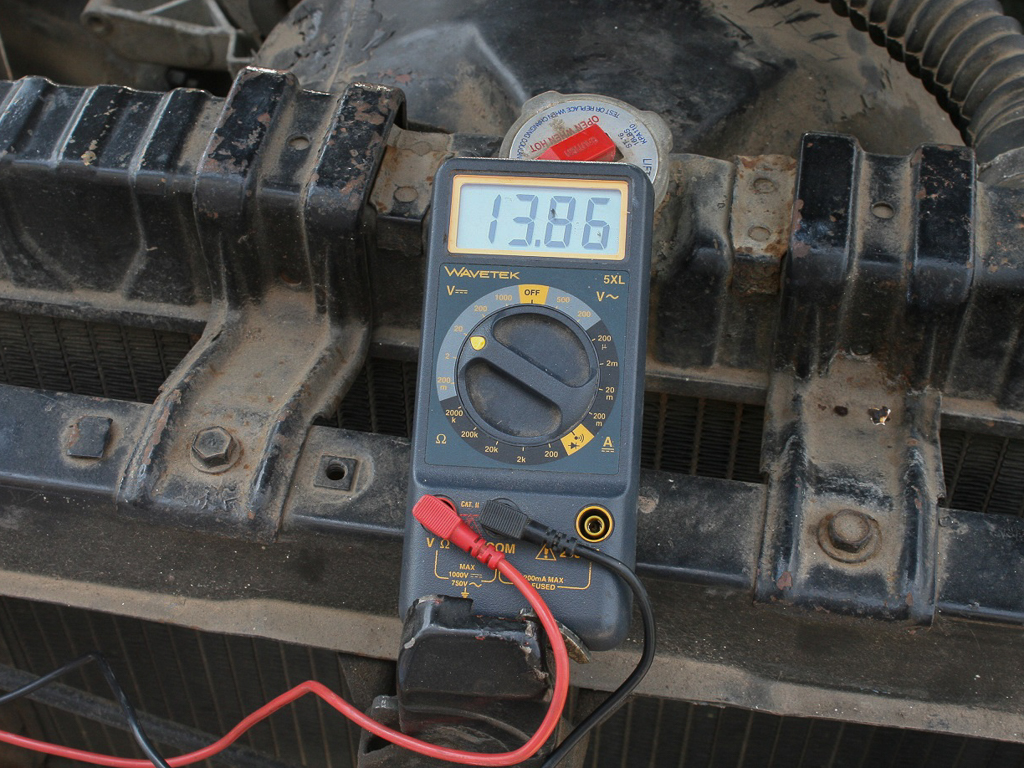
When the engine is running, the battery voltage should be between 13.5 and 14.5 volts.
How to Replace a Voltage Regulator
Replacing the regulator depends on whether it is internal or external.
- External regulators are typically located on the inner fender or radiator support.
- Internal regulators are located on the back of the alternator or possibly inside the alternator case itself.
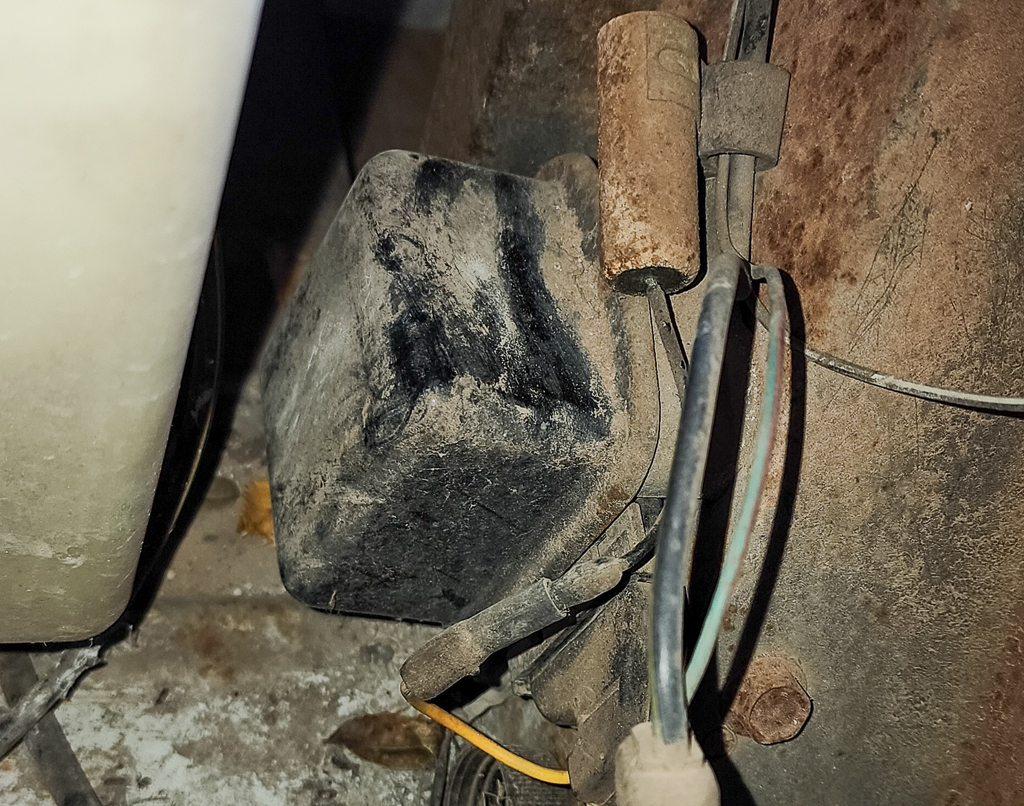
This is an external regulator in a 1965 Mercury Parklane. It is hidden away on the front radiator core support.
If your regulator is inside the alternator, your best bet is to replace the entire alternator. Replacing an internal regulator can be done in a home garage, but you must completely disassemble the alternator, which can be challenging to reassemble without special tools. But if your regulator mounts on the back of the alternator, you can replace it with hand tools.
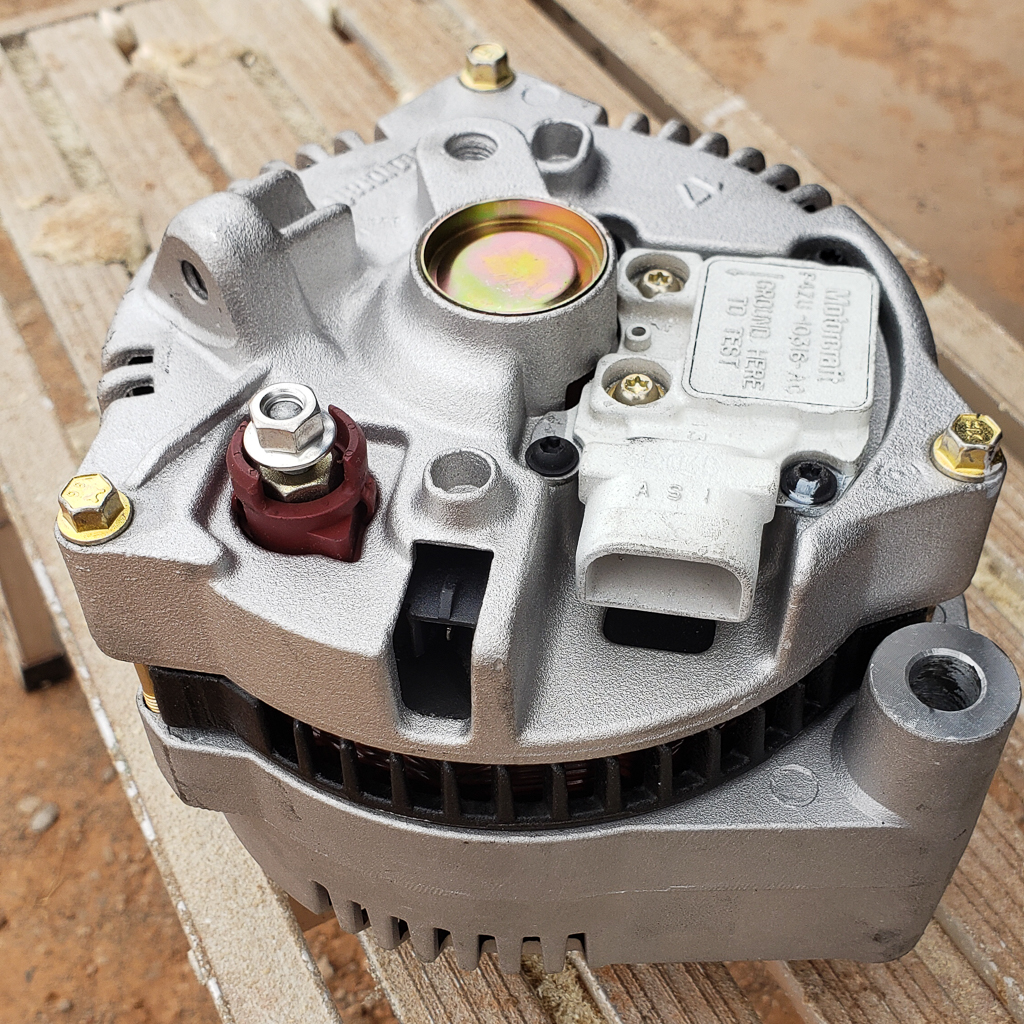
This 1990s Ford alternator is internally regulated but the module is easily accessible on the back of the case.
Step-by-Step
Here are the steps to replace a case-mounted regulator:
- Remove the alternator from the engine
- Locate the regulator and remove its cover to expose the regulator itself.
- Remove the bolts or screws that hold the regulator to the body of the alternator.
- Gently lift the regulator off the body of the alternator. It may have brushes that ride on the alternator’s main shaft.
- Disconnect any wires that are attached to the regulator and make note of their placement.
- Connect the new regulator to the original wires.
- Slide the new regulator back into place. If it has brushes, do not remove the retainer until the regulator is in place.
- Reinstall the mounting bolts or screws.
- The alternator is now ready to be installed back onto the engine.
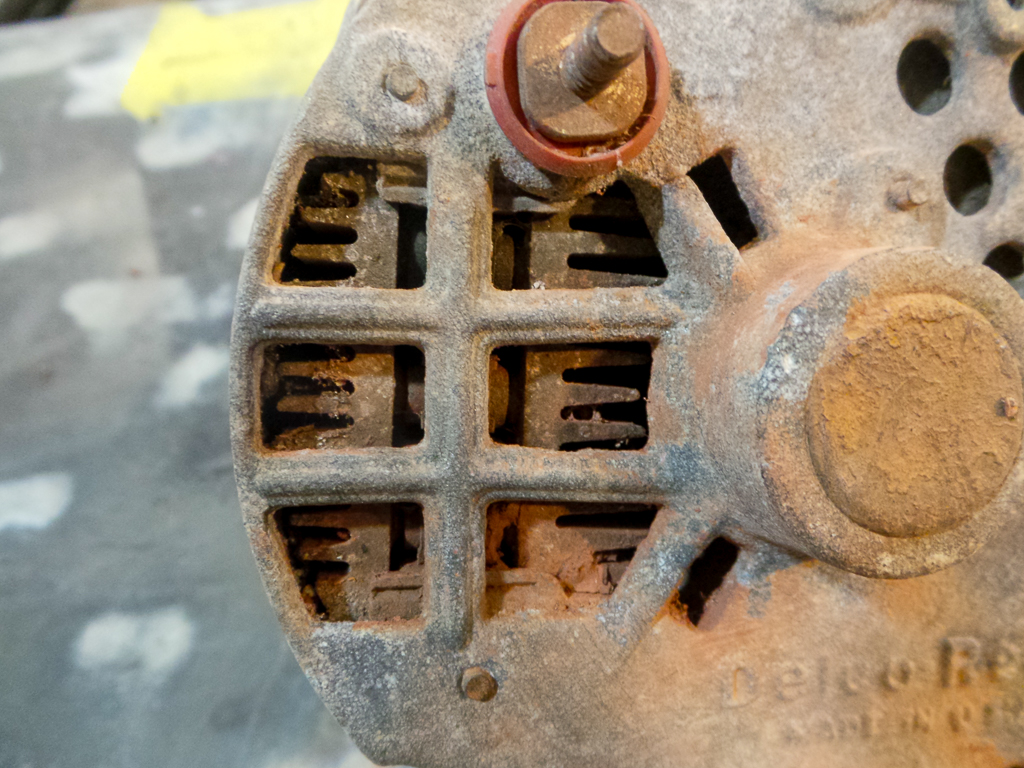
This GM alternator is also internally regulated, but the regulator is inside the case.
Externally regulated alternators have a small box, typically 3” x 3” or so, but the size varies by manufacturer. Follow these steps to remove and replace an external voltage regulator.
- Unplug the wire harness from the regulator.
- Unbolt the box from the mounts.
- Bolt the new regulator into the same position.
- Reconnect the wire harness.
How Much Does a Voltage Regulator Cost?
A new regulator can cost from $20 to $150. In most cases, replacing the entire alternator is cheaper than replacing just the regulator, especially on internally mounted regulators. External regulators are inexpensive and easy to replace, which is handy since they are failure-prone.
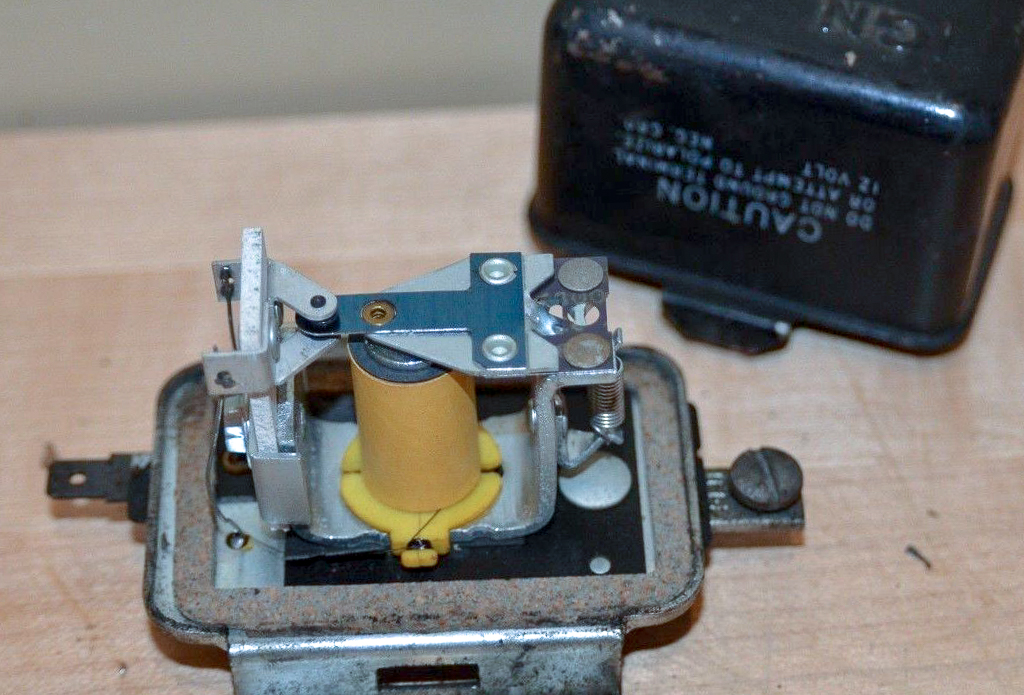
Removing the cover reveals the inner workings of a coil and mechanical points type external voltage regulator.
You can replace an external regulator in about 10 minutes, whereas an internal regulator can take several hours. Labor for external regulators will be $20 to $50, while internal regulator replacement labor could run $200 or more.
Shop now for voltage regulatorsA bad voltage regulator can quickly kill your vehicle’s battery by undercharging or overcharging it. The regulator can also damage the alternator itself by exceeding its duty cycle and causing significant damage to the internal wiring. Servicing your charging system as soon as you notice a problem is critical to reducing the damage done and the expense of repairs.