Contents
How a Clutch Works
Technically, an automatic transmission has a clutch device called a torque converter. However, when car enthusiasts talk about clutches, they usually refer to cars equipped with a manual transmission.
With a manual transmission, the clutch pedal is to the left of the brake pedal. It is the pedal closest to the driver’s side door (in a left-hand drive vehicle).
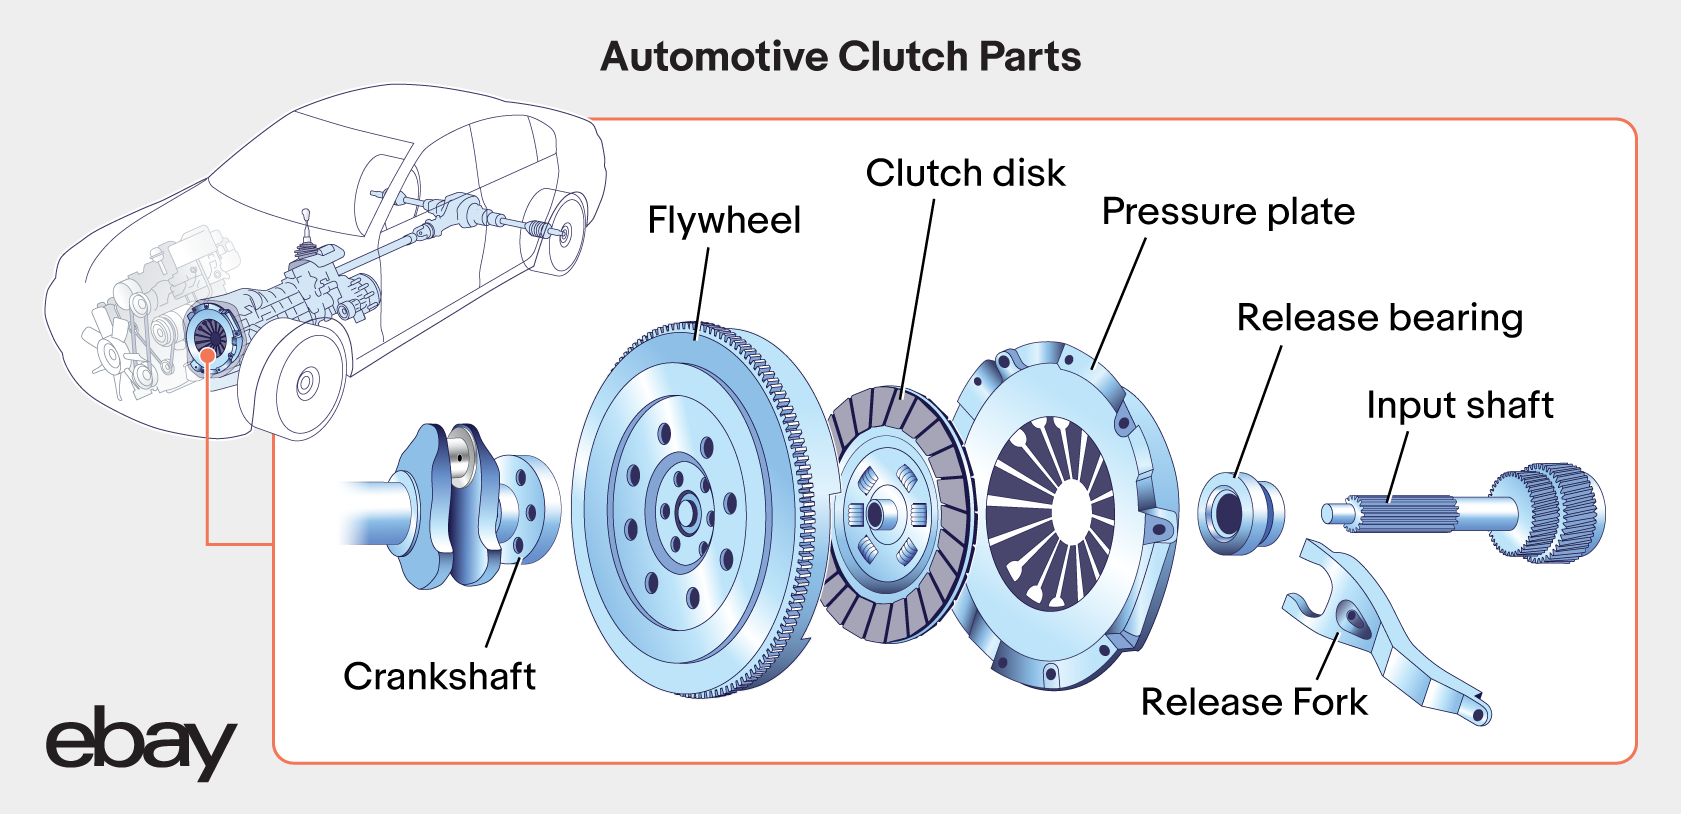
Clutch disc – The disc is located between the engine’s flywheel and the pressure plate. It has friction material and a set of springs. When the clutch is in the standard (unengaged) position, the clutch disc connects to the pressure plate and transfers engine power to the transmission. The springs help to soften the impact when the plates connect.
Pressure plate – This plate is bolted to the flywheel and presses against the clutch disc. When the clutch is released, the pressure plate clamps onto the clutch disc and allows the engine to connect to the transmission.
Throwout (release) bearing – This small bearing is located between the pressure plate and the clutch fork. This bearing determines if the pressure plate connects with the clutch plate.
Clutch (release) fork – This metal lever pivots on an assembly and connects to the throwout bearing. When the clutch pedal pushes down, a cable presses the clutch fork against the bearing.
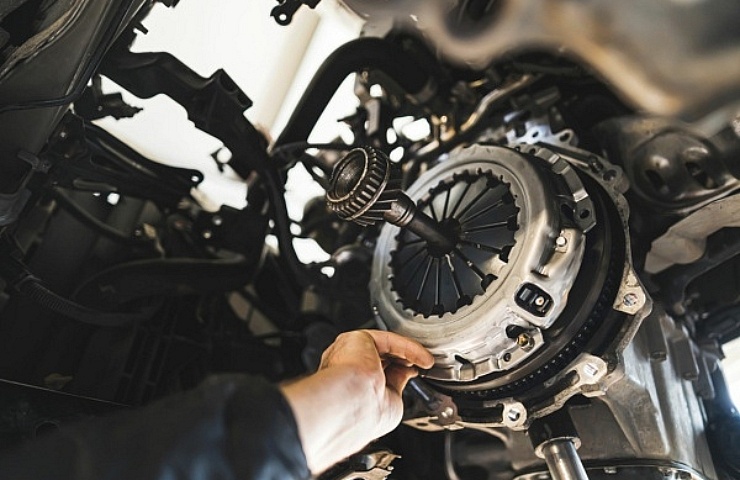
Shop now for clutch partsA vehicle with a manual transmission uses a clutch to engage and disengage the engine. When the clutch pedal is pushed, a connected cable moves the clutch fork to press the throwout bearing against the pressure plate. This prevents the pressure plate from connecting to the clutch plate, allowing the engine to disconnect from the transmission.
If the clutch pedal is pushed down, no power is transmitted to the axle and wheels, and the driver can change gears using the stick shifter.
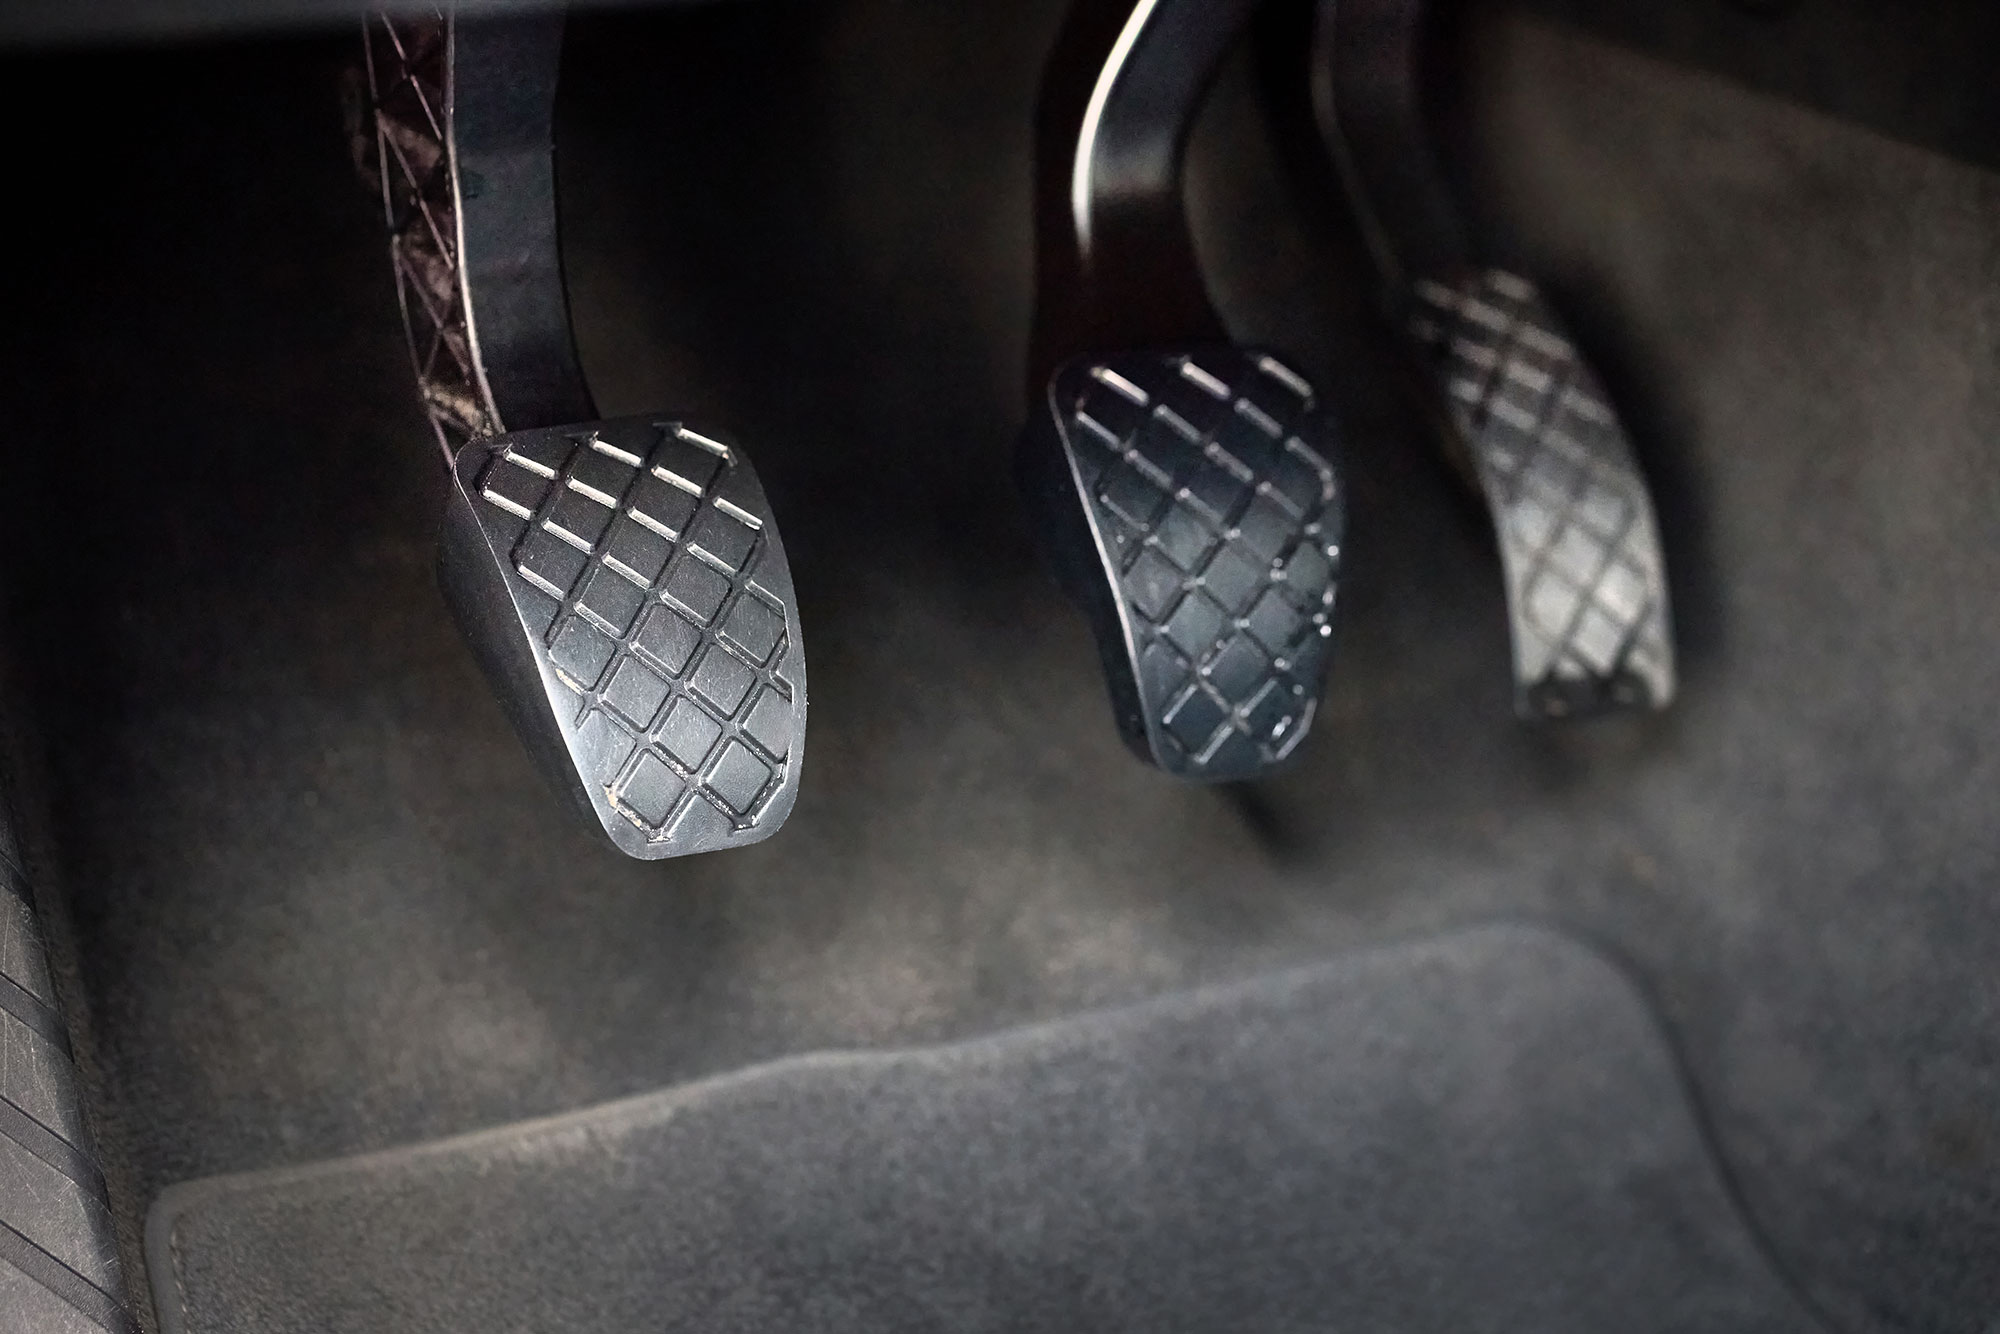
The third pedal (far left) controls the car’s clutch.
Releasing the car’s clutch pedal allows the transmission to engage with the new gear. When the clutch is released, the throwout bearing no longer pushes against the pressure plate. The pressure plate clamps onto the clutch disc, and the engine power transfers to the transmission.
When at a stop, the driver either disengages the clutch with the shifter in first gear and waits to proceed—or places the car into neutral and releases the clutch.
Shop now for clutch kitsCommon Clutch Problems
Chattering clutch – The car will vibrate as the clutch engages and disengages. This may indicate a warped disc or plate or misaligned parts.
Clutch drag – If the car’s clutch fails to disengage fully, the transmission is still connected to the engine. Typically, a worn clutch disc or a damaged pressure plate is the cause of this issue.
Slipping clutch – This occurs when the clutch disc is not fully engaging with the pressure plate. You’ll notice a burning smell, and the car will accelerate slower. A driver will feel this, especially right after releasing the clutch.
Squeaking – You might hear a squeaking sound while the car moves, but the sound disappears when the clutch disengages. The throwout bearing is likely worn and the cause of the sound.
Read: Squeaks, Clangs and Rattles – Car Noises That Need Attention
Adjusting the Clutch Fork
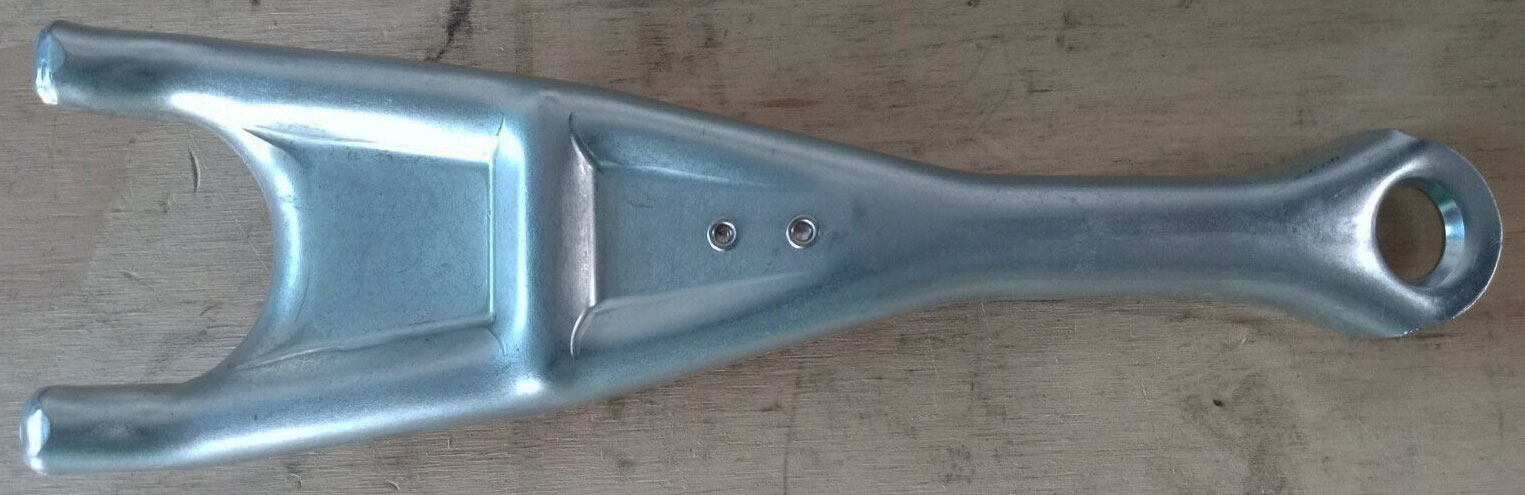
Clutch fork
Clutch drag or slip might be due to a misaligned clutch fork. If the fork has too much movement or “play,” it is subject to clutch slip. The fork’s lack of free play can result in clutch drag.
Because the clutch fork moves via a cable, it is possible to adjust this fork. The fork typically has two springs, one on each side, creating tension. A service manual can indicate the length of the clutch fork from a designated point.
You move an adjusting nut on the clutch cable to bring the distance to the proper specification. Tighten the locknut after adjusting the cable and clutch fork to prevent changes.
Replacing the Clutch
Replacing a car’s clutch requires removing the transmission, which means extensive work. With the transmission removed, you’ll gain access to the clutch. At that point, you could either replace the clutch in one piece or examine the clutch for the failure of specific parts.
Alternatively, you could use a clutch kit to replace all the parts in your clutch. If one part fails, then it’s likely that the other parts are also worn. So it’s probably better to replace all the pieces with a kit.
Shop now for clutch kitsAn average repair bill to replace a car clutch at a shop is about $1,500. A clutch repair kit generally costs less than $250 for the DIYer. The prices for parts for performance sports cars are higher.
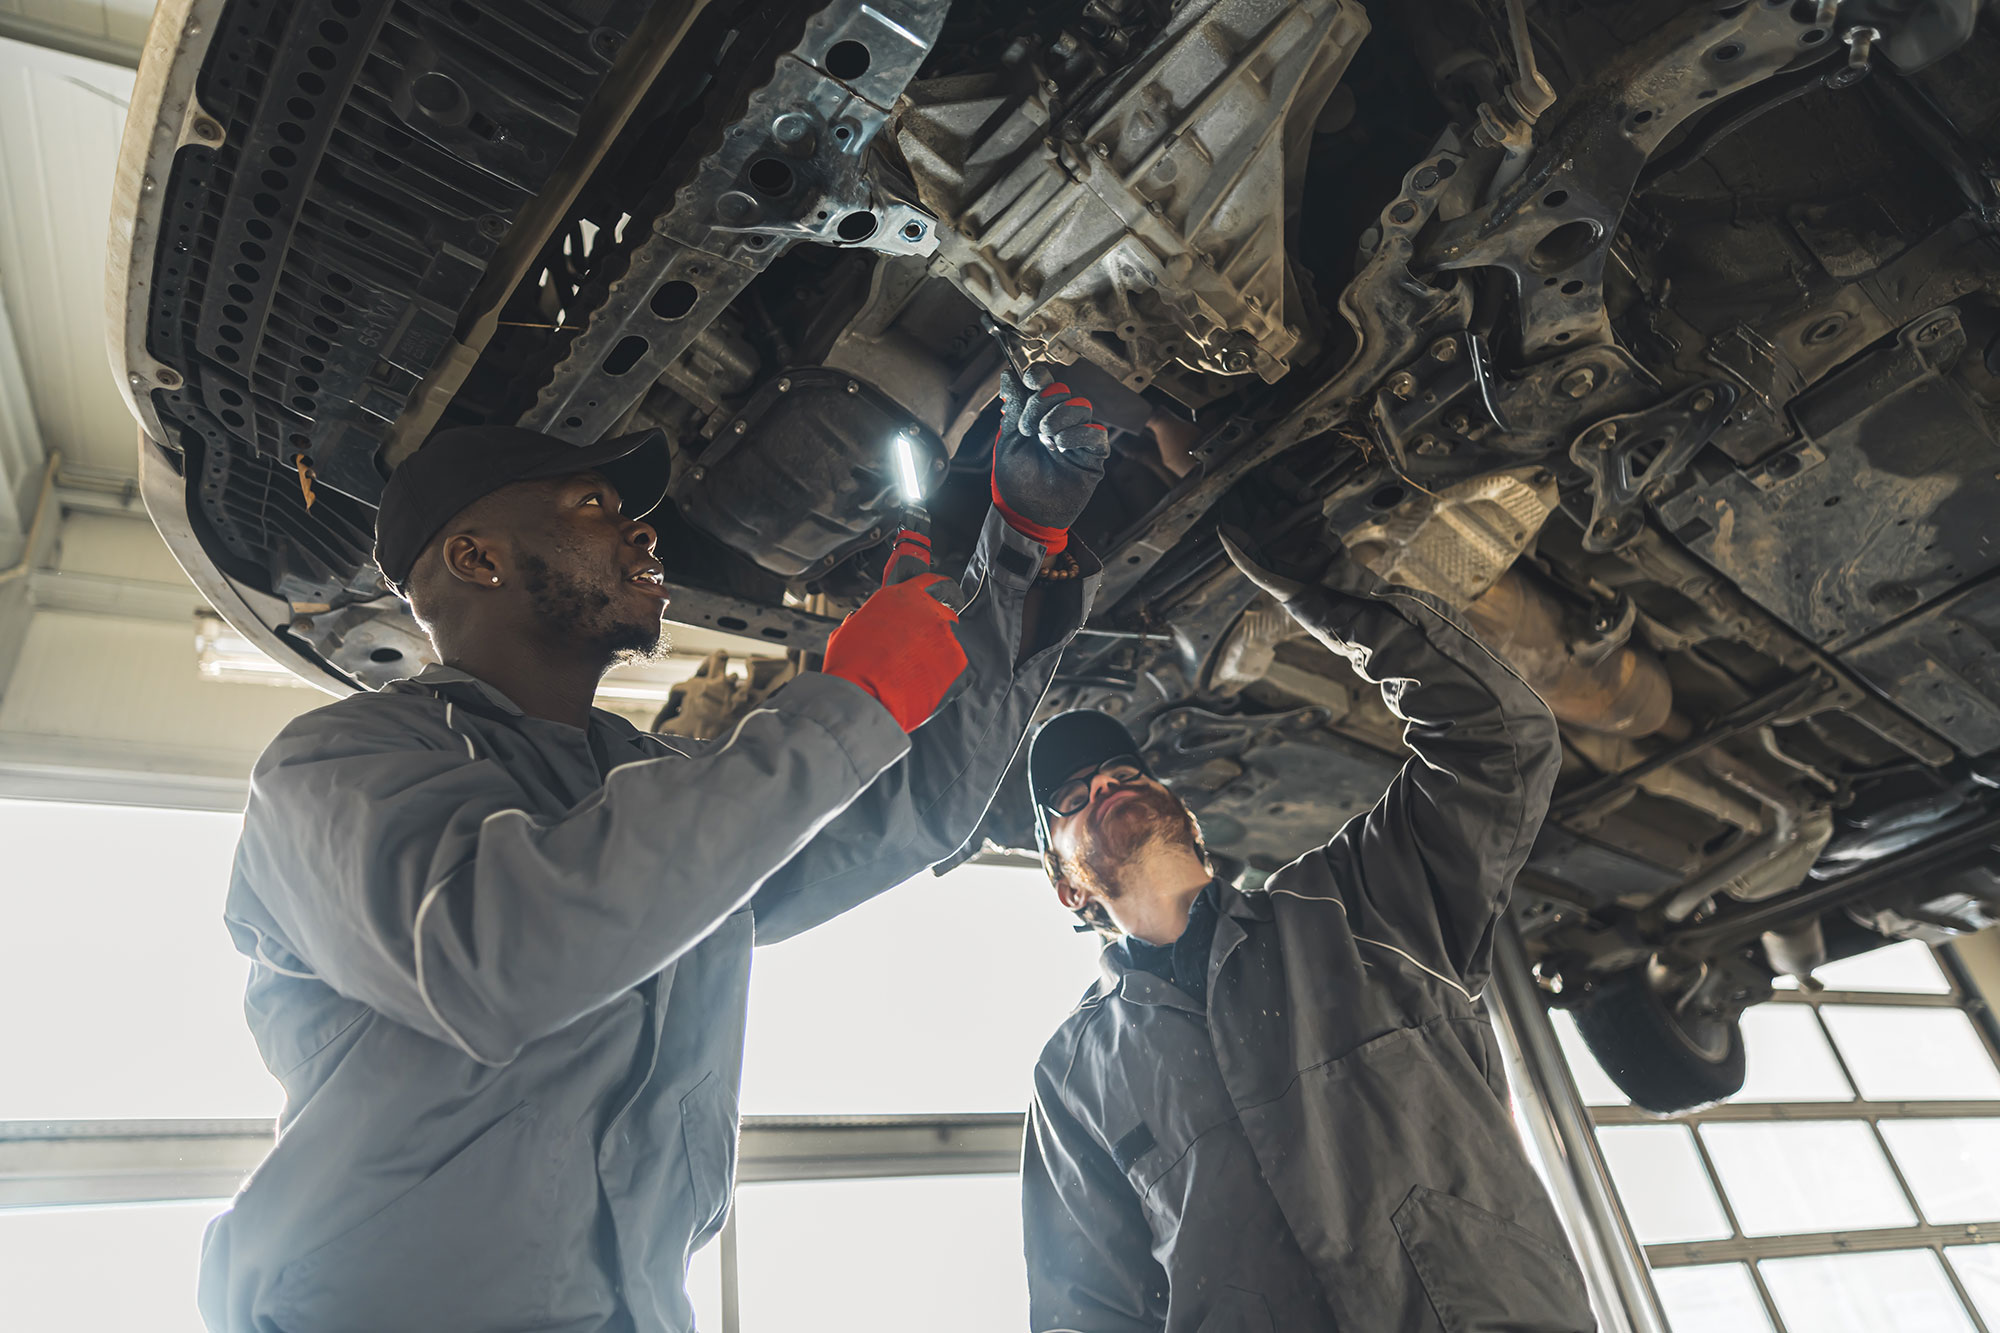
Replacing a car’s clutch requires working underneath the vehicle while raised off the ground. If you do not have access to a lift, you must safely support the vehicle with jack stands that are large enough to support the vehicle’s weight. Never use jack stands on dirt, gravel, or asphalt surfaces, as the stands can sink. Use wheel cribs instead if you must work on dirt, gravel, or asphalt. Never work under a raised vehicle with only a jack supporting the vehicle.
This is a big job. Here’s how to start the process:
- Let the engine cool, usually a few hours after being last driven.
- Disconnect the battery negative terminal.
- Raise the vehicle high enough to get under it with some working room. The transmission needs a fair amount of space for the removal and replacement process.
- Remove the center console around the shifter. Some vehicles have remote shifters, but most go straight through the floor.
- Unbolt the shifter handle or remove the shift knob.
- Remove the seal around the shifter. This should allow the shifter to drop out.
If your vehicle is front-wheel drive (most common):
- Remove the front wheels.
- Locate the axle shaft hub in the center of the brake rotor and remove the cotter pin and cap.
- Remove the axle shaft nut.
- Some vehicles require disconnecting the steering knuckle, some do not. Check your repair manual for details on your specific vehicle. If available, cap the axle shaft outputs to reduce fluid loss.
- Push the axle in toward the transmission until it pops out of the knuckle, then pull it out of the transmission.
- Now is a great time to inspect the CV axle and boots. If it is loose, replace it. If the boot is torn, but the axle is good, you can repair or replace the boot. A fresh glob of grease doesn’t hurt, either.
If your vehicle is rear-wheel drive:
- Unbolt the driveshaft from the rear axle.
- Slide the slip yoke out of the transmission.
- Store the driveline in a clean area. You don’t want dirt to get inside the slip yoke.
- This is also a great time to change the U-joints.
- Use a transmission plug to cap the output shaft seal so the fluid doesn’t pour out.
With the driveline/axles removed, the rest of the job is the same for front-wheel-drive, rear-wheel-drive, and all-wheel-drive vehicles.
- Use a floor jack and wood block to support the rear of the engine. A wood block is an easy way to spread the engine load on the jack and not damage the oil pan. Put very slight pressure on the engine. The jack should be raised a fair amount before it contacts the oil pan. Otherwise, you won’t have enough room to lower the transmission later.
- Unbolt the transmission mount from the transmission crossmember. Raise the transmission and engine with the floor jack just enough to get some separation from the crossmember.
- Unbolt and remove the transmission crossmember from the vehicle. There are typically two or three bolts per side.
- Slowly lower the engine and transmission with the floor jack to expose all transmission bell housing bolts.
- Disconnect the shifter linkage and wiring from the transmission. Some manual transmissions have a cooler, though most do not. If yours does, disconnect this as well.
- Disconnect the clutch fork mechanism. This may be a rod, cable, or hydraulic line. Be careful with any springs. Take pictures of the assembly before removal for reference when reassembling.
- Place a second floor jack under the transmission. A transmission jack is best, but a standard floor jack works too. Raise the jack until it touches the transmission, and put a slight amount of pressure on it. You should support the transmission in the center to 65 percent forward. This is where the bulk of the weight is located.
- Unbolt the transmission from the engine and remove the starter from the engine and transmission. Use zip ties or a bungee cord to support the starter. Do not let it hang by the wires.
- Some transmissions have an integral bell housing, while others are separate. If separate, remove the transmission from the bell housing. This can be done before or after removing the assembly from the engine.
- Carefully slide the transmission assembly back and away from the engine. The transmission input shaft should slip out of the clutch pack easily. If you do not have a transmission jack, the transmission may want to roll off, so be sure to support it.
- Once separated, lower the jack and remove the transmission from under the vehicle.
- This is also a great time to drain and refill the transmission fluid.
- You should have full access to the clutch assembly. This includes the pressure plate, clutch disc, and flywheel. Unbolt the pressure plate in a crisscross pattern. Break the bolts free first, then remove them in two or three steps to release the pressure evenly.
- Remove the clutch disc and pressure plate.
- Pull the pilot bearing from the flywheel. It must be replaced with the new clutch.
- Inspect the flywheel for scratches, scars, and hot spots. The surface must be smooth and uniform in color. If there are hot spots or scratches that catch a fingernail, it should be machined or replaced. Most machine shops can turn your flywheel on a lathe to clean it up. It must be replaced if the surface is too bad or the flywheel is too thin.
- Clean the new parts with brake cleaner and wipe them with a soft cloth.
- Install the new pilot bearing into the crankshaft.
- Insert the clutch alignment tool into the disc, then place the disc onto the flywheel.
- Locate the new pressure plate over the clutch and thread new bolts to the flywheel. Tighten the bolts in a criss-cross pattern in three steps—torque to the manufacturer’s specs. Remove the clutch alignment tool.
- If you have a hydraulic release bearing, install it now. It is a good idea to replace it at this time.
- If you are using a manual release bearing, install the new one to the clutch fork now.
- Reinstall the bell housing (or integral transmission) to the engine by raising it with the floor jack and slowly engaging the input shaft to the clutch disc. You may need to rotate the input shaft to get the splines to align.
- Locate the bell housing to the dowel pins on the engine block. Install the bolts, then torque them to spec.
- Reinstall the starter, shifter, cooling lines, and electrical plugs.
- Raise transmission to its maximum height and reinstall the crossmember.
- It is a good idea to replace the transmission mount as well. Make sure you use the same material as the engine mounts. Do not mix rubber and polyurethane mounts, as this will cause the rubber mounts to tear quickly.
- Lower the engine and transmission jacks and remove them from under the vehicle. Bolt the transmission to the crossmember.
- Reinstall the driveline or axles in reverse of removal. Make sure that you follow the manufacturer’s torque specs for the fasteners.
Complete the project by reinstalling the seals and console inside the vehicle. Take it easy for the first 200 to 300 miles of driving. The car’s clutch needs to break in with careful shifts. Don’t baby it, but don’t aggressively drop the clutch. Engage and disengage the clutch with smooth, deliberate actions to reduce slippage and wear.
How Often to Replace the Clutch
Depending on your driving habits, you can expect to replace a car’s clutch every 60,000 miles. It should be replaced sooner for sports cars driven more aggressively. You might notice that your clutch is slipping as it approaches the failure point. When this starts, there is little time to replace the car’s clutch before it loses the ability to couple the engine to the transmission.
Shop now for clutch parts