Cars built before the mid-2000s don’t have sophisticated computer-controlled ignition systems. Instead, they rely on the distributor cap and rotor to supply power at precise intervals. When these parts wear out, the engine stutters, misfires, and may refuse to start.
Before you dive into our
complete how-to guide for replacing your distributor
- opens in new window or tab.
, double-check the cap and rotor. That might be all you need to change.
How the Distributor Cap and Rotor Works

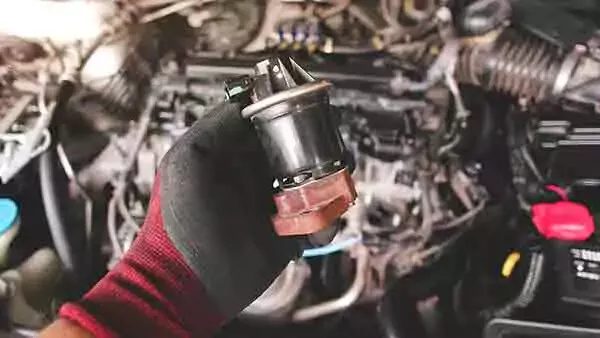
An old distributor with the cap off, showing the rotor and points.
The purpose of the distributor cap is all in the name. It distributes power from the ignition coil to each spark plug, allowing them to fire in just the right order.
-
In many older engines, the distributor is powered by a gear on the camshaft, which spins a rotor inside the unit.
-
With each turn of the rotor, the distributor makes contact with terminals in the distributor cap.
-
This contact supplies each spark plug with electricity through the plug wires.
-
Each spark plug ignites the fuel/air mixture in each cylinder of the engine.
Modern cars don’t use distributors. Among older vehicles, there are two different types of distributor designs. Before the early 1970s, the majority of cars relied on ignition points instead of an electronic trigger to fire the engine. Ignition points are a mechanical system, and they go out of adjustment. When that happens, it means breaking out a feeler gauge and “gapping the points” of your distributor.
From the early 1970s through the mid-’90s, electronic distributors became standard. This system did away with the need for adjusting points.
It wasn’t until the early ’90s that distributors started being controlled by engine control modules (ECMs). The main difference between an electronic distributor and one controlled by an ECM comes down to how the engine is fueled. A carbureted engine likely uses an electronic distributor, while systems with electronic fuel injection (EFI) typically have an ECM-controlled distributor.
When should you change the distributor cap and rotor?
Most manufacturers recommend changing the distributor cap and rotor every 30,000 to 50,000 miles. Periodically check the distributor cap and rotor for signs of wear or damage. Also, pay attention to the signs of a bad distributor cap or symptoms of a bad rotor.
It’s usually recommended that both the distributor cap and rotor be changed
at the same time. Because these parts work together to distribute spark to the cylinders, they also endure the same type of wear. If one is worn out, the other is likely right behind.
Signs of a Bad Distributor Cap and Rotor

When your check engine light symbol is illuminated and the engine is running rough, the distributor cap or rotor may be the cause.
At first, you may notice the check engine light. In modern vehicles, a bad distributor cap triggers the check engine light because the onboard diagnostics system detects the smallest misfires or ignition issues.
Another top symptoms of a bad distributor cap is the engine misfiring. Whether the cap or rotor is damaged, the spark can’t be evenly distributed to the cylinders, creating a misfiring and jerking sensation. You may also notice uneven power while driving as the car surges or hesitates.
With a bad rotor or cap, there’s also the chance for a rough idle. With the engine running at low speeds, there could be more shaking or sputtering than normal. A failing distributor cap can also make it difficult to start the motor, especially if it is cold or damp outside.
What does a bad distributor cap sound like?
You can easily hear misfires and a rough idle from the engine. But other sounds require getting close to the bad distributor. There could be clicking or tapping because of the uneven cylinder firing.
What does a bad distributor rotor and cap look like?
A new distributor rotor is clean, and its little metal contact point is shiny and nice. A new distributor cap also has clean and shiny metal contacts. A bad distributor cap is cracked or corroded. Bad distributor caps also trap moisture or can have carbon buildup. Look for discoloration and grime on those metal contact points. A failing rotor may exhibit similar damage. Look for excessive wear or signs of burning.
You may experience engine performance problems as the parts fail. This may start as only minor inconveniences, such as a rough idle. Hoever, if the engine stalls, you might not be able to restart it. That could leave you stranded on the roadside. For this reason, we recommend changing the distributor cap and rotor at the first sign of failure.
Replacing the Distributor Cap and Rotor Is a Cinch

Replacing the rotor is literally a snap.
From a replacement standpoint, it’s not difficult to replace the distributor cap and rotor. They snap into place without the need for any tools.
The most challenging part of the job is putting the spark plug wires back in the correct order. If those aren’t correct, the cylinders won’t fire at the right time, misfiring and stuttering. The engine may fail to run at all. We recommend taking your time with the replacement. Label each plug wire and where it’s supposed to go.
How much should you spend on a distributor cap and rotor?
A distributor cap and rotor costs between $10 and $80, depending on the type of car you drive. Taking it to the shop could cost an additional $50 to $150. Replacing your distributor and cap is a great DIY project.
Consider Changing These Parts With Your Distributor Cap and Rotor
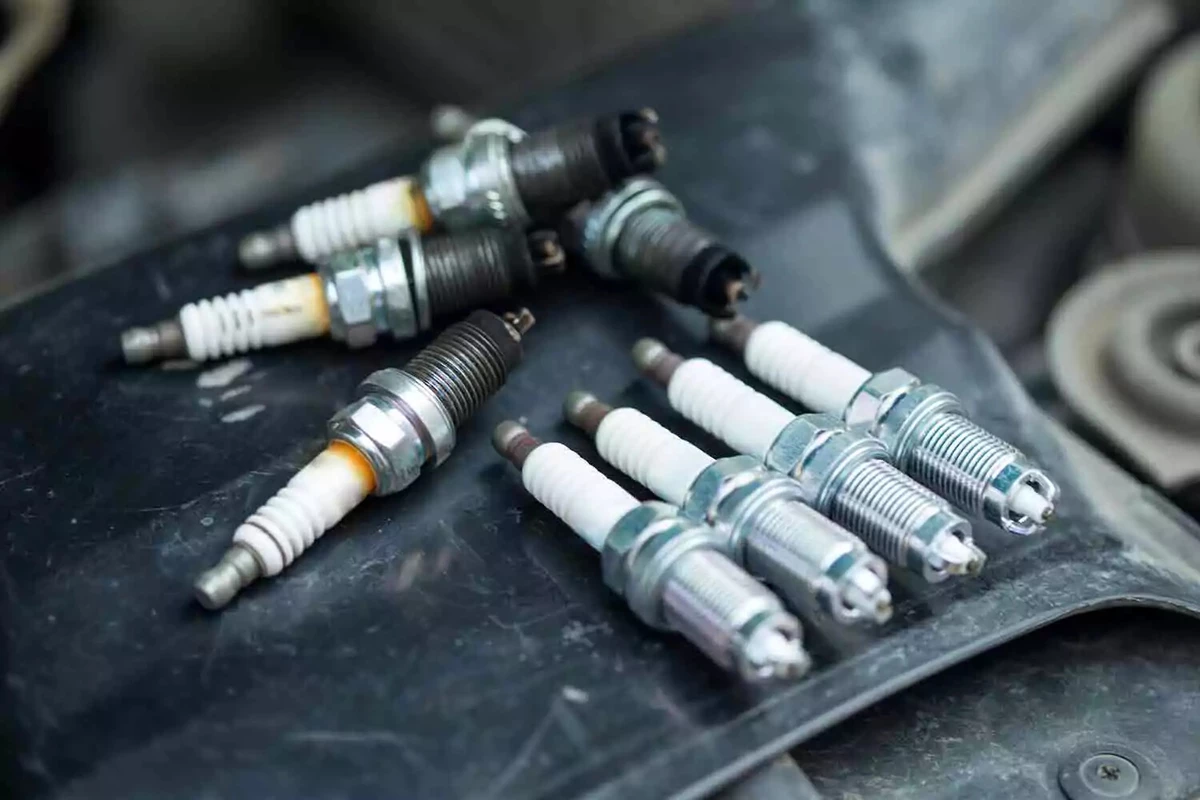
If an engine’s been running rough, swapping out the old spark plugs along with the distributor cap and rotor is a good idea.
When replacing the distributor cap and rotor, it may be best to perform a complete tune-up. We recommend changing the spark plugs and spark plug wires if it’s time. With old plugs and wires, the electrical connection can be poor, creating misfires and poor performance. It may also be time to
replace the ignition coil
- opens in new window or tab.
, which is responsible for generating the high voltage that the distributor uses.
With some distributor caps, there’s also a gasket located between the body and cap that keeps the moisture out. If you are only replacing the cap, it may be good to replace this gasket as well.
You can also make some
easy DIY ignition upgrades
- opens in new window or tab.
. Consider upgrading to a breakerless ignition system that removes the distributor points for more consistent timing.
About the author

Share your feedback
This article is meant to provide general guidance only. Automotive maintenance, repair, upgrade, and installation may depend on vehicle-specifics such as make and model. Always consult your owner's manual, repair guide for specific information for your particular vehicle and consider a licensed auto-care professional's help as well, particularly for advance repairs.
Recommended for you
Find answers and inspiration-
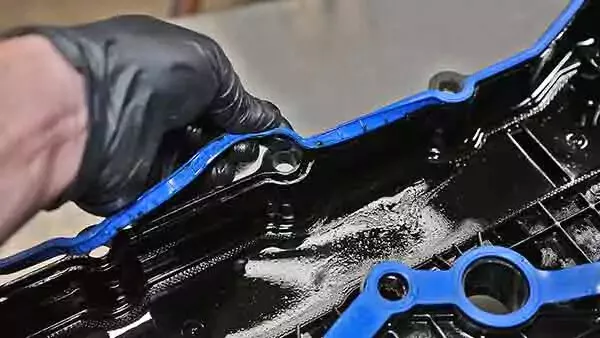
A Quick Guide to Valve Cover Gaskets
6 min read -
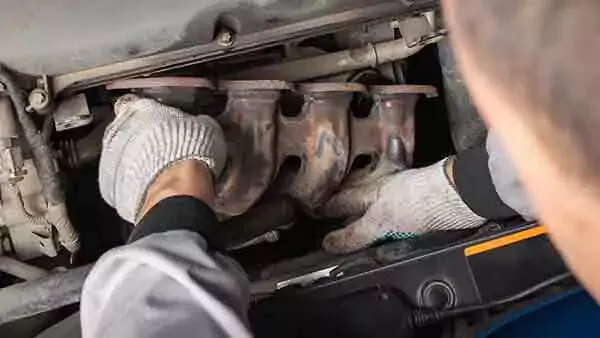
When to Replace Your Exhaust Manifold Gasket
6 min read -

How to Replace an Ignition Coil
6 min read -
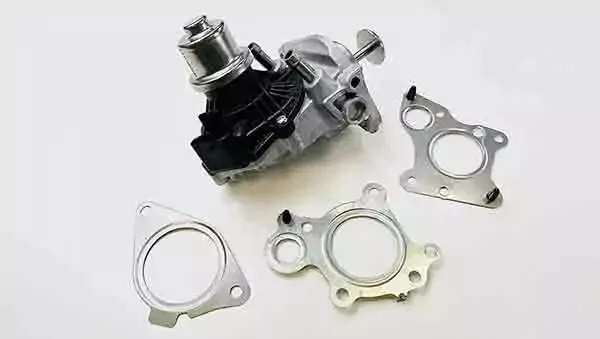
How to Buy the Right EGR Valve and Gasket
6 min read -

Your Complete Idler Pulley Buying Guide
5 min read -
How to Buy the Right Throttle Body
5 min read -

Buying the Right Distributor Cap and Rotor
4 min read -

How to Replace a Drive Belt
5 min read -

How to Replace an Intake Manifold Gasket
7 min read -
How to Buy the Right Car Starter
5 min read -

How to Replace a Valve Cover Gasket
7 min read -

How to Change a Timing Belt
12 min read -
Diagnosing Your Serpentine Belt and Tensioner
6 min read -
Changing Your Oil: 5 Things to Know
6 min read -

How to Clean Fuel Injectors
8 min read -

How to Change a Car Battery
6 min read -
Automation How to Change a Car Battery
6 min read -

How to Replace a Mass Air Flow (MAF) Sensor
7 min read -

Distributors 101
6 min read -

How to Replace Spark Plugs
7 min read -
Everything You Should Know About EGR Valves
5 min read -
How to Test Your PCV Valve
6 min read -
Buying the Best Portable Car Battery Jump Starter
6 min read -
An Introduction to Cleaning Fuel Injectors
5 min read -

A Deep-Dive Guide to Ignition Wires
7 min read -

How to Replace Engine Mounts
4 min read -
The Right Tools to Clean Your Fuel Injectors
6 min read -

How Do Ignition Coils Work?
5 min read -
What to Consider When Buying a Car Battery
6 min read -

How to Jump Start a Car
9 min read -

Spark Plugs 101
7 min read -
When to Replace Your Drive Belt
6 min read -
Fuel Pumps and How They Work
8 min read -
What to Know About Your Vehicle's Throttle Body
6 min read -
Everything You Need to Know About Fuel Filters
6 min read -

How to Buy the Right Ignition Coils
7 min read -
How to Buy the Right O2 Sensor
5 min read -

How to Replace a Serpentine Belt Tensioner
4 min read -
When to Replace Your Engine Air Filter
5 min read -

How to Replace an Oxygen Sensor
5 min read -
How to Buy the Right Timing Belt and Related Tools
5 min read -

How to Buy the Right Car Distributor
6 min read -

An Intro to Jump-Starting Your Car Battery
-

Timing Belts 101
5 min read -

How to Replace an Engine Air Filter
5 min read -
How to Buy the Right Exhaust Manifold Gasket
6 min read -

How to Choose the Best Spark Plugs
5 min read -
SBJ 1.2 Test Prod - Change a Car Battery Shari
6 min read -

How to Replace a Car Starter
7 min read -

What You Should Know About O2 Sensors
6 min read -
How to Buy the Right Valve Cover Gasket
4 min read -

How to Replace a Distributor Cap and Rotor
5 min read -
When to Replace Your Car’s Battery
5 min read -

Understanding Your Car's Idler Pulley
4 min read -

How to Replace a Fuel Filter
7 min read -

How to Replace a PCV Valve
6 min read -
Everything You Need to Know About Car Starters
7 min read -

How to Replace an Exhaust Gasket
9 min read -
Do You Have a Faulty Mass Air Flow Sensor?
4 min read -

Ignition Wire Buying Guide
6 min read -

How to Replace a Throttle Body
6 min read -

Spotting Intake Manifold Gasket Problems
7 min read -

How to Change Oil in a Car
8 min read -
How to Buy the Best MAF Sensor
4 min read -

How to Replace an Alternator
11 min read -

How to Replace an EGR Valve
5 min read -

How to Change an In-Tank Fuel Pump
9 min read