Ignition coils transform your car battery's low-voltage output into the high-voltage energy your spark plugs need for internal combustion. Automotive ignition systems have dramatically changed over the decades. Until the mid-1990s, most cars used a distributor to route spark energy from a single coil to each individual spark plug. Most modern engines built in the last 20 years or so use coil-on-plug or remote-mount ignition coils with one coil per cylinder or sometimes one coil per pair of cylinders.
Whether you have one, two, or eight coils, the process for changing ignition coils is relatively the same.
What Are the Signs of a Bad Ignition Coil?
Each coil in your vehicle fires thousands of times every minute. Although ignition coils are robust, they eventually die and must be replaced. Common symptoms of a failing coil are hard starts, no starts, misfiring, and poor performance.
How Long Does It Take to Replace an Ignition Coil?
You can usually replace an ignition coil in less than 10 minutes. But there are exceptions. For example, if your vehicle has a high-energy ignition (HEI) in-cap coil, the replacement could take 15 minutes longer.
Tips and Tricks for DIY Ignition Coil Replacement
-
In most cases, coils that are original to the vehicle are built to higher standards than aftermarket coils. However, aftermarket high-performance coils deliver more voltage with faster recovery times than stock coils. Your application will determine what is best for your vehicle. If the engine is stock, an original manufacturer coil is best. If you made performance modifications, you might be able to use a high-performance coil.
-
Coil-on-plug ignition systems—where the coil pack is integrated with the spark plug wire—are outliers. The project described below relates to a single coil for every cylinder.
-
On some distributors—such as GM HEI distributors made from the mid-1970s to the late 1990s—the coil is inside the distributor cap. Ignition coils in these engines are more difficult to replace because you must remove the distributor cap to access the coil.

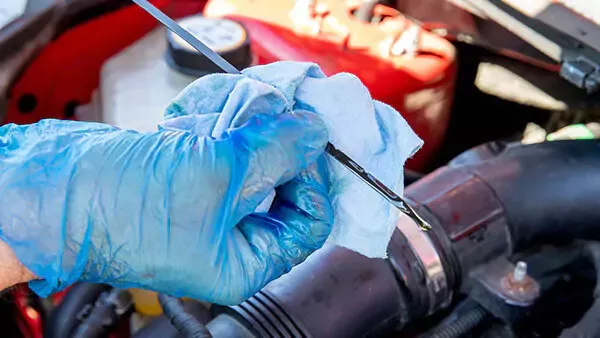
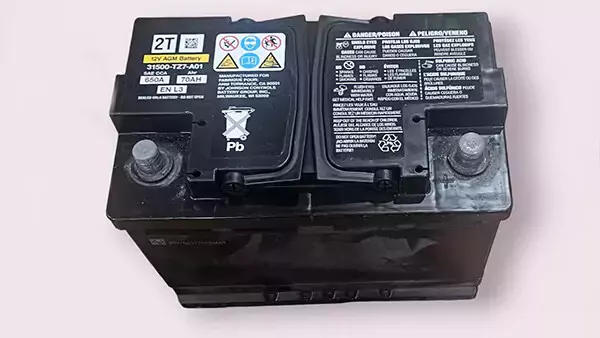
The first step for many auto repair jobs is disconnecting the vehicle’s battery. It’s a simple task. Remove the ground clamp from the battery’s negative post. Plus (+) and minus (-) signs are usually molded into the plastic battery case near the post.
Removing the negative terminal first ensures the vehicle is no longer connected to a live battery. This prevents sparks, electrical shorts, or components (such as fans) from unnecessarily coming on.
Pull the terminal off the battery for a close inspection. If there is corrosion, loose wires, or physical damage, consider replacing the battery terminal or cable.
Move the terminal away from the battery into a position where it can’t accidentally touch the battery post.

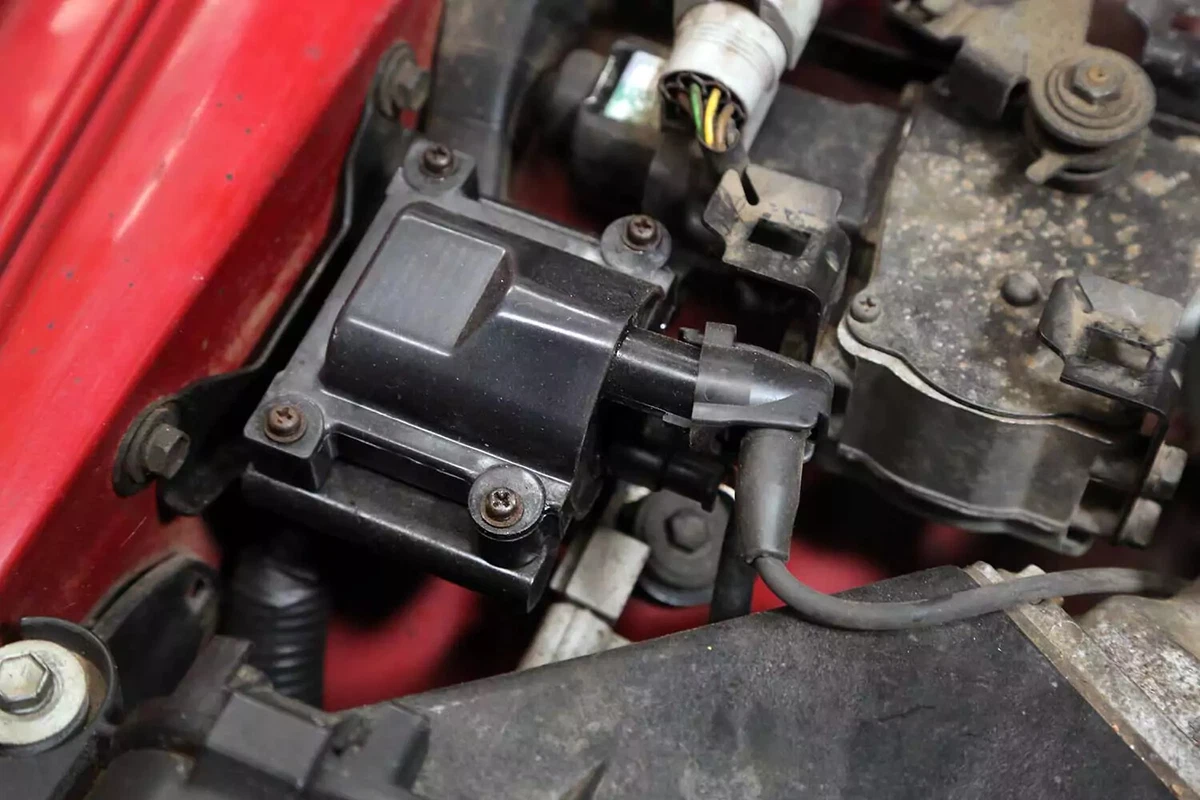
Our demo vehicle uses an inline six-cylinder engine with a single coil and distributor. Replacing the coil is very similar to vehicles without a distributor.
Trace the coil wire in the center of the distributor cap from the distributor to the coil. If you have multiple coils, the coils will be connected to the spark plugs with a separate plug wire for each plug.
On some vehicles, you might have to remove brackets or trim covers to access the coil. For our demo car, the coil is in the open. However, a trim panel that we removed partially covered the fasteners.

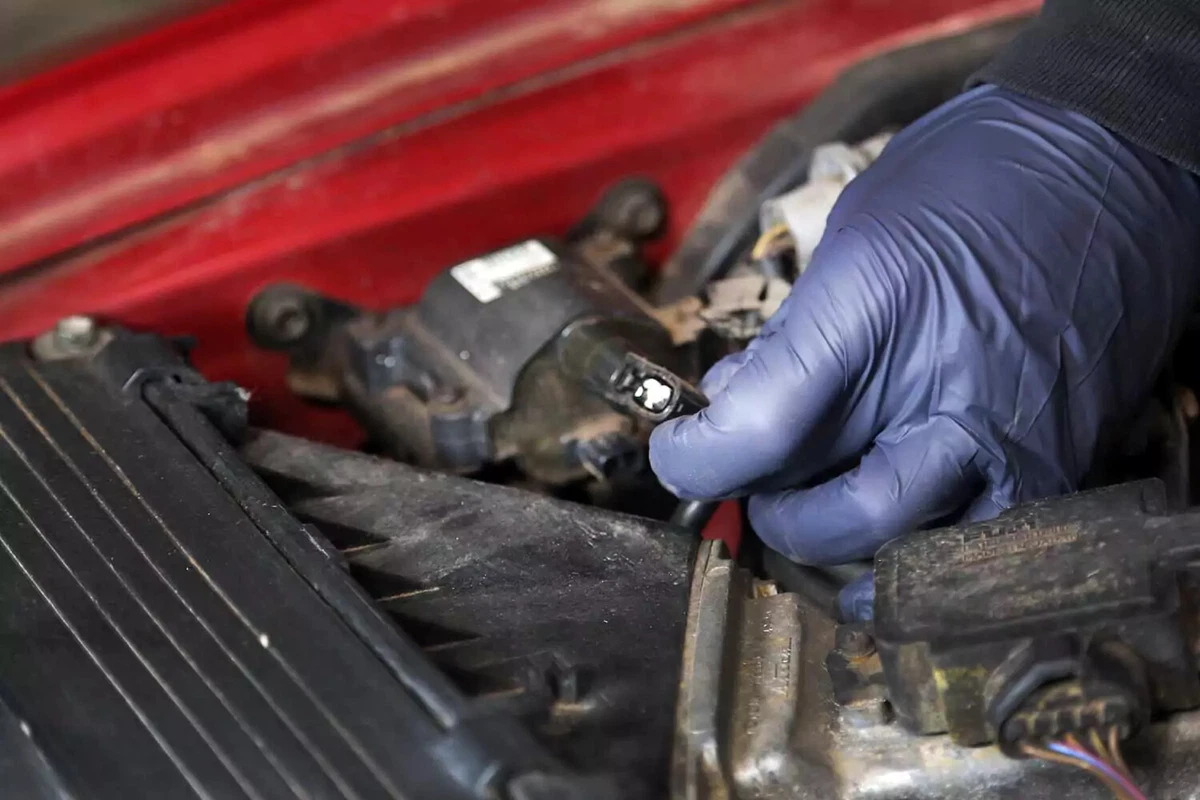
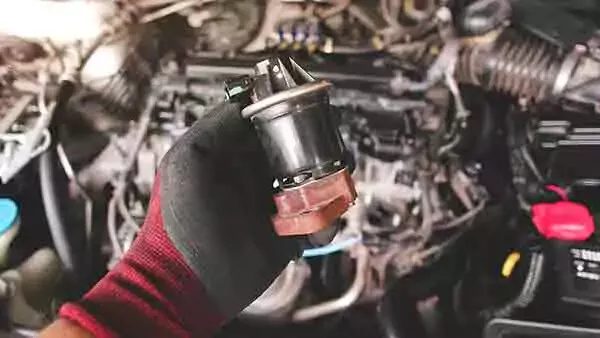
Remove the high-tension ignition lead from the coil. This car uses a hard plastic cover that snaps to hold the lead on the coil. But most vehicles use a basic silicone or rubber boot, and the metal terminal snaps into the coil.
Twist firmly and gently on the boot to break the seal. This will allow the wire to come out.
This is a great time to replace plug wires, cap, and rotor. The typical change interval for these parts is 30,000 miles or two years. Changing these now ensures your ignition system is in top working order.
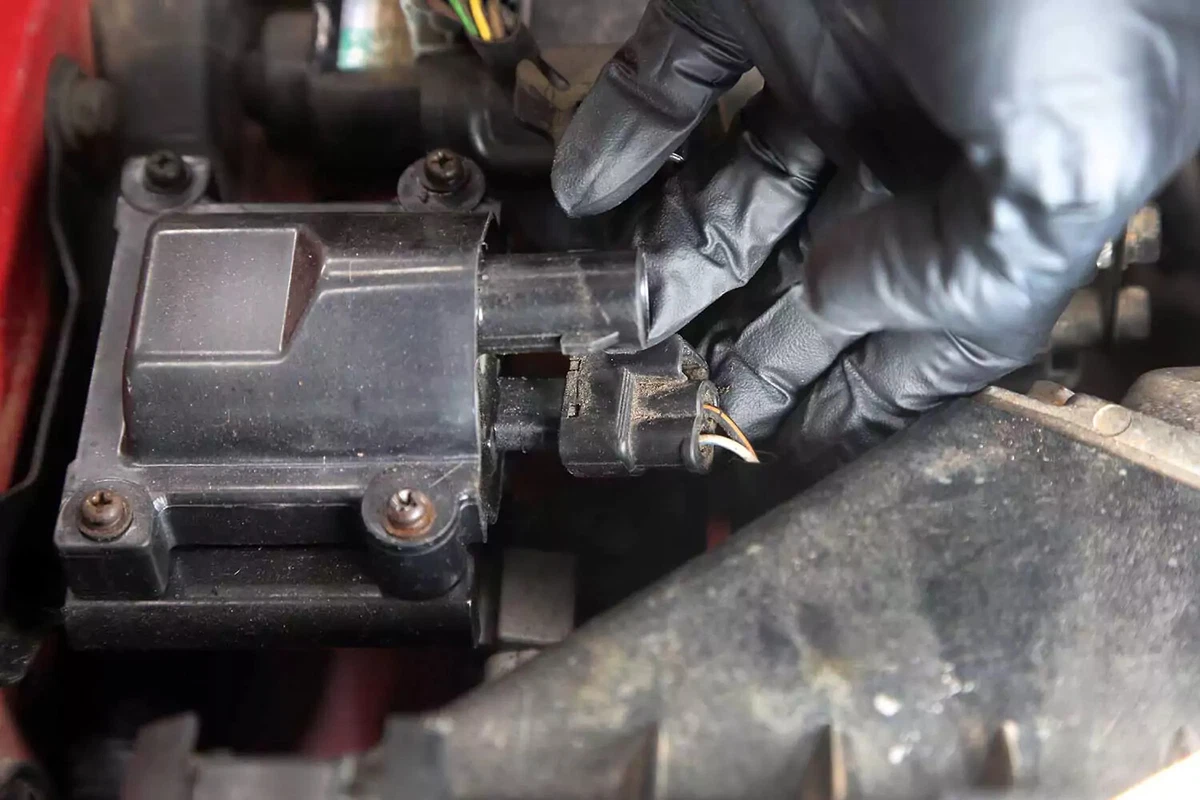
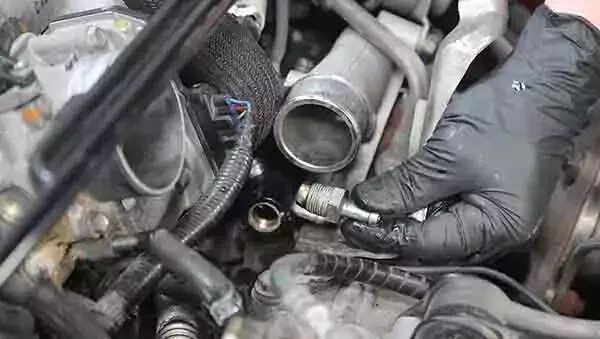
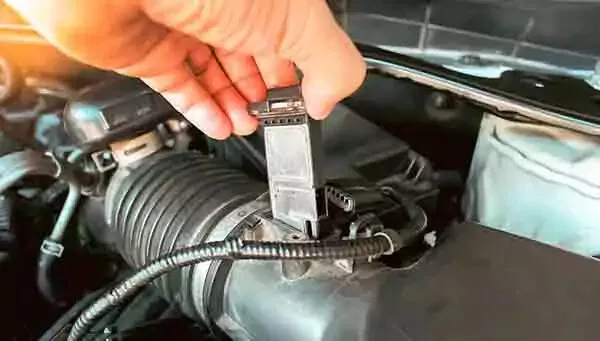
Remove the power terminal from the ignition coil. Vehicles made in the 1980s or earlier use two threaded posts for power and ground connections. Newer coils use quick-release plastic plugs.
If your coil has a plug, unlock the terminal (if equipped with a locking tab). Then, press the release tab and disconnect the plug from the coil.
For threaded post coils, remove the nut and washers using a small socket (typically 3/8-inch for US domestic vehicles or 8 mm for cars using metric measurements).
Remove the ring terminal from each post. Use a piece of masking tape and a marker to note which wire goes to each post. This is an essential step. For reference, also take a photo with your phone. That will be a big help when it’s time to put everything back together.

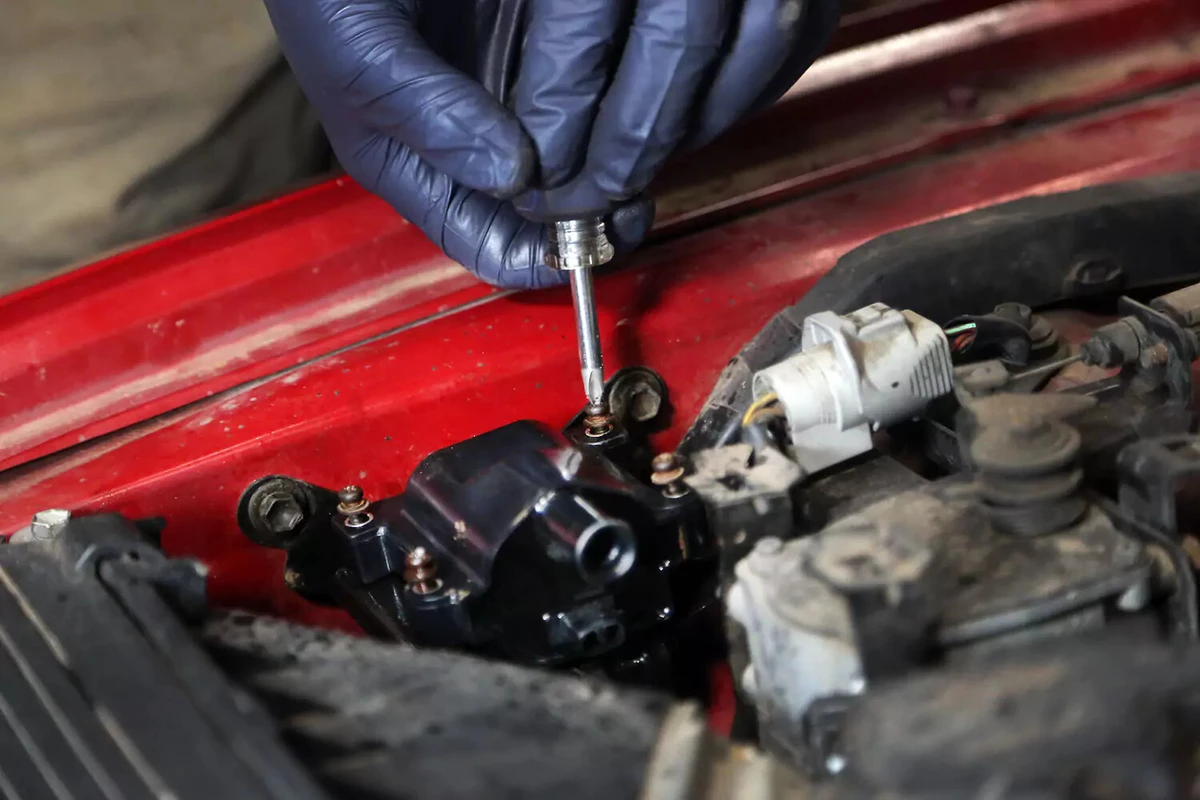
Two to four screws or bolts secure the coils in newer vehicles. Meanwhile, vehicles made in the 1980s or earlier use a large band-clamp around a cylindrical coil. In that case, it uses four screws.
Remove the fasteners. Penetrating oil can help free rusty bolts or screws.
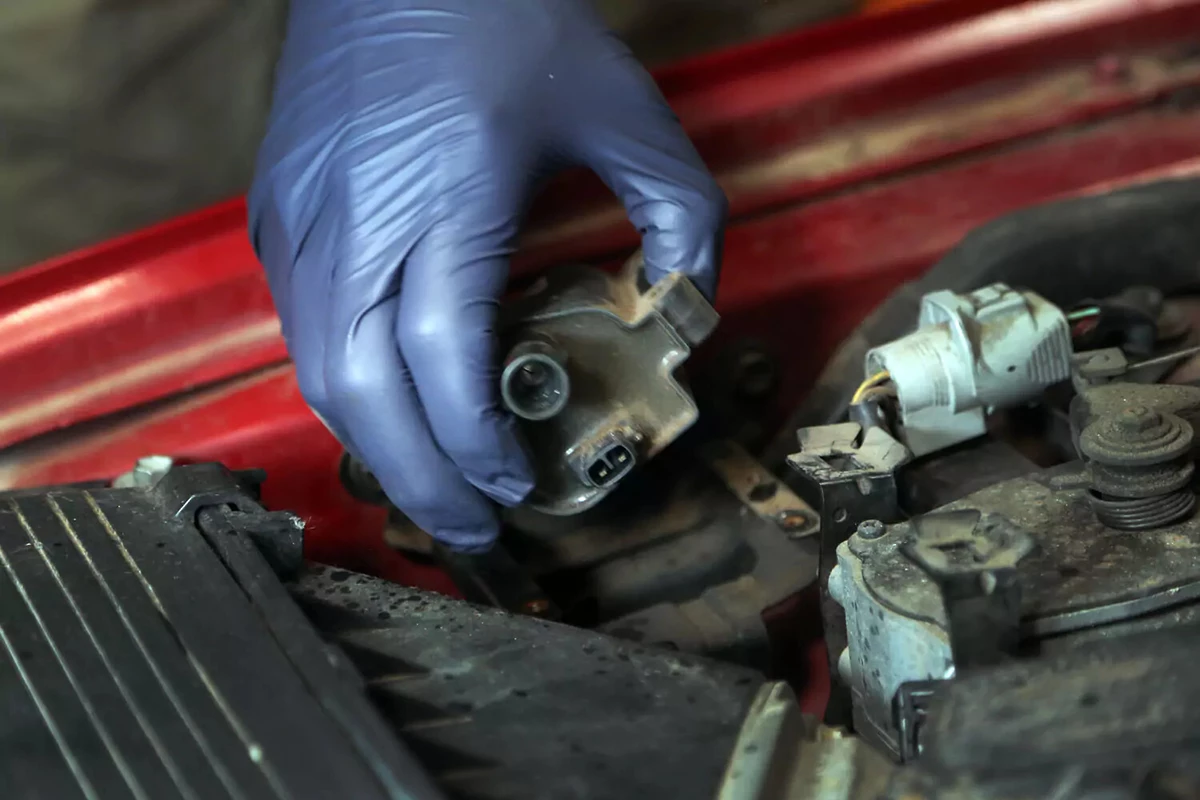
Remove the coil from the mounting bracket. If your vehicle has a cylinder coil, slide it from the band clamp.
Place the new coil into the bracket. Reinstall the fasteners. Use the original ones, or if fasteners were provided with the new coil, use those.
Snap the wiring harness plug into the new coil. Engage the locking tab if so equipped.
If your coil has threaded posts, install the ring terminals on the correct posts with a lock washer and nut. Tighten the nuts carefully. Don’t over-tighten.

High-voltage wires need protection from corrosion. The best way to protect your new coil and coil wire is by coating the wire and interior boot with dielectric grease or silicone paste. This seals the connection and provides a lubricant so the boot doesn’t stick to the coil housing.

Connect the coil wire from the distributor to the ignition coil. Most coil wires snap into place. A simple slip-fit metal terminal holds the wire in place. Push the wire into the coil until it bottoms out. On our vehicle, the coil uses a plastic cap outside the wire to lock to the housing.
The final step is to reinstall any trim or brackets you removed to gain access to the coil.
About the author

Share your feedback
This article is meant to provide general guidance only. Automotive maintenance, repair, upgrade, and installation may depend on vehicle-specifics such as make and model. Always consult your owner's manual, repair guide for specific information for your particular vehicle and consider a licensed auto-care professional's help as well, particularly for advance repairs.
Recommended for you
Find answers and inspiration-
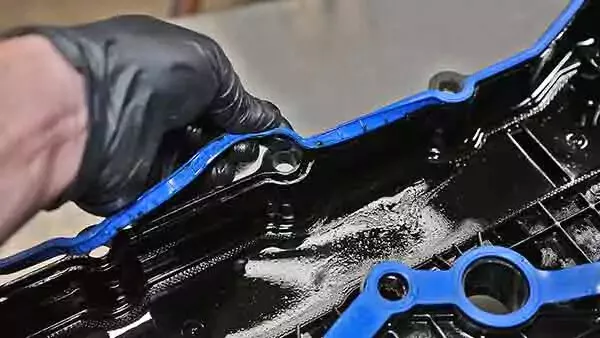
A Quick Guide to Valve Cover Gaskets
6 min read -
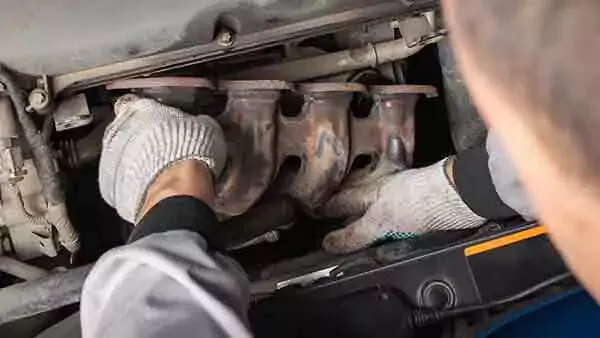
When to Replace Your Exhaust Manifold Gasket
6 min read -
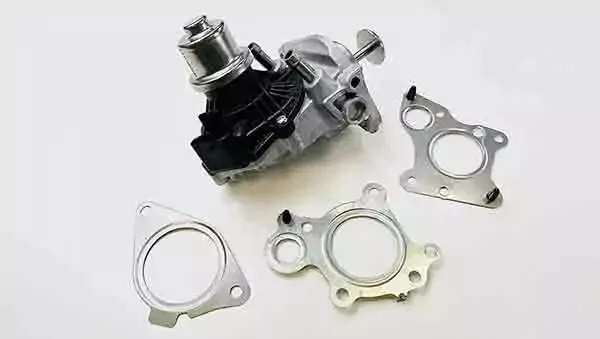
How to Buy the Right EGR Valve and Gasket
6 min read -

Your Complete Idler Pulley Buying Guide
5 min read -
How to Buy the Right Throttle Body
5 min read -

Buying the Right Distributor Cap and Rotor
4 min read -

How to Replace a Drive Belt
5 min read -

How to Replace an Intake Manifold Gasket
7 min read -
How to Buy the Right Car Starter
5 min read -

How to Replace a Valve Cover Gasket
7 min read -
Diagnosing Your Serpentine Belt and Tensioner
6 min read -

How to Change a Timing Belt
12 min read -
Changing Your Oil: 5 Things to Know
6 min read -

How to Clean Fuel Injectors
8 min read -

How to Change a Car Battery
6 min read -
Automation How to Change a Car Battery
6 min read -

How to Replace a Mass Air Flow (MAF) Sensor
7 min read -

Distributors 101
6 min read -

How to Replace Spark Plugs
7 min read -
Everything You Should Know About EGR Valves
5 min read -
How to Test Your PCV Valve
6 min read -
Buying the Best Portable Car Battery Jump Starter
6 min read -

An Introduction to Cleaning Fuel Injectors
5 min read -

A Deep-Dive Guide to Ignition Wires
7 min read -

How to Replace Engine Mounts
4 min read -
The Right Tools to Clean Your Fuel Injectors
6 min read -

How Do Ignition Coils Work?
5 min read -
What to Consider When Buying a Car Battery
6 min read -

How to Jump Start a Car
9 min read -

Spark Plugs 101
7 min read -
When to Replace Your Drive Belt
6 min read -
Fuel Pumps and How They Work
8 min read -
What to Know About Your Vehicle's Throttle Body
6 min read -
Everything You Need to Know About Fuel Filters
6 min read -

How to Buy the Right Ignition Coils
7 min read -
How to Buy the Right O2 Sensor
5 min read -

How to Replace a Serpentine Belt Tensioner
4 min read -
When to Replace Your Engine Air Filter
5 min read -

How to Replace an Oxygen Sensor
5 min read -
How to Buy the Right Timing Belt and Related Tools
5 min read -

How to Buy the Right Car Distributor
6 min read -

An Intro to Jump-Starting Your Car Battery
-

Timing Belts 101
5 min read -

How to Replace an Engine Air Filter
5 min read -
How to Buy the Right Exhaust Manifold Gasket
6 min read -

How to Choose the Best Spark Plugs
5 min read -
SBJ 1.2 Test Prod - Change a Car Battery Shari
6 min read -

How to Replace a Car Starter
7 min read -

What You Should Know About O2 Sensors
6 min read -
How to Buy the Right Valve Cover Gasket
4 min read -

How to Replace a Distributor Cap and Rotor
5 min read -
When to Replace Your Car’s Battery
5 min read -

Understanding Your Car's Idler Pulley
4 min read -

How to Replace a Fuel Filter
7 min read -

How to Replace a PCV Valve
6 min read -
Do You Have a Faulty Mass Air Flow Sensor?
4 min read -
Everything You Need to Know About Car Starters
7 min read -

How to Replace an Exhaust Gasket
9 min read -

Ignition Wire Buying Guide
6 min read -

All About Your Distributor Cap and Rotor
7 min read -

How to Replace a Throttle Body
6 min read -

Spotting Intake Manifold Gasket Problems
7 min read -

How to Change Oil in a Car
8 min read -
How to Buy the Best MAF Sensor
4 min read -

How to Replace an Alternator
11 min read -

How to Replace an EGR Valve
5 min read -

How to Change an In-Tank Fuel Pump
9 min read
Explore more projects

How to Repair a Chipped Windshield
1 to 2 hours
Beginner
7 min read

How to Replace Brake Fluid
1 to 2 hours
Beginner
10 min read

How to Replace a Radiator Hose
Less than 30 minutes
Beginner
5 min read

How to Replace Brake Rotors
1 to 2 hours
Beginner
7 min read
How to Replace a Serpentine Belt Tensioner
Less than 30 minutes
Beginner
4 min read
How to Replace a Drive Belt
Less than 30 minutes
Beginner
5 min read

How to Rotate Your Tires
30 to 60 minutes
Beginner
5 min read

How to Refill Windshield Washer Fluid
Less than 30 minutes
Beginner
4 min read
How to Replace an Oxygen Sensor
30 to 60 minutes
Beginner
5 min read

How To Replace Differential Fluid
Less than 30 minutes
Beginner
8 min read

How to Replace Sway Bar End Links and Bushings
30 to 60 minutes
Beginner
6 min read

How to Replace Transmission Fluid and Filter
1 to 2 hours
Beginner
11 min read

How to Change Disc Brake Pads
30 to 60 minutes
Beginner
8 min read

How to Replace a Cabin Air Filter
Less than 30 minutes
Beginner
5 min read
How to Replace a Valve Cover Gasket
Less than 30 minutes
Beginner
7 min read

How to Change Windshield Wipers
Less than 30 minutes
Beginner
3 min read
How to Replace an Engine Air Filter
Less than 30 minutes
Beginner
5 min read
How to Clean Fuel Injectors
1 to 2 hours
Beginner
8 min read

How to Replace Shock Absorbers
30 to 60 minutes
Beginner
8 min read
How to Change a Car Battery
Less than 30 minutes
Beginner
6 min read
Automation How to Change a Car Battery
Less than 30 minutes
Beginner
6 min read
How to Replace a Mass Air Flow (MAF) Sensor
Less than 30 minutes
Beginner
7 min read

How to Replace a Clutch Master Cylinder
1 to 2 hours
Beginner
11 min read

How to Flush and Change Engine Coolant
30 to 60 minutes
Beginner
6 min read
How to Replace a Distributor Cap and Rotor
30 to 60 minutes
Beginner
5 min read

How to Check Tire Pressure and Change a Tire
Less than 30 minutes
Beginner
9 min read
How to Replace a Fuel Filter
30 to 60 minutes
Beginner
7 min read
How to Replace a PCV Valve
30 to 60 minutes
Beginner
6 min read

How to Replace a Brake Caliper
1 to 2 hours
Beginner
7 min read

How to Replace an Idler Pulley
30 to 60 minutes
Beginner
4 min read

How to Change a Headlight Bulb
Less than 30 minutes
Beginner
6 min read
How to Replace an Exhaust Gasket
1 to 2 hours
Beginner
9 min read
How to Replace a Throttle Body
30 to 60 minutes
Beginner
6 min read
How to Change Oil in a Car
Less than 30 minutes
Beginner
8 min read
How to Replace an Alternator
1 to 2 hours
Beginner
11 min read
How to Replace an EGR Valve
30 to 60 minutes
Beginner
5 min read
How to Jump Start a Car
Less than 30 minutes
Beginner
9 min read