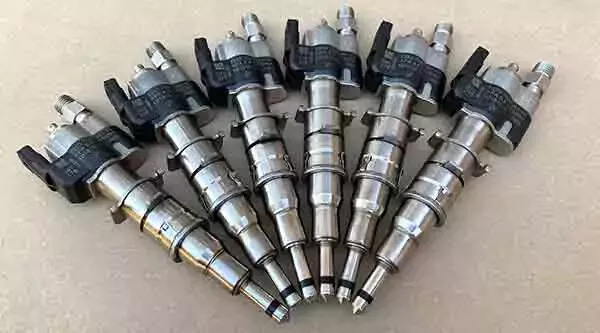
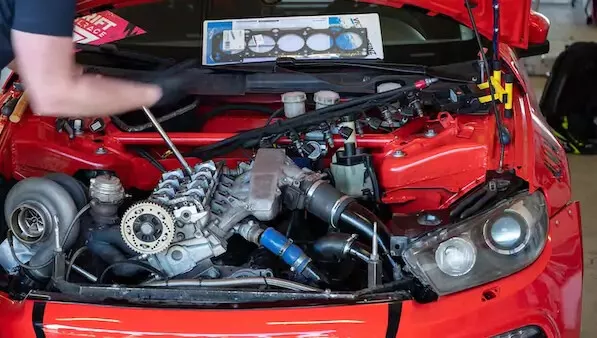
Nearly every vehicle sold since the late 1980s is equipped with electronic fuel injection (EFI). This system uses fuel injectors to squirt the correct amount of fuel into the engine at the right time. When these injectors become clogged with dirt, carbon, and other contaminants, your engine doesn’t run as well as it could.
You should perform preventative maintenance for fuel injection systems every 60,000 to 90,000 miles. In between full-servicing, you can keep your fuel system in top shape with an in-tank fuel additive. These additives help reduce clogs and carbon build-up and lubricate the moving parts. They are good for periodic maintenance, but they don’t clear up clogged injectors. If you have issues such as hard starting, surging, stalling, or loss of power, you likely need a full service.
There are two ways to do a full service: individual injector cleaning and comprehensive in-vehicle cleaning. The focus of this article and video is comprehensive in-vehicle cleaning.
Individual cleaning requires removing the injector from the fuel rail. This can be as simple as removing a couple of bolts, or it can be an hours-long process, depending on how many components are in the way. After the injector is removed, you need to activate it. This is best done with an injector tester, which is powered by a car battery. You also need a can of aerosol injector cleaner with an injector adapter. Kits are available on eBay Motors.
Tips and Tricks
-
A comprehensive in-vehicle fuel injector cleaning bypasses the fuel lines going to the engine. It uses a pressurized tank filled with liquid fuel injector cleaner. This approach cleans the injectors, as well as the fuel rails, intake ports, intake valves, and combustion chamber.
-
We recommend using a fuel-injector cleaning kit, which comes with adapters for various fuel line types and a pressure regulator that connects to an air compressor. A small home compressor will work. The process takes about 20 to 30 minutes.
-
This service is not compatible with diesel and gasoline direct injection (GDI) engines. It could cause damage to diesel or GDI engines. Check your owner’s manual to determine if you have a GDI engine.
-
The service requires running the engine for 20 to 30 minutes. Never run an engine in a closed space.
-
Smoke could appear as the injector cleaner removes carbon from intake valves and piston crowns.
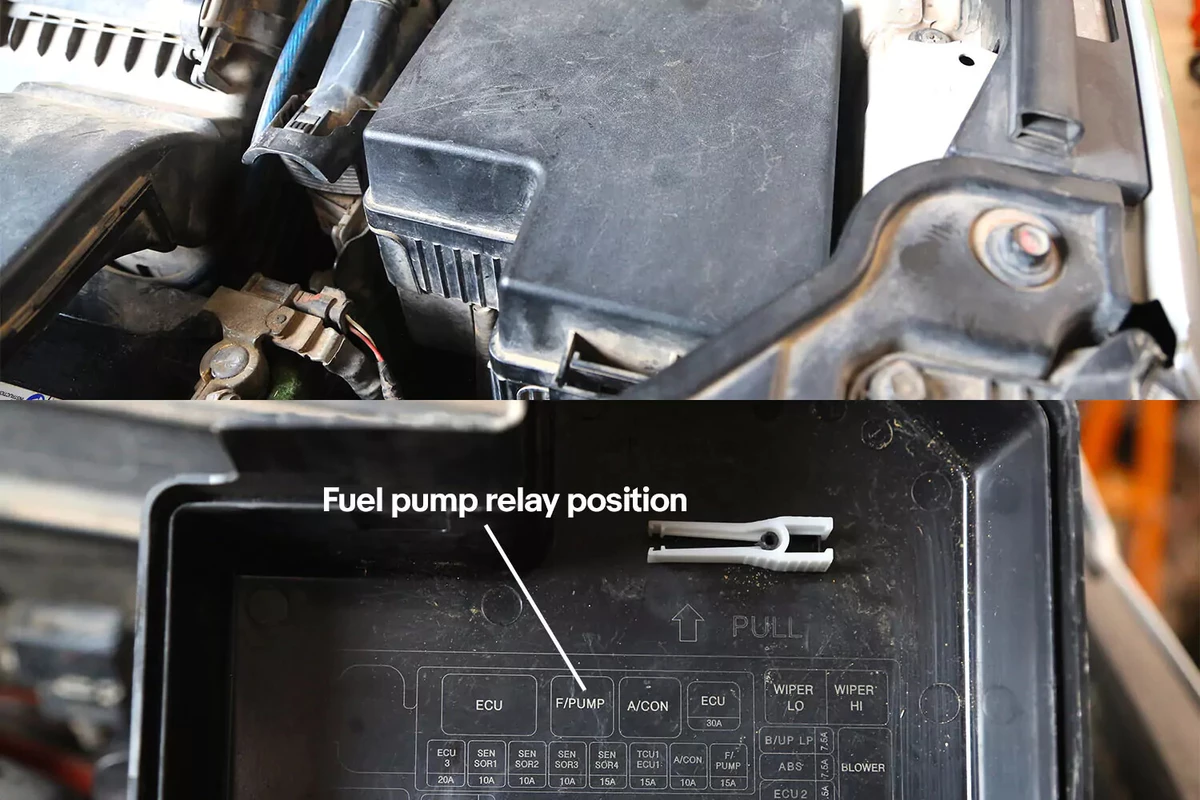
Open the hood to locate the fuse box. It is typically near the battery.
The fuse box lid usually has a diagram to help you locate the fuel pump fuse and relay.

Remove the fuel pump relay. That’s preferred, but you could also remove the fuel pump fuse.
Removing the relay or fuse prevents the fuel pump from operating when you turn on the vehicle.
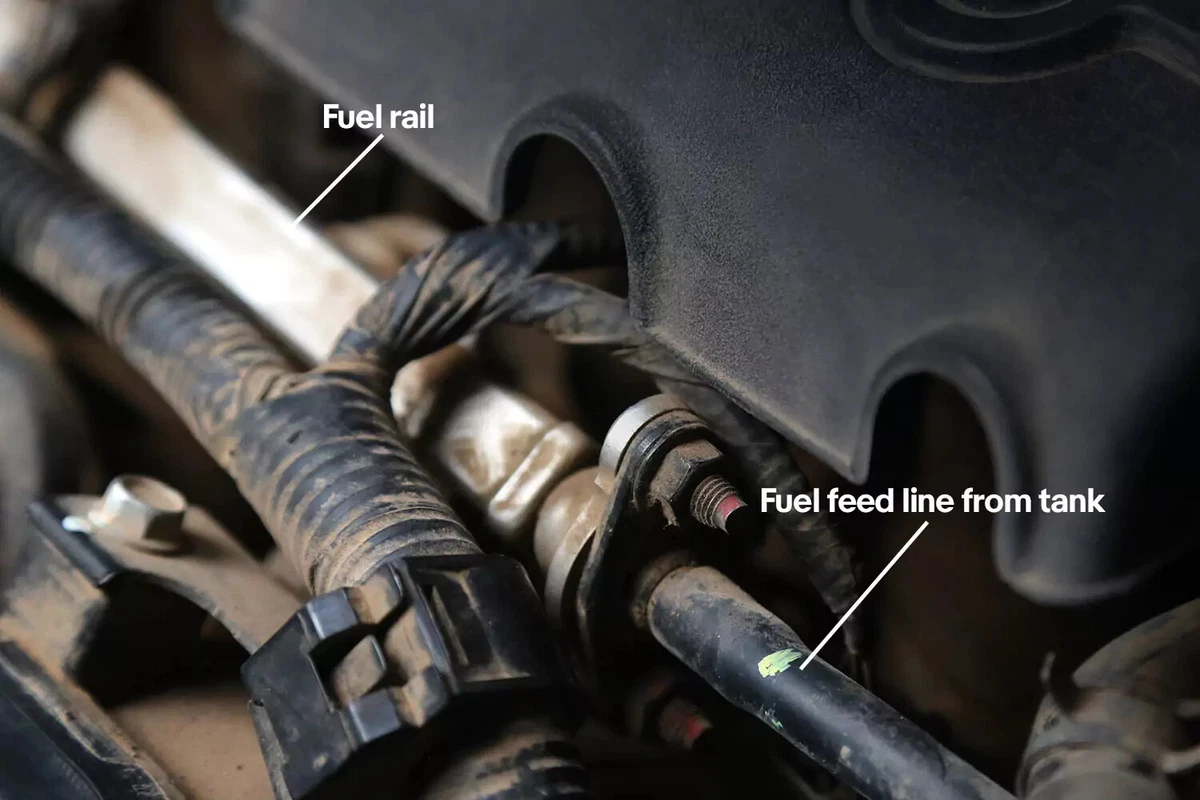
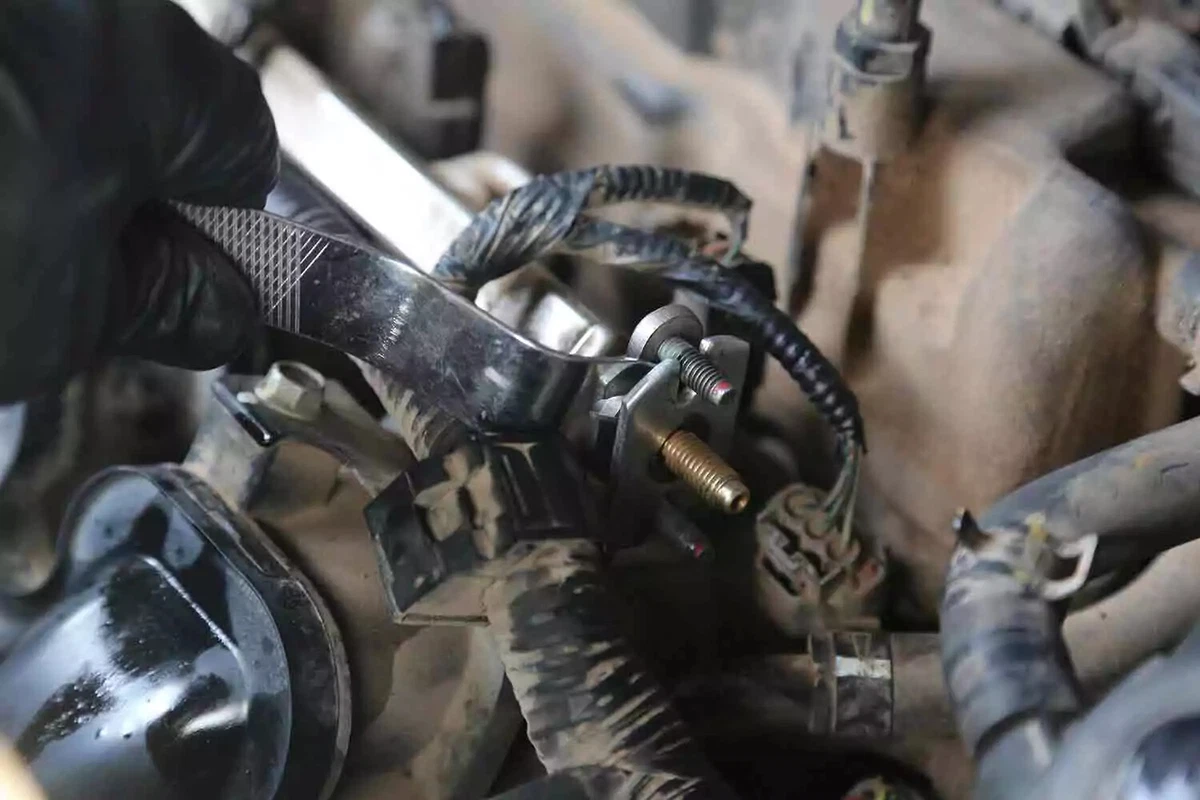
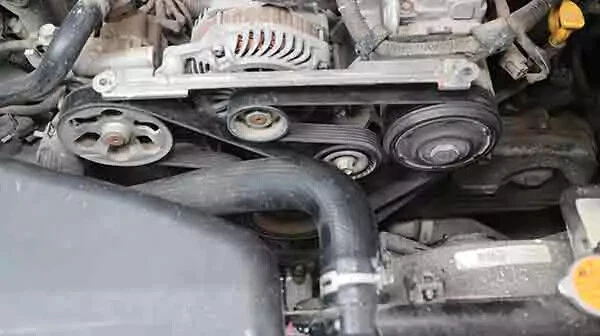
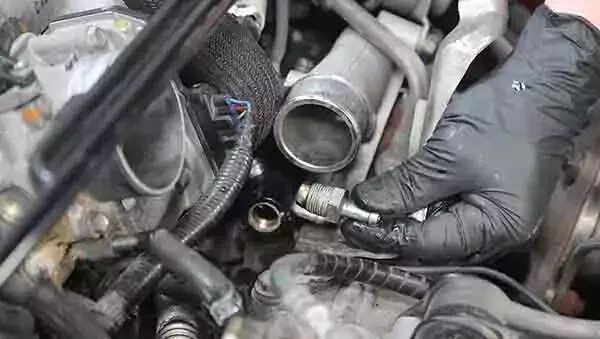
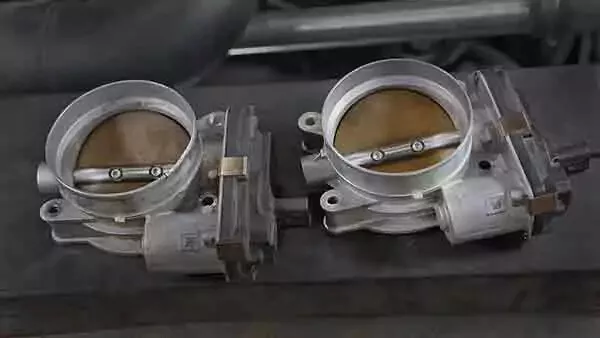
The fuel rails on the engine are typically above the valve covers between the intake manifold and cylinder heads. Our demo vehicle uses two-bolt flanges to connect the fuel lines from the tank to the rail. Most have a quick-connect fitting.
Most engines have two lines on the fuel rail: an input and a return. Disconnect both lines.
Check your vehicle’s repair manual to determine which line is the return and which is the input.
Some vehicles, like our demo vehicle, only have one fuel line that attaches to the fuel rail.
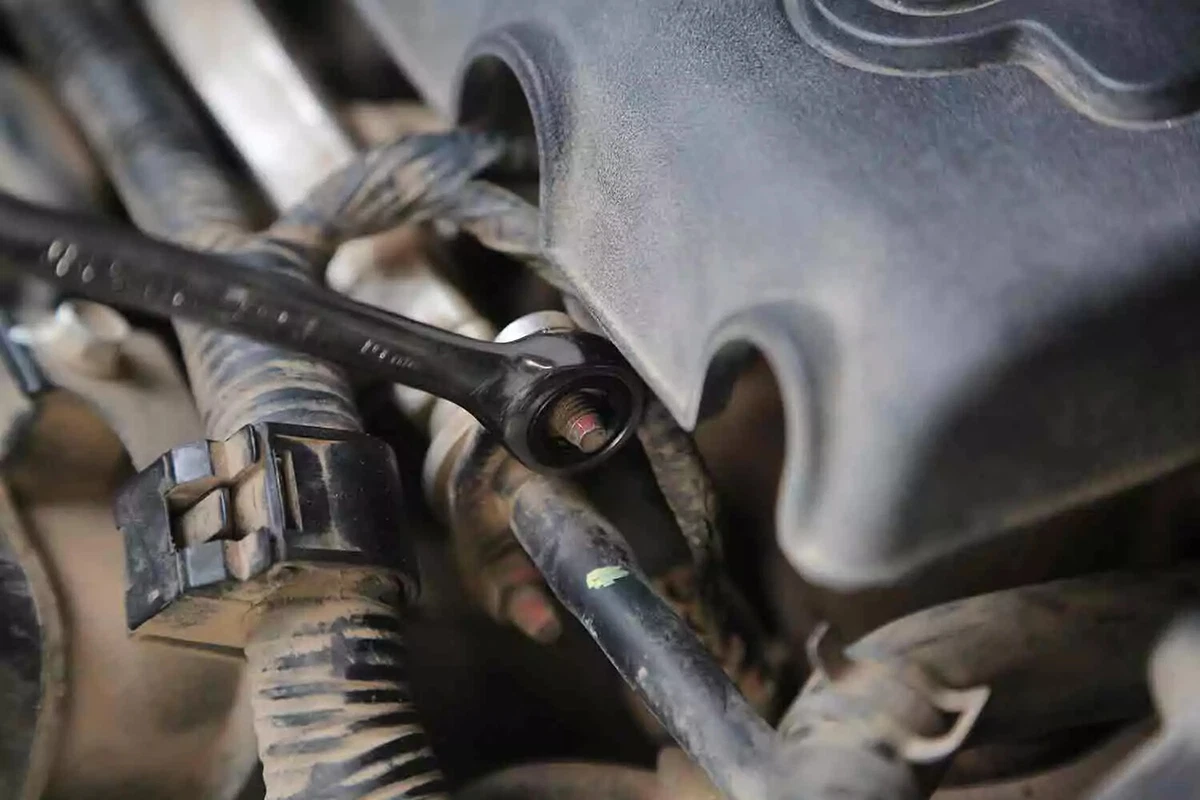
For this step, the vehicle must be completely off. The key should not be in the ignition.
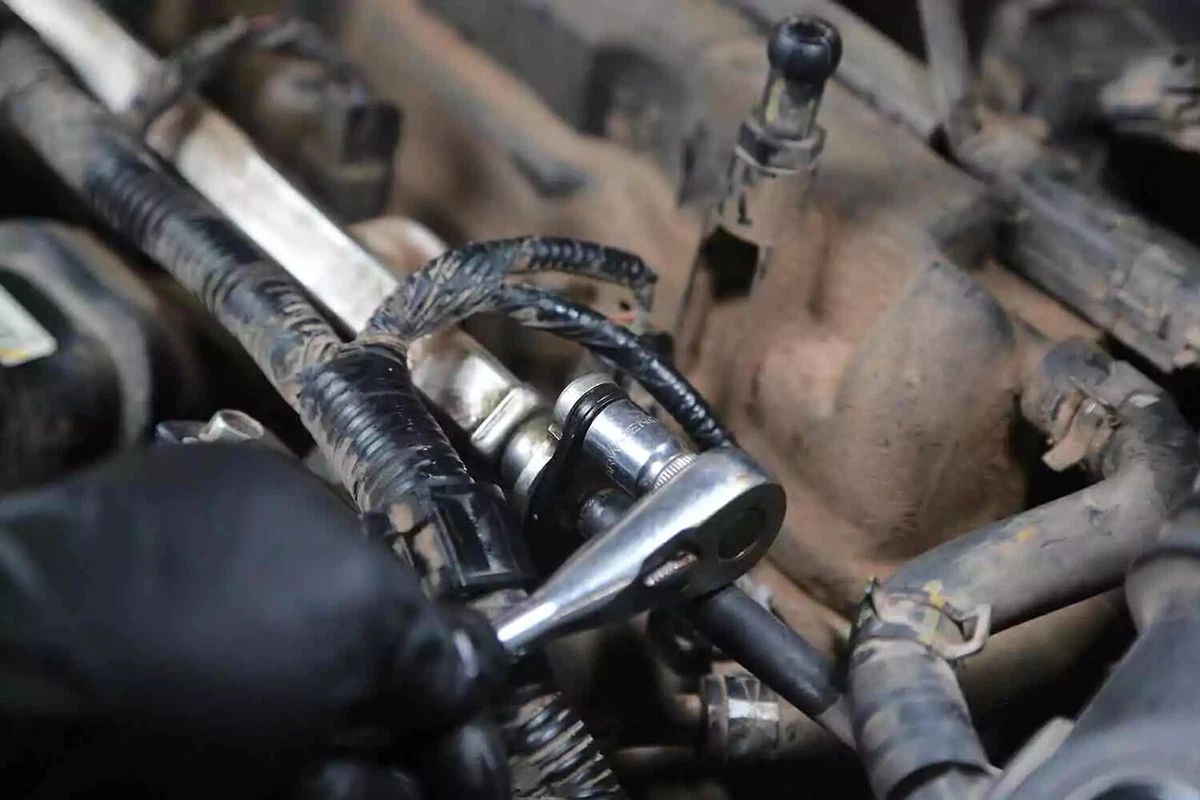
Use a wrench, socket, or disconnect tool to remove the fuel line from the rail.
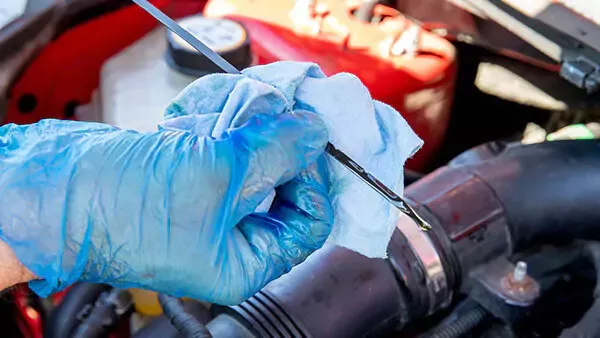
There will probably be residual pressure in the rail from the last time the engine was run. Some engines have a small service valve (like a tire air valve). If so equipped, use a small screwdriver wrapped in a towel to relieve the pressure before disconnecting the line.
Otherwise, loosen the fitting carefully and allow it to purge any pressure. A shop towel placed over the fitting reduces the chances of fuel spray. Also, place a towel under the rail to catch any fuel that comes out.
After the pressure is gone, remove the entire line. Secure it in a safe area where it won’t get caught in the fan belt or radiator fan.
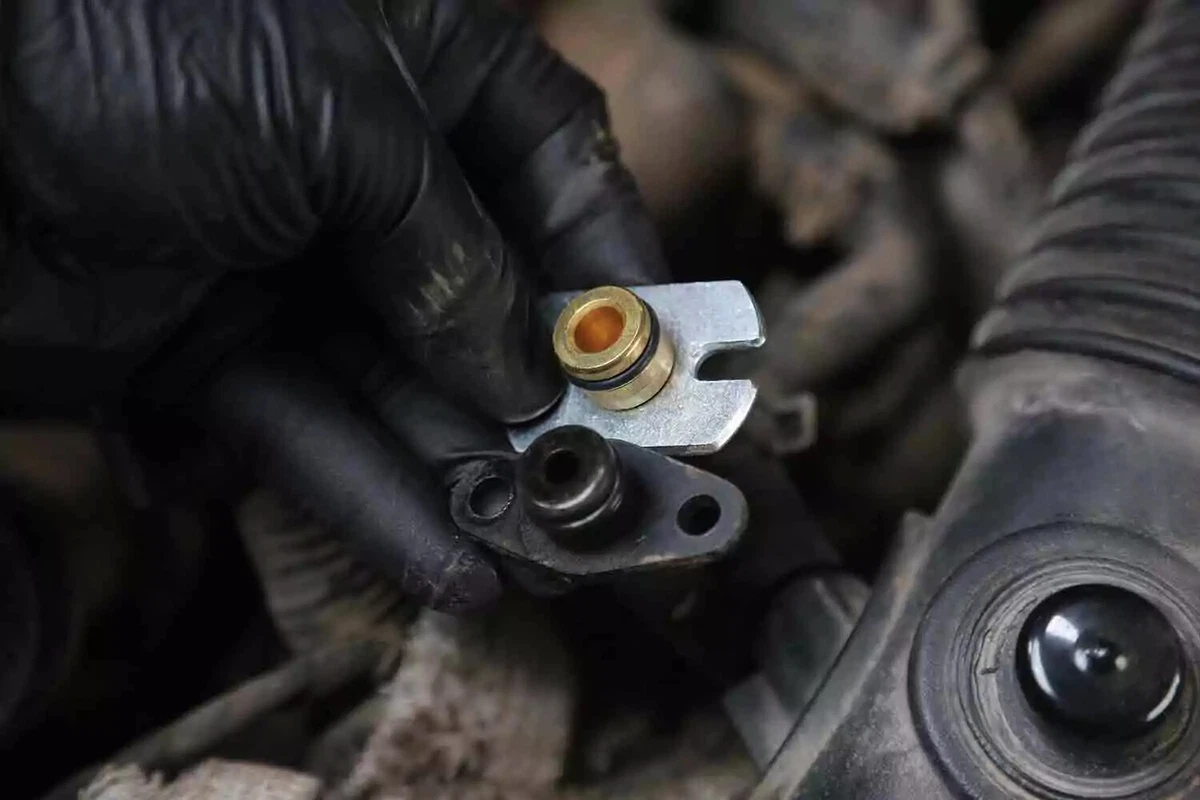
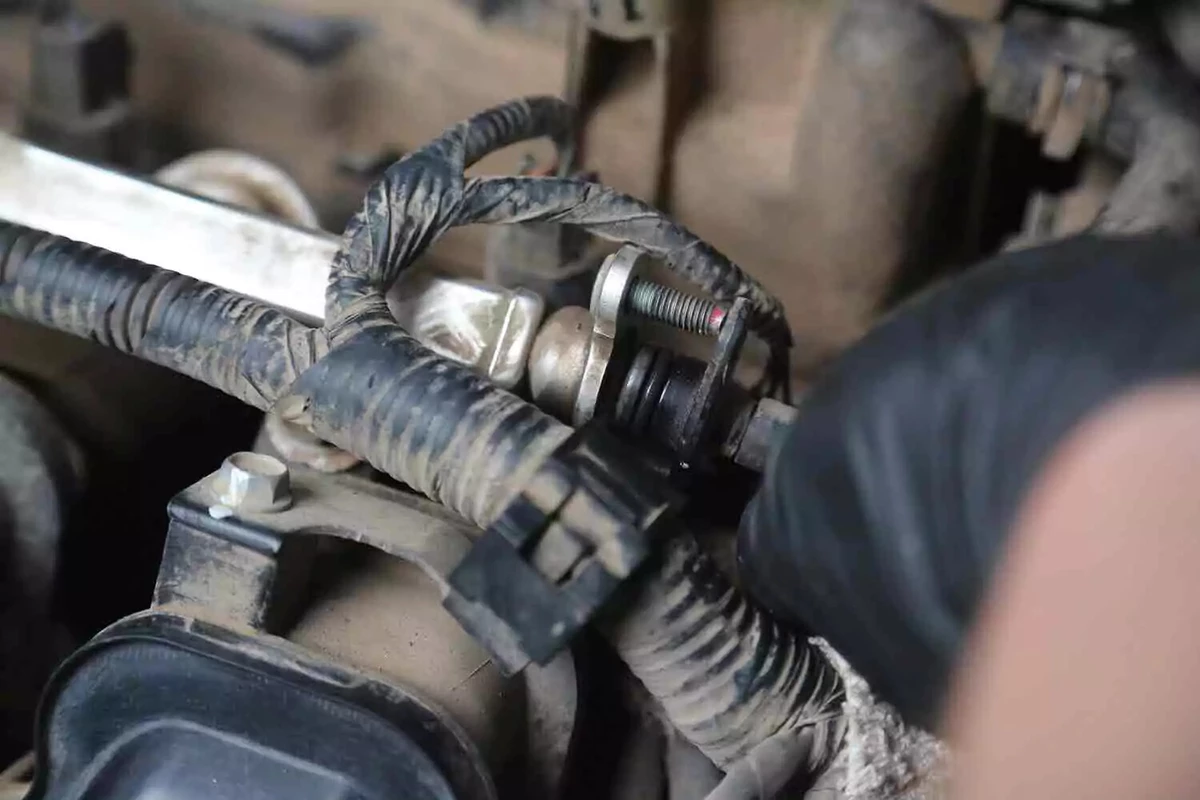
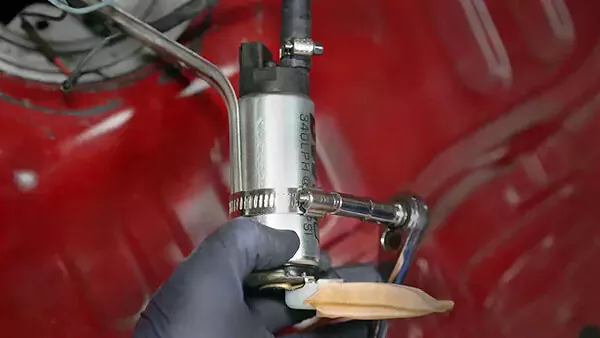
The cleaning kit will come with an assortment of fittings to mate to the car’s fuel rail. Select a fitting that matches your fuel rail. Our demo vehicle uses an O-ring two-bolt flange type.
Apply spray lubricant (or a dab of oil) to the O-ring.
O-rings tear if they are not lubricated.

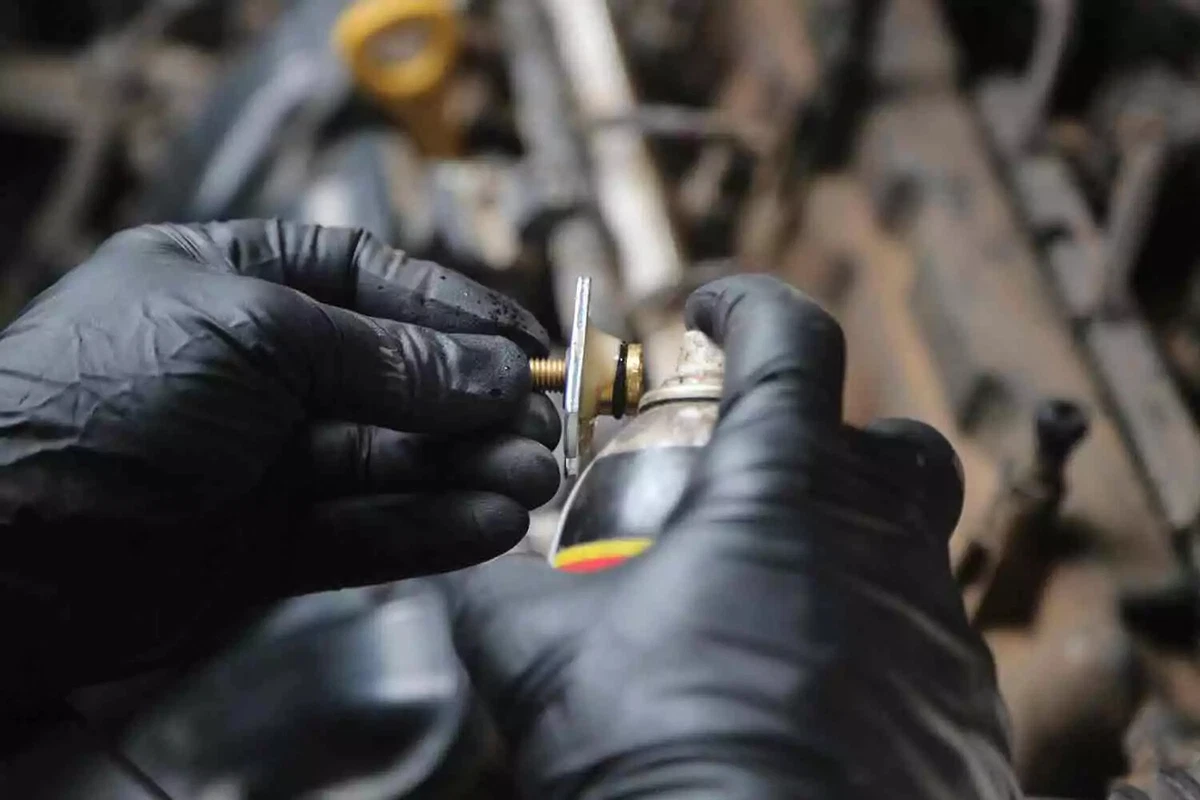
Attach the fitting to the fuel rail, ensuring that it’s fully seated and leak-free.
Tighten the fuel line fitting.

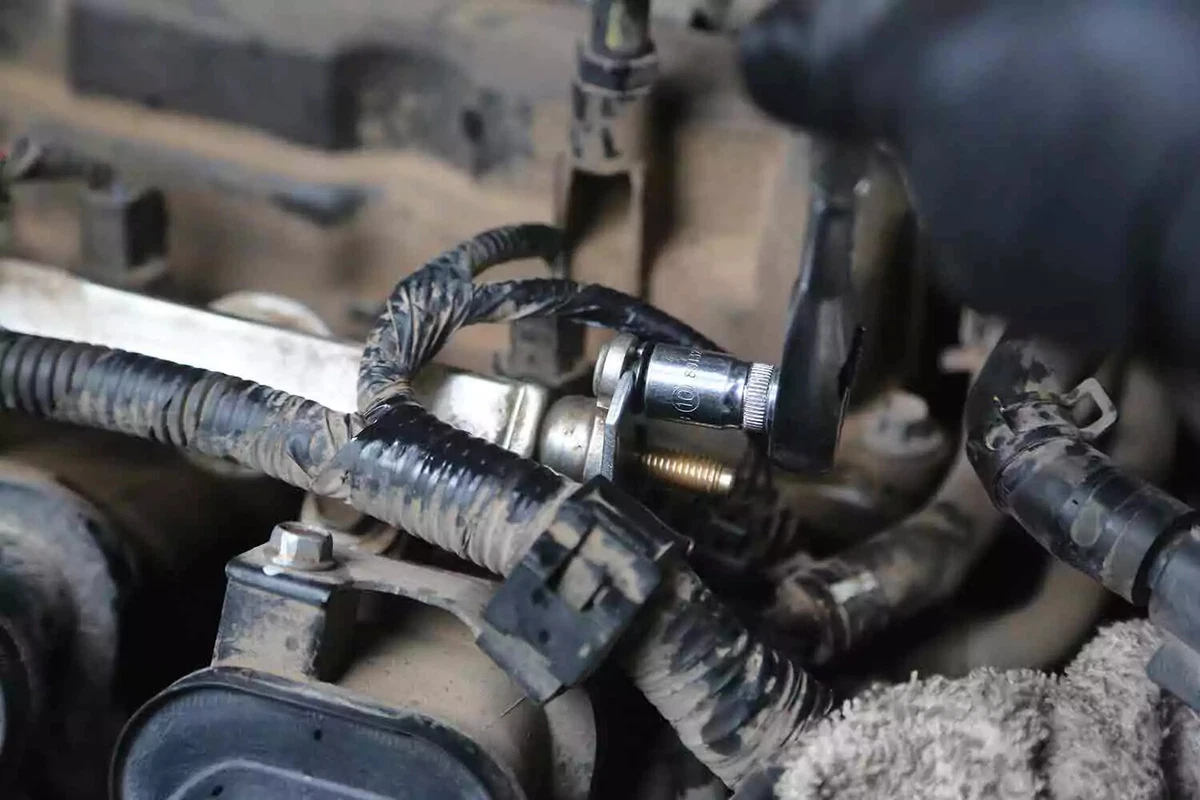
Connect the supply line from the cleaning kit to the fitting. Ensure that it’s threaded all the way on.
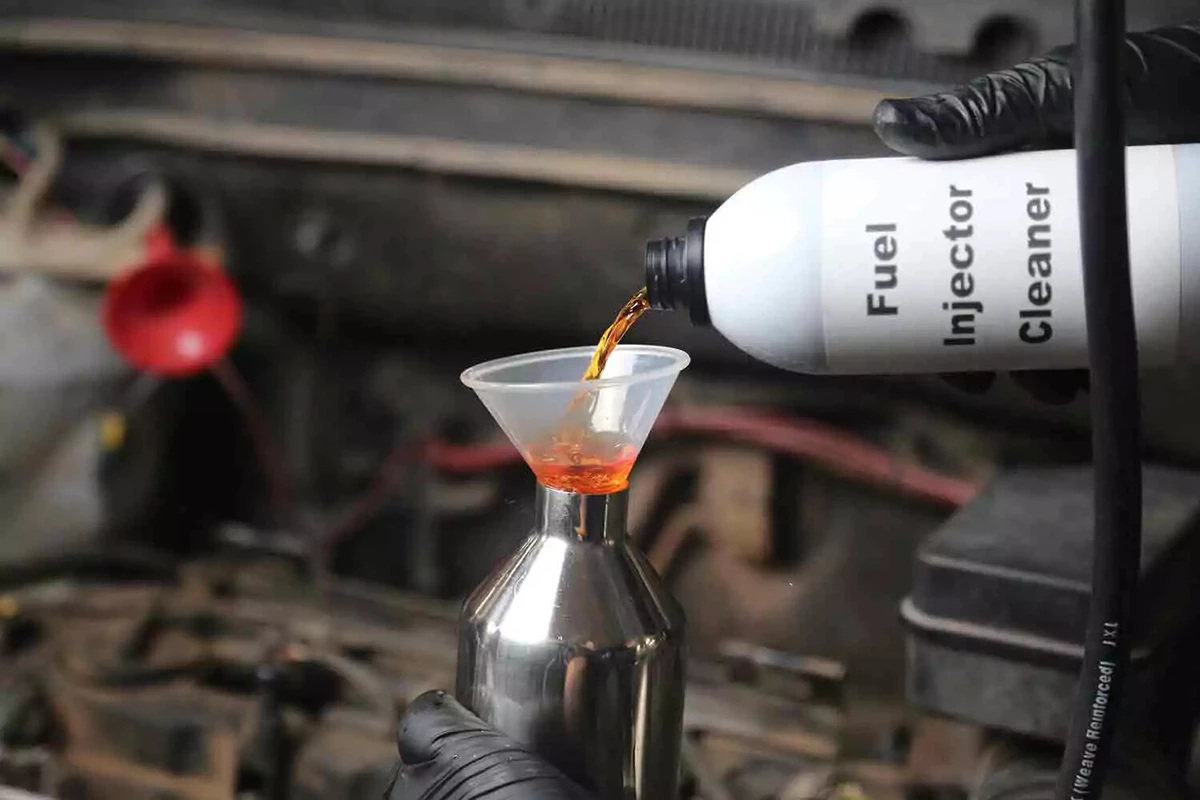
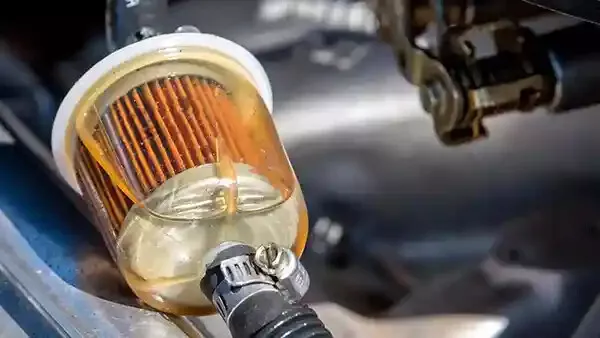
Fill the canister with fuel injector cleaner, which must be a thru-rail cleaner solution, not a gas tank additive type.
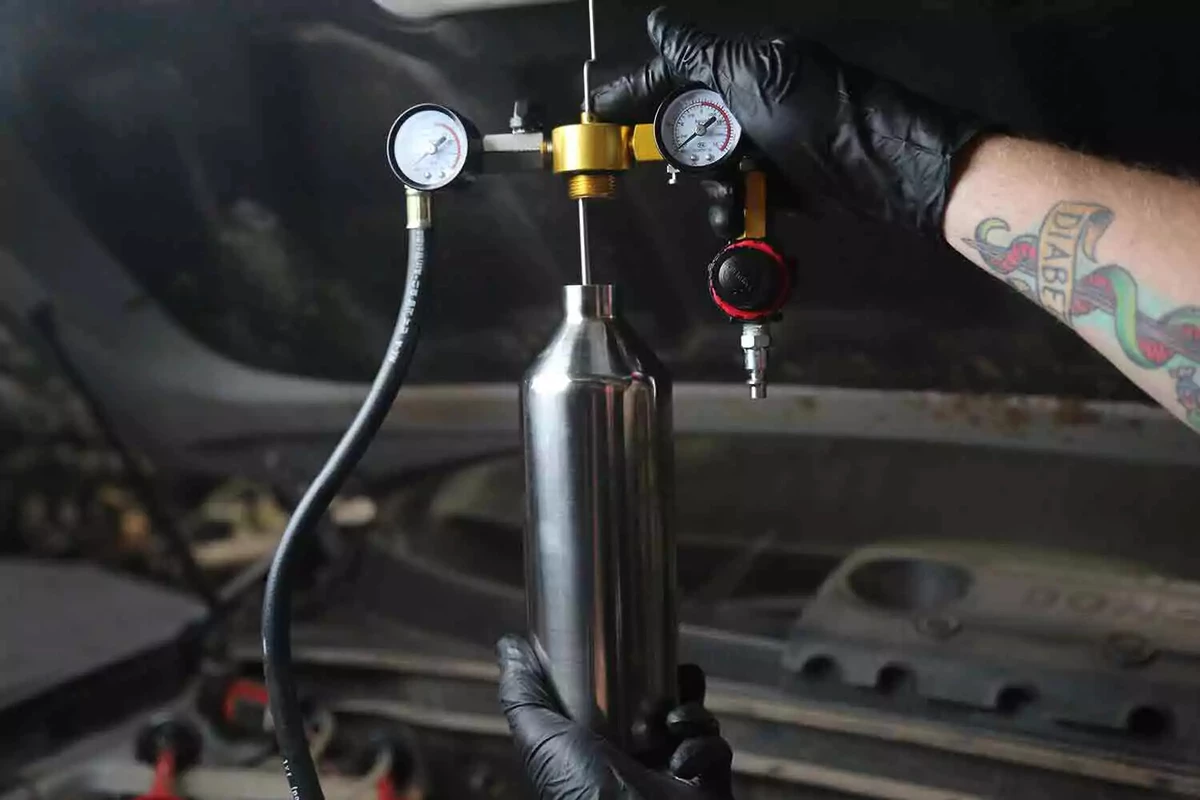
Hang the regulator from the hood. The latch is usually a good location.
Attach the canister to the regulator.
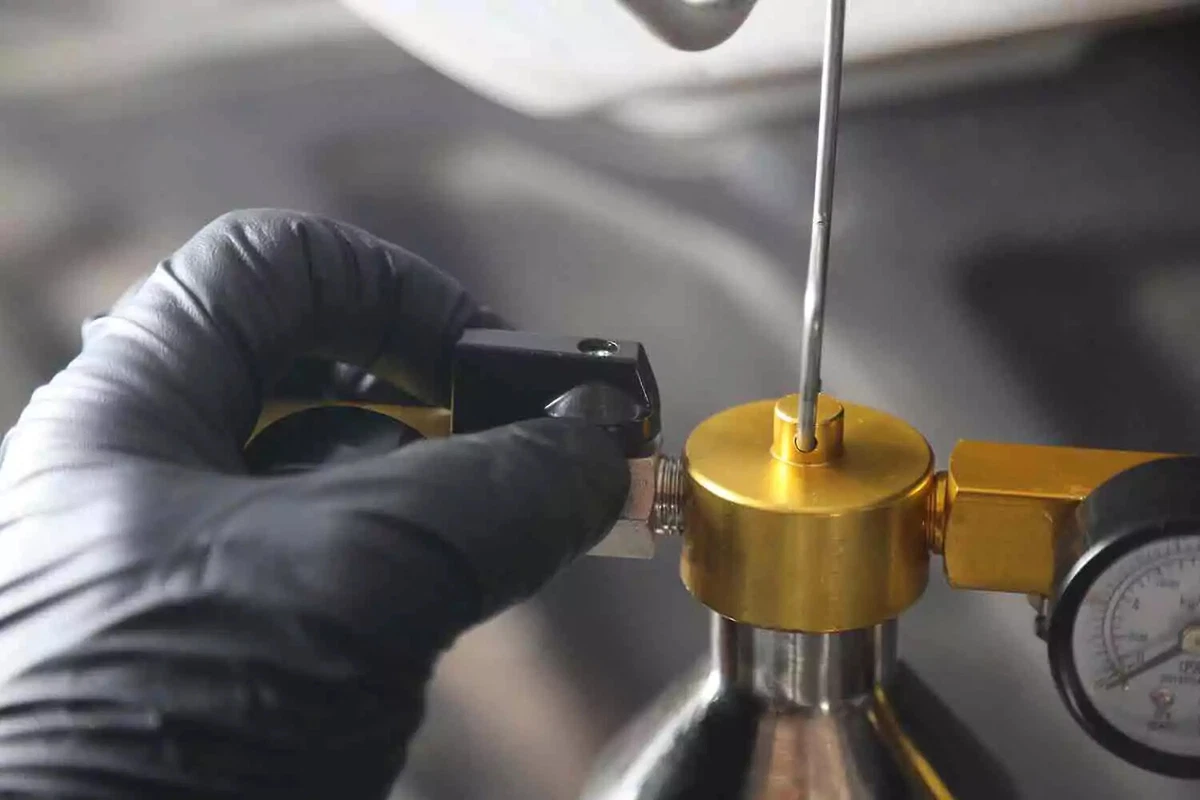
Ensure that the feed line valve is closed. This is important because you do not want pressure to fill the system until you are ready.
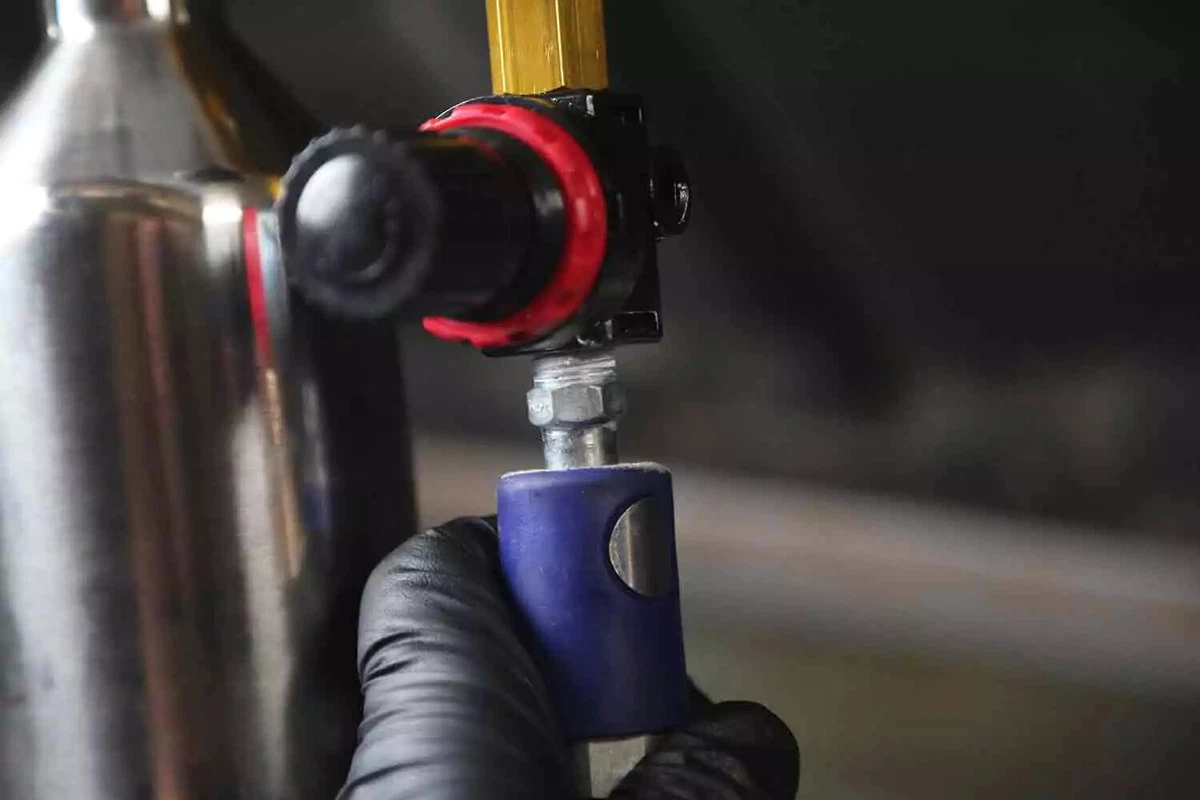
Connect the line from the air compressor to the kit’s regulator. Ensure that the regulator is closed all the way to the “-” symbol on the knob.

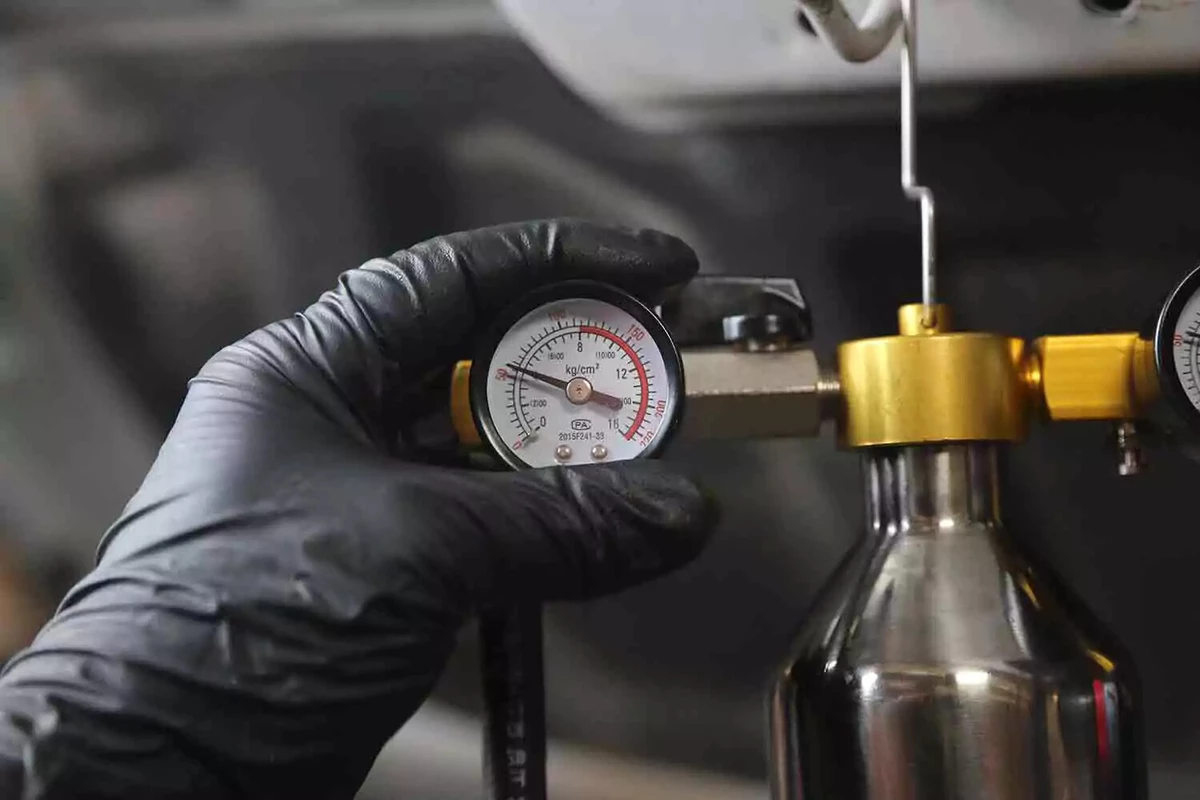
Slowly adjust the regulator pressure to match the vehicle’s required fuel pressure.
Consult your repair manual for the pressure level. Most EFI engines use between 35 and 65 psi. Our demo vehicle requires 45 to 54 psi. Your vehicle’s repair manual should have this pressure on the data page.
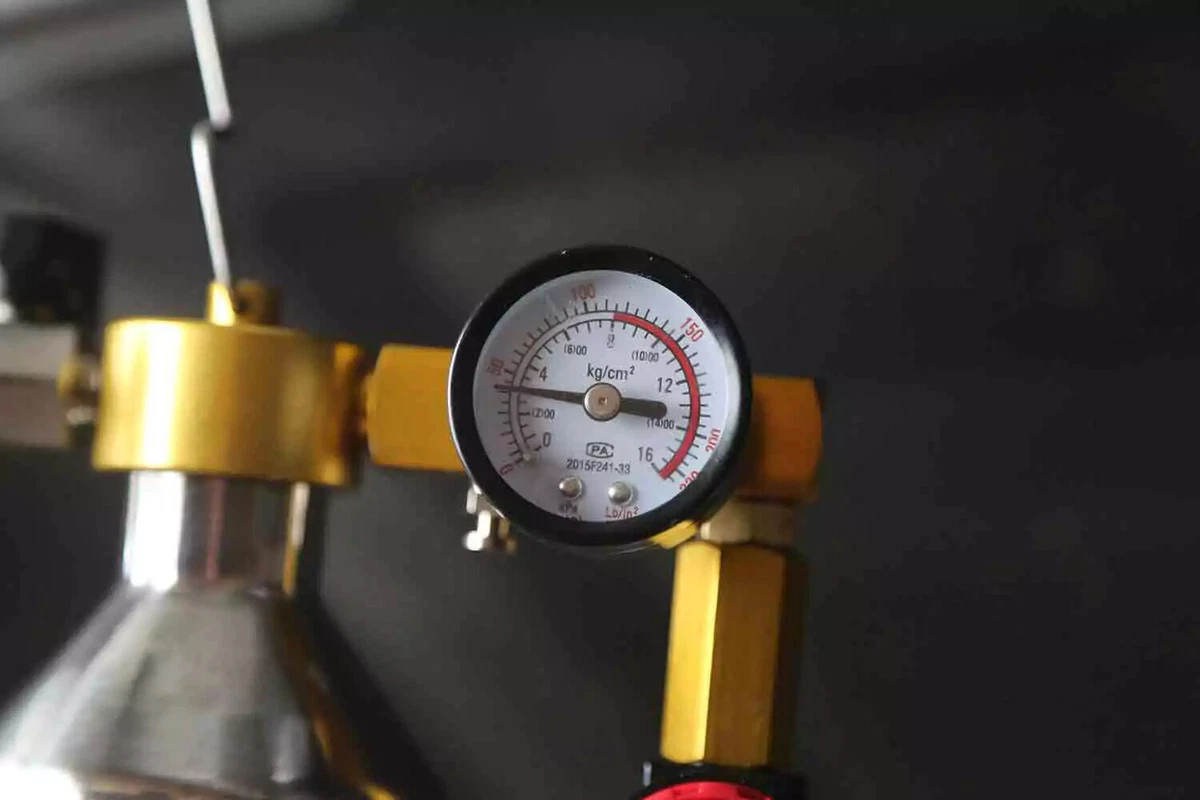
Check the pressure gauge to make sure it’s holding the required pressure. If not, you might have a leak at the connection, liquid tank, or quick-connect fitting.
Slowly open the feed-line valve. Verify there are no leaks and that the pressure matches the input pressure.

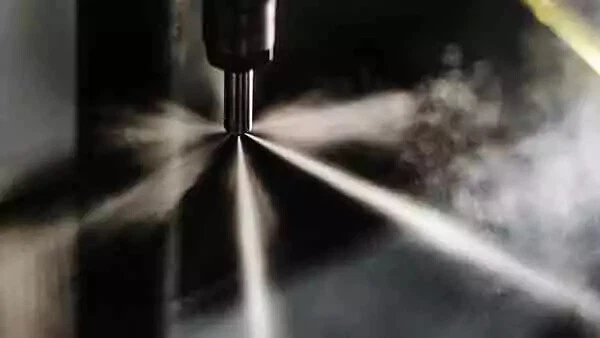
Start the engine. The engine now runs strictly on the cleaner in the tank. It’s designed for this purpose.
Allow the engine to run at idle. You can occasionally increase the throttle to about 2,000 rpm for a few seconds. Then, let it return to idle until it consumes all the cleaner in the canister and the vehicle stalls.
This process takes 10 to 15 minutes, depending on your engine size and efficiency. When the engine stalls, turn off the ignition.
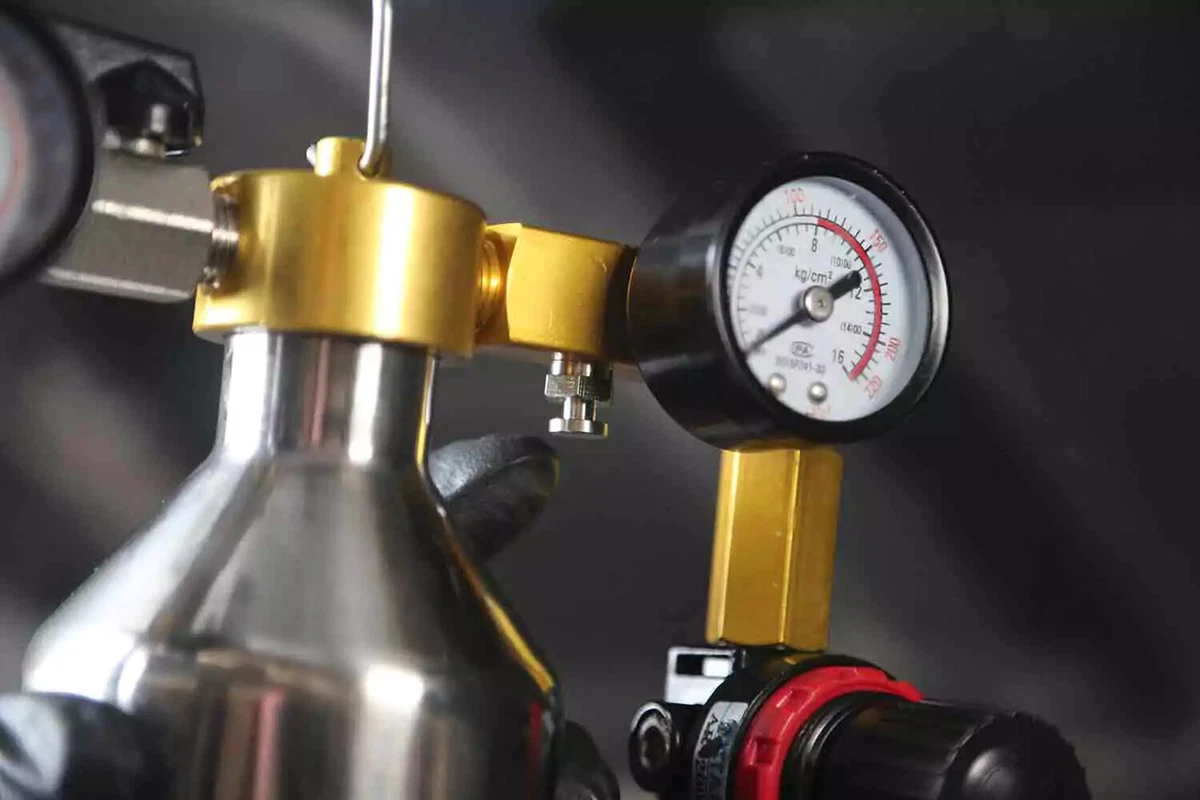
After the engine shuts off, disconnect the air line and hit the purge valve. That’s the silver button below the gauge. This will vent the residual pressure from the tank. Close the fuel line valve.
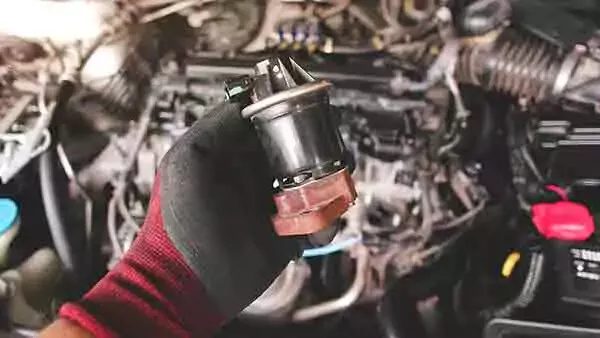
Disconnect the feed line from the fuel rail fitting.
Remove the fuel-line adapter. On our demo vehicle, we used a pry tool to remove the fitting because the O-ring was stubborn. Be careful not to bend any of the components.

We recommended that you install new O-rings on the fuel-line fittings. This will help ensure a leak-free seal. Lube the new O-ring with grease or engine oil.
Reinstall the fuel line. Reinstall the fuel pump relay and fuse.
About the author

Share your feedback
This article is meant to provide general guidance only. Automotive maintenance, repair, upgrade, and installation may depend on vehicle-specifics such as make and model. Always consult your owner's manual, repair guide for specific information for your particular vehicle and consider a licensed auto-care professional's help as well, particularly for advance repairs.
Recommended for you
Find answers and inspiration-
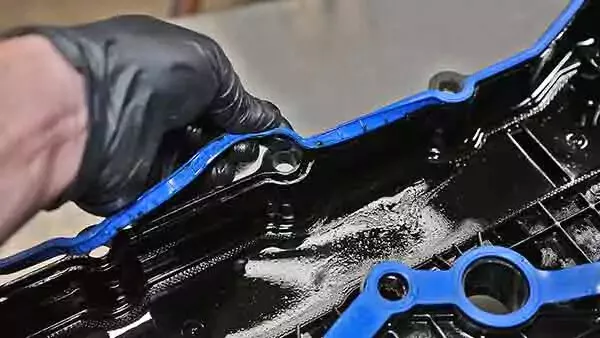
A Quick Guide to Valve Cover Gaskets
6 min read -
When to Replace Your Exhaust Manifold Gasket
6 min read -

How to Replace an Ignition Coil
6 min read -
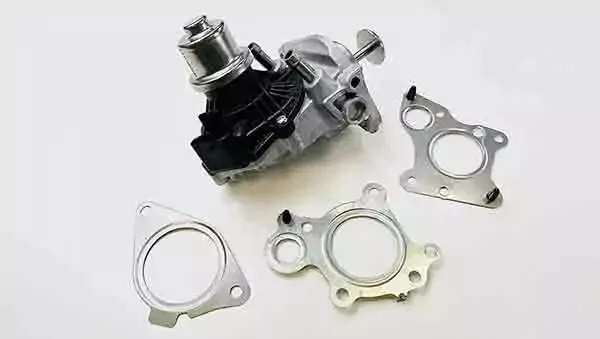
How to Buy the Right EGR Valve and Gasket
6 min read -

Your Complete Idler Pulley Buying Guide
5 min read -

Buying the Right Distributor Cap and Rotor
4 min read -
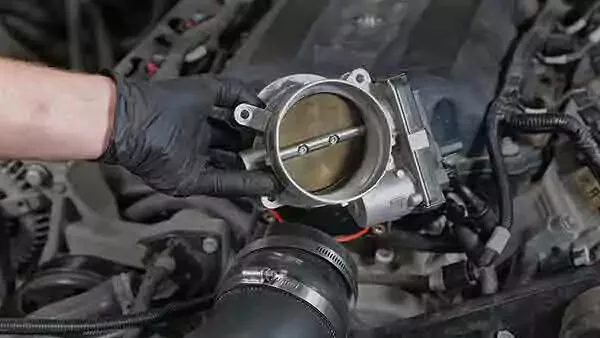
How to Buy the Right Throttle Body
5 min read -

How to Replace a Drive Belt
5 min read -

How to Replace an Intake Manifold Gasket
7 min read -
How to Buy the Right Car Starter
5 min read -

How to Replace a Valve Cover Gasket
7 min read -

How to Change a Timing Belt
12 min read -
Diagnosing Your Serpentine Belt and Tensioner
6 min read -
Changing Your Oil: 5 Things to Know
6 min read -

Automation How to Change a Car Battery
6 min read -

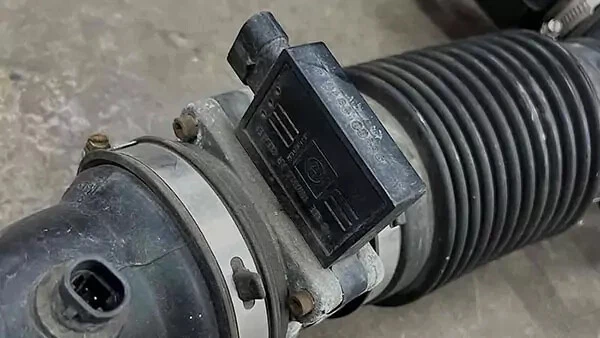
How to Replace a Mass Air Flow (MAF) Sensor
7 min read -

Distributors 101
6 min read -

How to Replace Spark Plugs
7 min read -
Everything You Should Know About EGR Valves
5 min read -
How to Test Your PCV Valve
6 min read -
Buying the Best Portable Car Battery Jump Starter
6 min read -
An Introduction to Cleaning Fuel Injectors
5 min read -

A Deep-Dive Guide to Ignition Wires
7 min read -

How to Replace Engine Mounts
4 min read -
The Right Tools to Clean Your Fuel Injectors
6 min read -

How Do Ignition Coils Work?
5 min read -

Spark Plugs 101
7 min read -
When to Replace Your Drive Belt
6 min read -
Fuel Pumps and How They Work
8 min read -
What to Know About Your Vehicle's Throttle Body
6 min read -
Everything You Need to Know About Fuel Filters
6 min read -

How to Buy the Right Ignition Coils
7 min read -
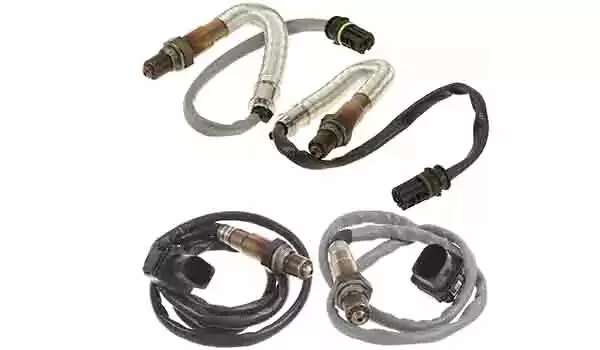
How to Buy the Right O2 Sensor
5 min read -

How to Replace a Serpentine Belt Tensioner
4 min read -
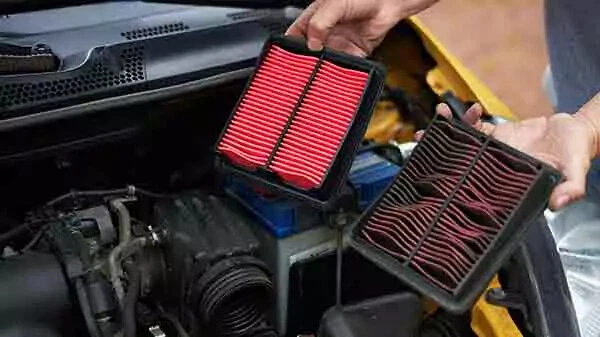
When to Replace Your Engine Air Filter
5 min read -

How to Replace an Oxygen Sensor
5 min read -
How to Buy the Right Timing Belt and Related Tools
5 min read -

How to Buy the Right Car Distributor
6 min read -

Timing Belts 101
5 min read -

How to Replace an Engine Air Filter
5 min read -
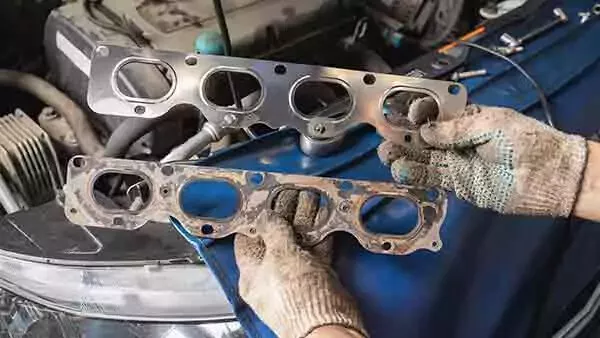
How to Buy the Right Exhaust Manifold Gasket
6 min read -

How to Choose the Best Spark Plugs
5 min read -

How to Replace a Car Starter
7 min read -

What You Should Know About O2 Sensors
6 min read -
How to Buy the Right Valve Cover Gasket
4 min read -

How to Replace a Distributor Cap and Rotor
5 min read -

Understanding Your Car's Idler Pulley
4 min read -

How to Replace a Fuel Filter
7 min read -

How to Replace a PCV Valve
6 min read -
Do You Have a Faulty Mass Air Flow Sensor?
4 min read -
Everything You Need to Know About Car Starters
7 min read -

How to Replace an Exhaust Gasket
9 min read -

Ignition Wire Buying Guide
6 min read -

All About Your Distributor Cap and Rotor
7 min read -

How to Replace a Throttle Body
6 min read -

Spotting Intake Manifold Gasket Problems
7 min read -

How to Change Oil in a Car
8 min read -
How to Buy the Best MAF Sensor
4 min read -

How to Replace an EGR Valve
5 min read -

How to Change an In-Tank Fuel Pump
9 min read
Explore more projects

How to Repair a Chipped Windshield
1 to 2 hours
Beginner
7 min read

How to Replace Brake Fluid
1 to 2 hours
Beginner
10 min read
How to Replace an Ignition Coil
Less than 30 minutes
Beginner
6 min read

How to Replace a Radiator Hose
Less than 30 minutes
Beginner
5 min read

How to Replace Brake Rotors
1 to 2 hours
Beginner
7 min read
How to Replace a Serpentine Belt Tensioner
Less than 30 minutes
Beginner
4 min read
How to Replace a Drive Belt
Less than 30 minutes
Beginner
5 min read

How to Rotate Your Tires
30 to 60 minutes
Beginner
5 min read

How to Refill Windshield Washer Fluid
Less than 30 minutes
Beginner
4 min read
How to Replace an Oxygen Sensor
30 to 60 minutes
Beginner
5 min read

How To Replace Differential Fluid
Less than 30 minutes
Beginner
8 min read

How to Replace Sway Bar End Links and Bushings
30 to 60 minutes
Beginner
6 min read

How to Replace Transmission Fluid and Filter
1 to 2 hours
Beginner
11 min read

How to Replace a Cabin Air Filter
Less than 30 minutes
Beginner
5 min read

How to Change Disc Brake Pads
30 to 60 minutes
Beginner
8 min read
How to Replace a Valve Cover Gasket
Less than 30 minutes
Beginner
7 min read

How to Change Windshield Wipers
Less than 30 minutes
Beginner
3 min read
How to Replace an Engine Air Filter
Less than 30 minutes
Beginner
5 min read

How to Replace Shock Absorbers
30 to 60 minutes
Beginner
8 min read
How to Change a Car Battery
Less than 30 minutes
Beginner
6 min read
Automation How to Change a Car Battery
Less than 30 minutes
Beginner
6 min read
How to Replace a Mass Air Flow (MAF) Sensor
Less than 30 minutes
Beginner
7 min read

How to Replace a Clutch Master Cylinder
1 to 2 hours
Beginner
11 min read

How to Flush and Change Engine Coolant
30 to 60 minutes
Beginner
6 min read
How to Replace a Distributor Cap and Rotor
30 to 60 minutes
Beginner
5 min read

How to Check Tire Pressure and Change a Tire
Less than 30 minutes
Beginner
9 min read
How to Replace a Fuel Filter
30 to 60 minutes
Beginner
7 min read
How to Replace a PCV Valve
30 to 60 minutes
Beginner
6 min read

How to Replace a Brake Caliper
1 to 2 hours
Beginner
7 min read

How to Replace an Idler Pulley
30 to 60 minutes
Beginner
4 min read

How to Change a Headlight Bulb
Less than 30 minutes
Beginner
6 min read
How to Replace an Exhaust Gasket
1 to 2 hours
Beginner
9 min read
How to Replace a Throttle Body
30 to 60 minutes
Beginner
6 min read
How to Change Oil in a Car
Less than 30 minutes
Beginner
8 min read

How to Replace an Alternator
1 to 2 hours
Beginner
11 min read
How to Replace an EGR Valve
30 to 60 minutes
Beginner
5 min read

How to Jump Start a Car
Less than 30 minutes
Beginner
9 min read