Manual transmissions require more maintenance than automatics. Clutch discs, pedal adjustments, and clutch fluid have to be maintained. Fortunately, replacing parts on a manual clutch is less expensive than it is for automatic transmissions. And it’s more DIY-friendly.
Many vehicles built prior to the mid-1980s use a mechanical transmission. A cable or lever arm is directly connected to the clutch pedal. The clutch disc wears over time, so it can be relatively hard to push and requires adjustment. By the early 2000s, most manually shifted vehicles came with a hydraulic clutch.
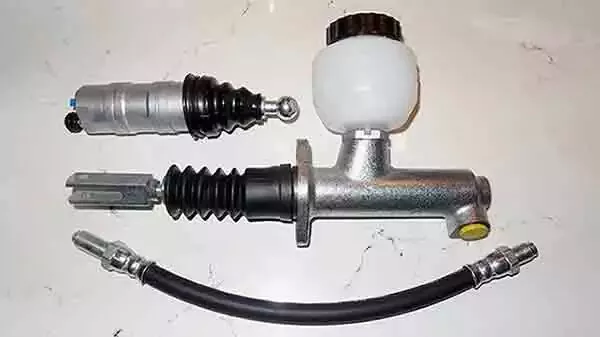
There are two versions of hydraulic-operated clutch systems: a slave cylinder or a hydraulic release bearing (HRB). They use the same pedal mechanism, which is a clutch master cylinder. Regardless of the clutch style, the master cylinder (MC) is the same. Nonetheless, the bleeding process can be easier for HRBs. Some of them are self-bleeding.
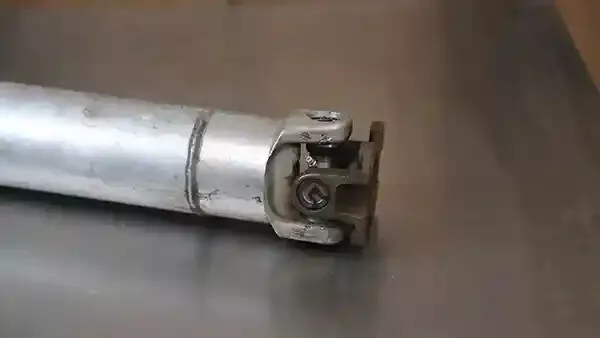
Slave cylinders are similar to wheel cylinders in drum brakes. They have a piston that pushes on the clutch fork to release the clutch disc. This is the style used in our demo vehicle. These are more complicated than HRBs because there are more moving parts.
With HRBs, the clutch fork and actuator mechanisms are replaced by a single hydraulic release bearing that pushes directly on the pressure plate to release the clutch. This is commonly used in modern vehicles, although some new vehicles have slave cylinders.
Besides line wrenches, you don’t need special tools to change a master cylinder. The process is similar to replacing a brake master cylinder. However, the bleeding process is different. While a brake master is pumped during the bleeding process, some clutch masters may aerate the fluid when you pump the pedal repeatedly before releasing the bleeder screw.
Tips and Tricks
-
The master cylinder must be bench-bled before installing it in the vehicle. Most clutch master cylinders do not come with a bleeder kit, so you may need to purchase one. Bleeder kits are reusable.
-
See our detailed guide and video for how to replace a brake master cylinder. - opens in new window or tab. It has useful, relevant information about bleeding brakes.
-
Brake fluid can remove paint. Keep any spills contained. Don’t let gloves contaminated by brake fluid leave fingerprints on painted metal.

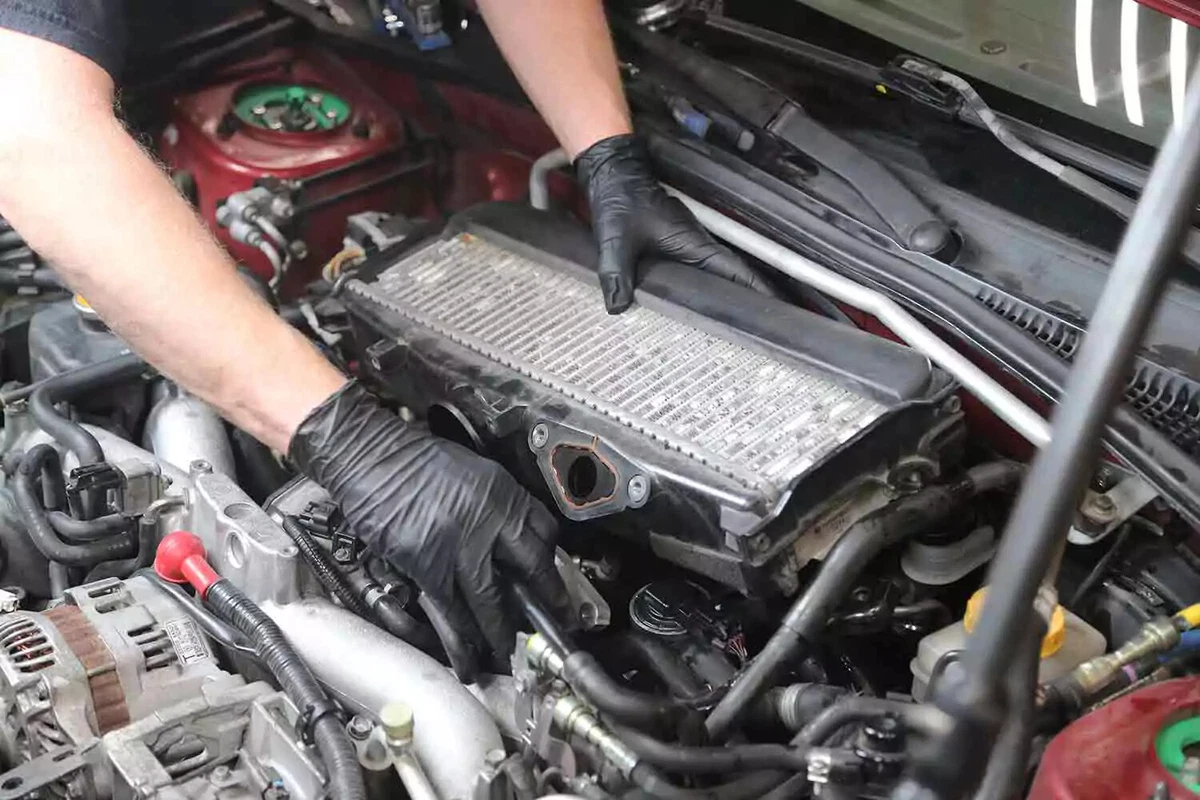
You might have to remove components to access the slave cylinder. Our demo vehicle required removing the intercooler for the turbocharger. The need to remove items is common in smaller, tightly packaged cars.
If your vehicle has an HRB, you can skip this step. The HRB is located in the bellhousing behind the transmission, which should be accessible under the vehicle.
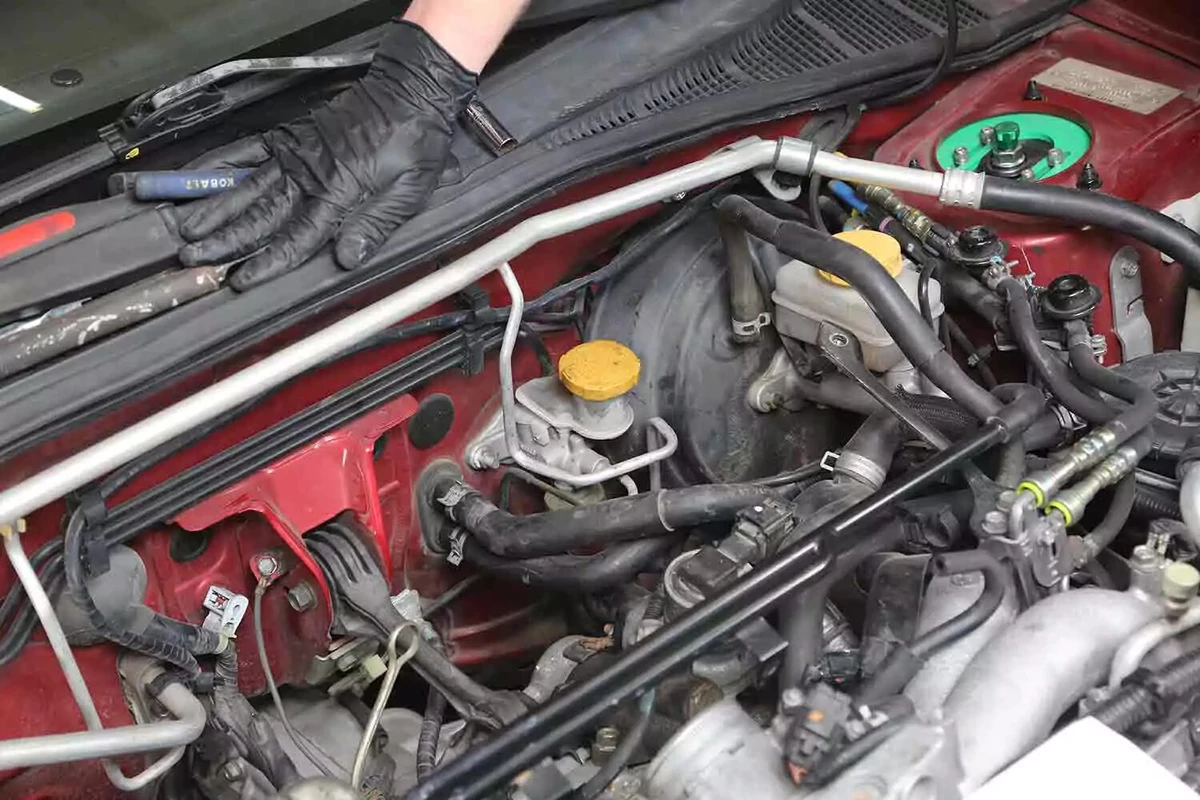
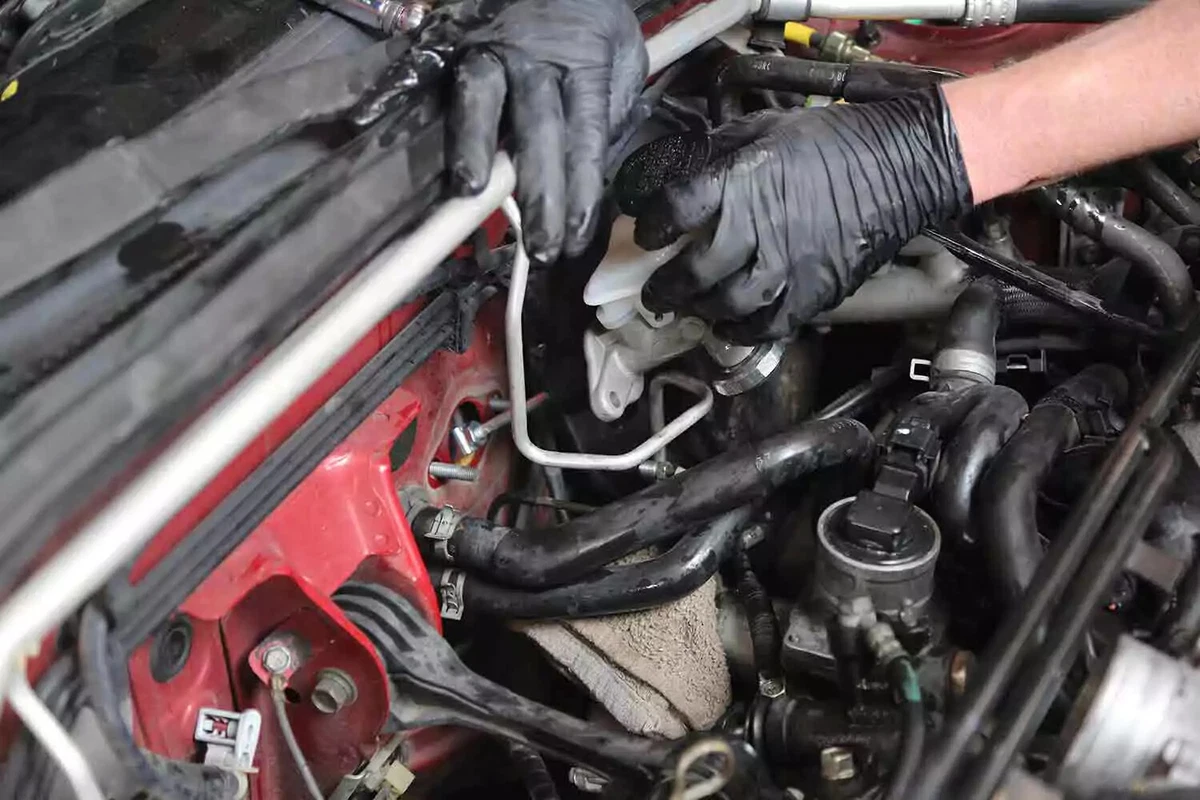
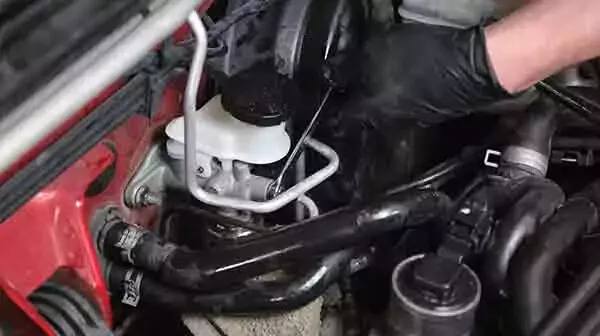
The master cylinder is typically located directly in front of the clutch pedal. On our demo vehicle, the clutch master cylinder is inboard of the brake master cylinder, even though the pedal is on the outside of the brake pedal.
Regardless, the clutch slave has a single hydraulic pipe. The brake master cylinder has several.
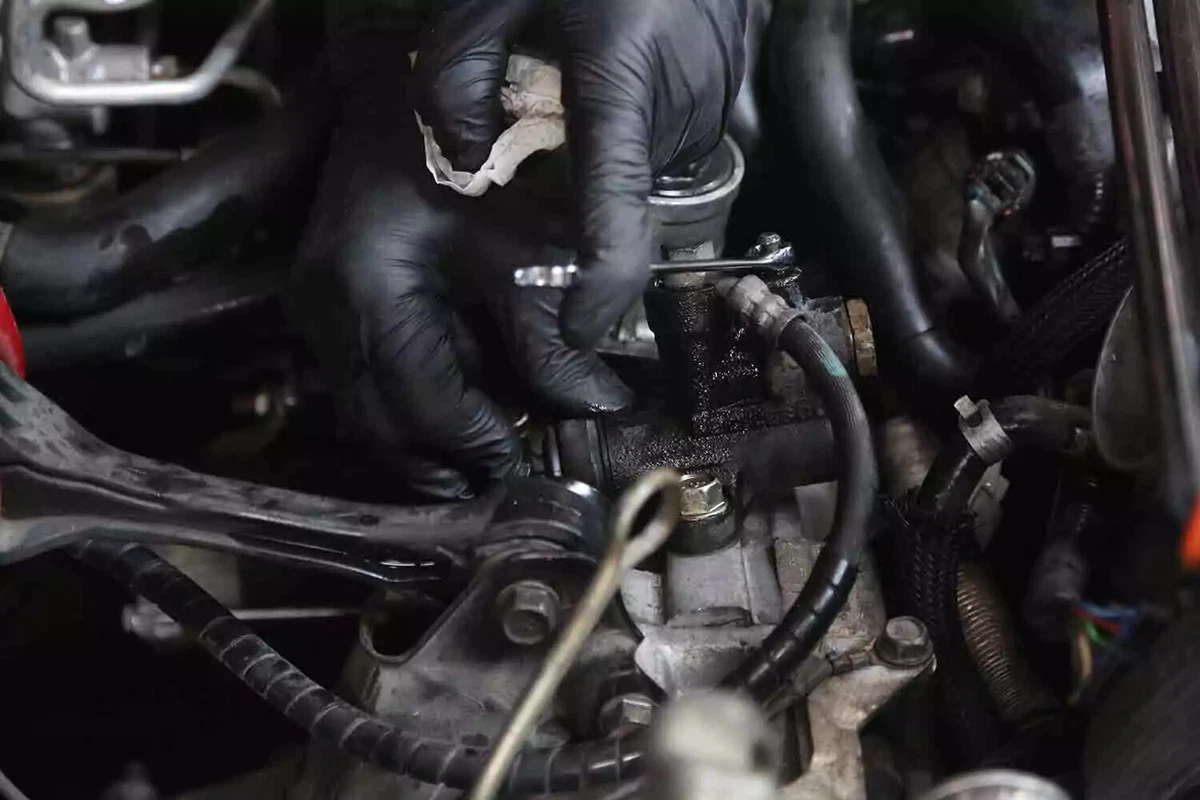
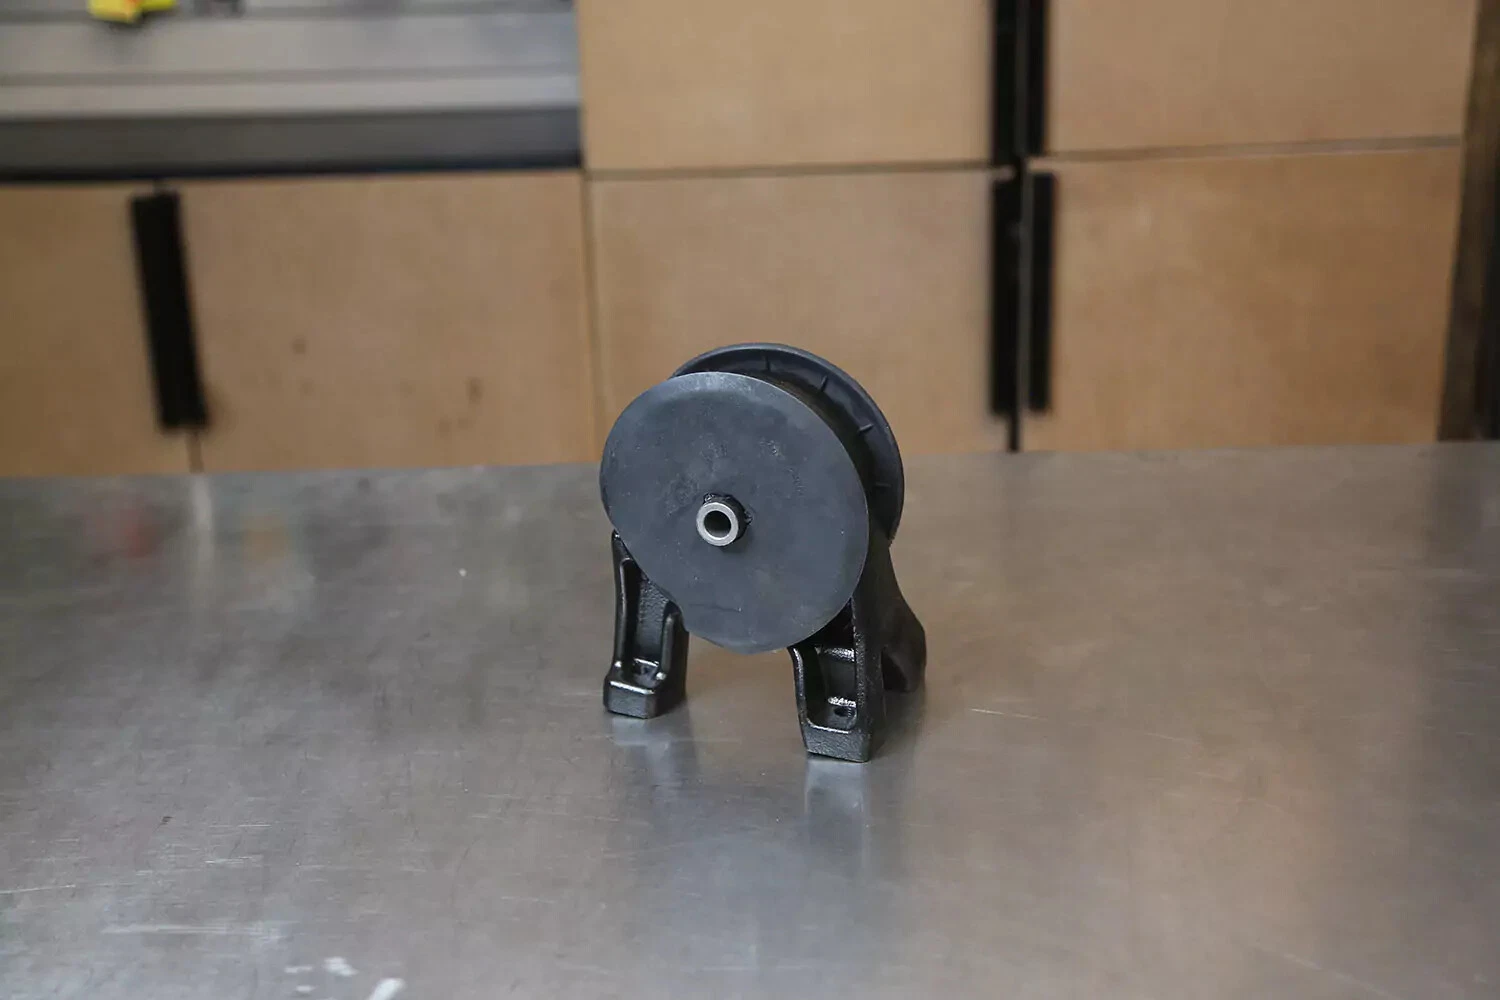
The slave cylinder on our demo vehicle is mounted on the engine block. Most are mounted to the transmission or bellhousing.
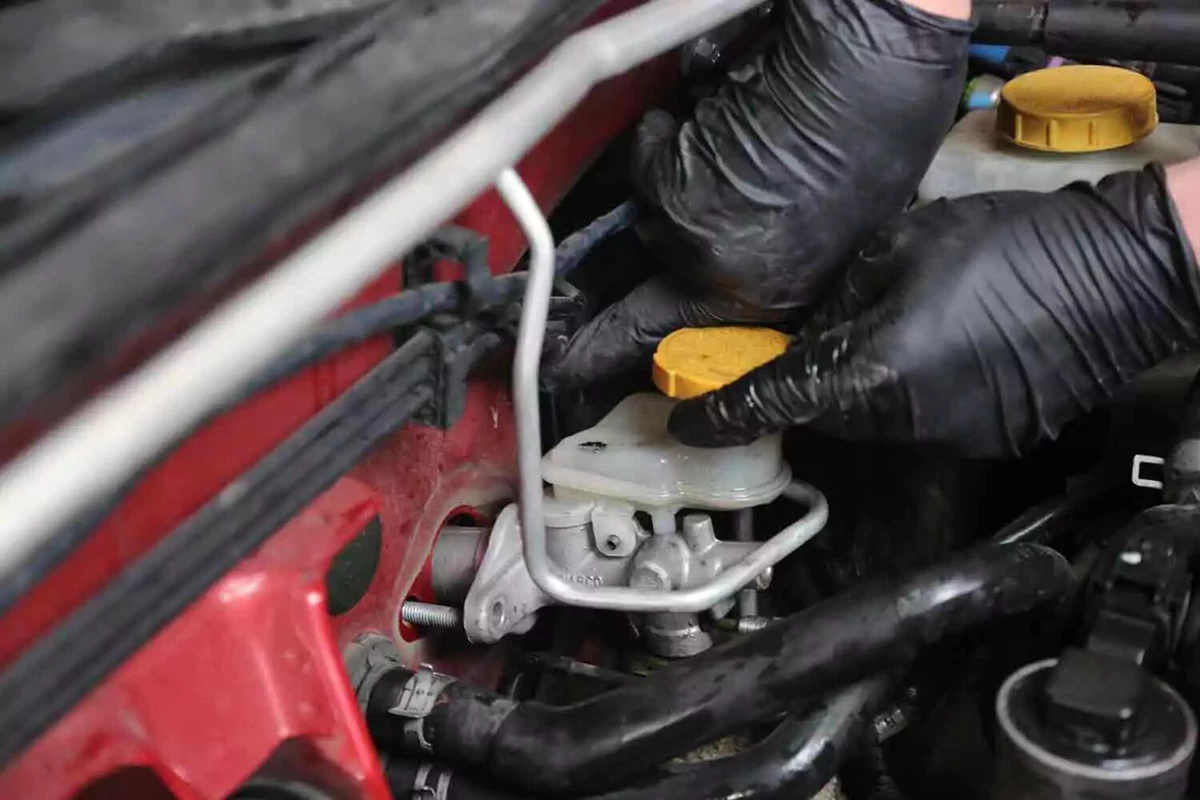
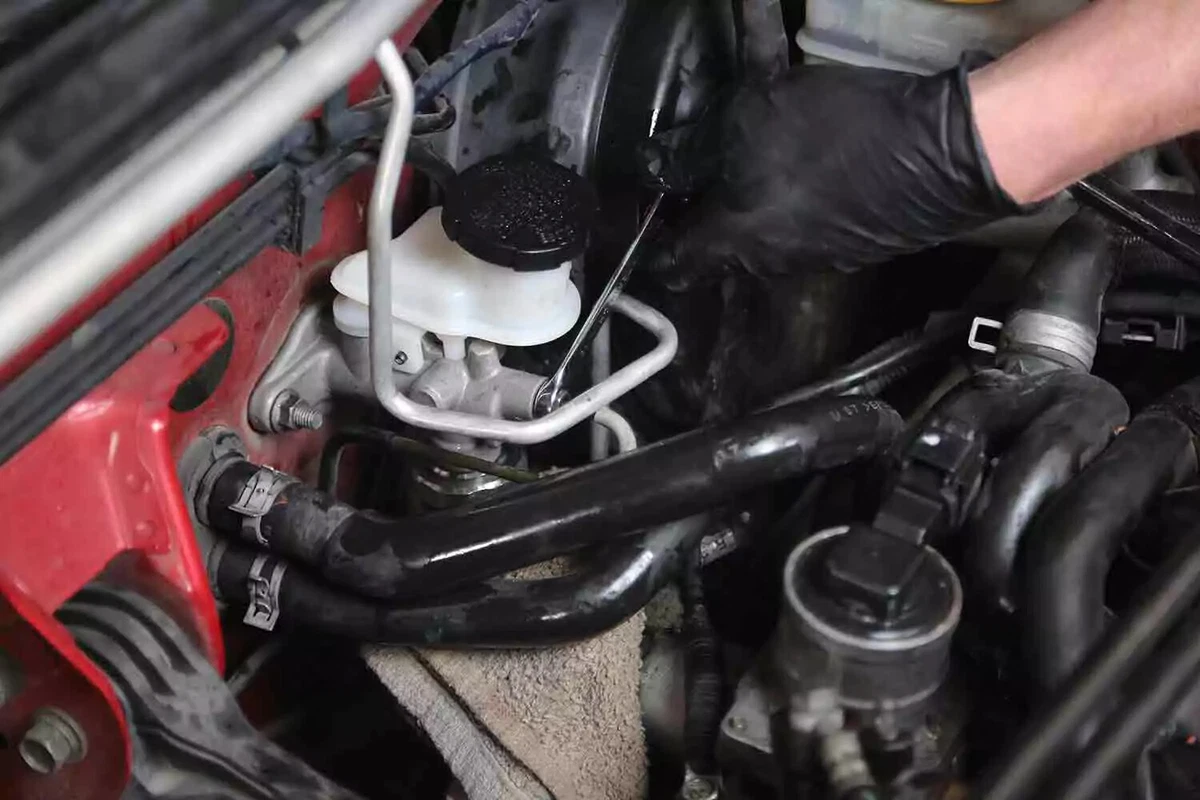
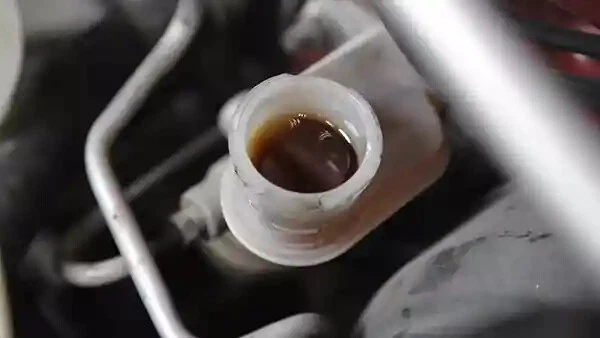
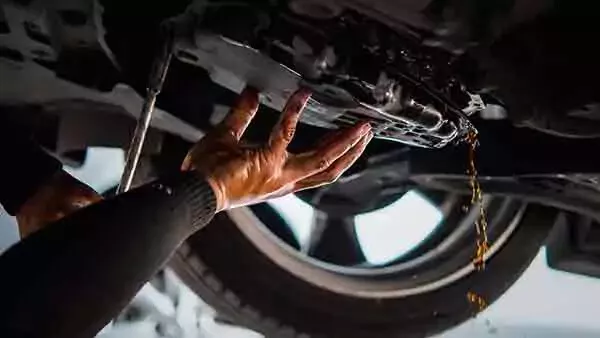
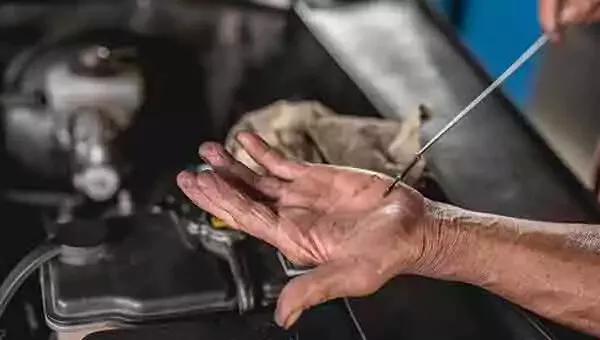
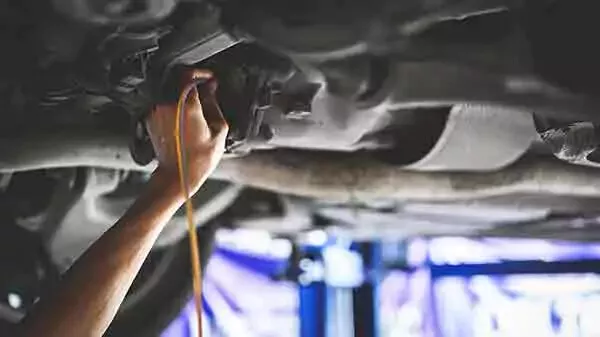
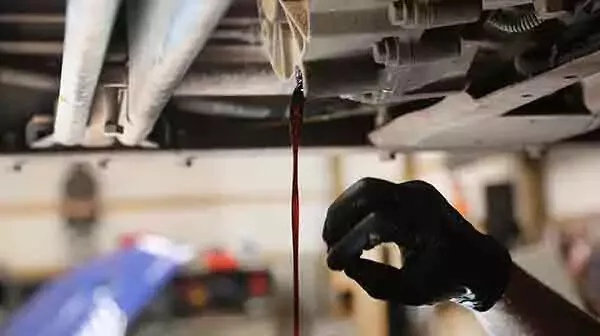
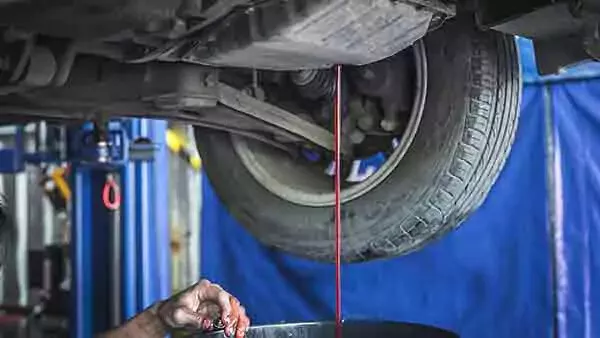
Open the clutch master. Look at the fluid, which is yellowish brown in our demo vehicle. That color indicates that it’s contaminated with water and dirt. It needs to be flushed. Fresh brake fluid is clear. Over time, it yellows as moisture is absorbed.
Cloudy fluid must be replaced. That cloudiness is suspended dust particles.
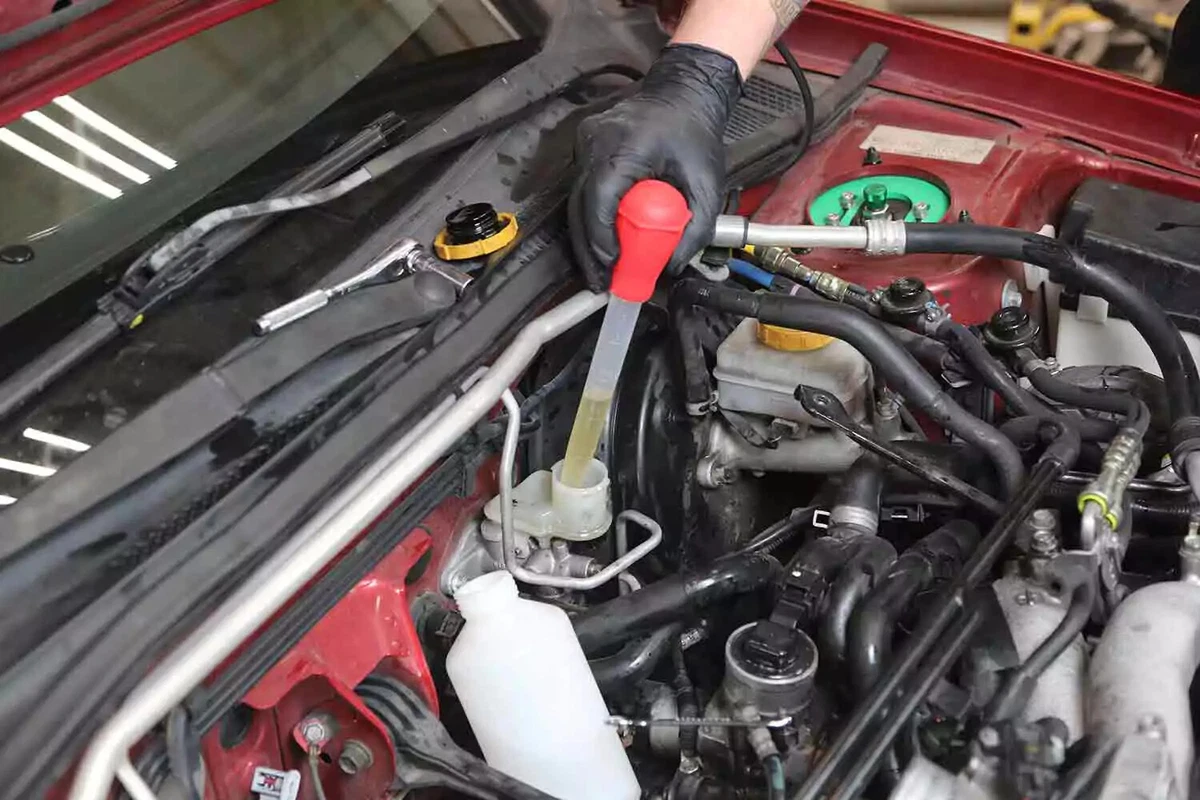
Open the master cylinder. Use a squeeze-bulb extractor to remove fluid from the reservoir.

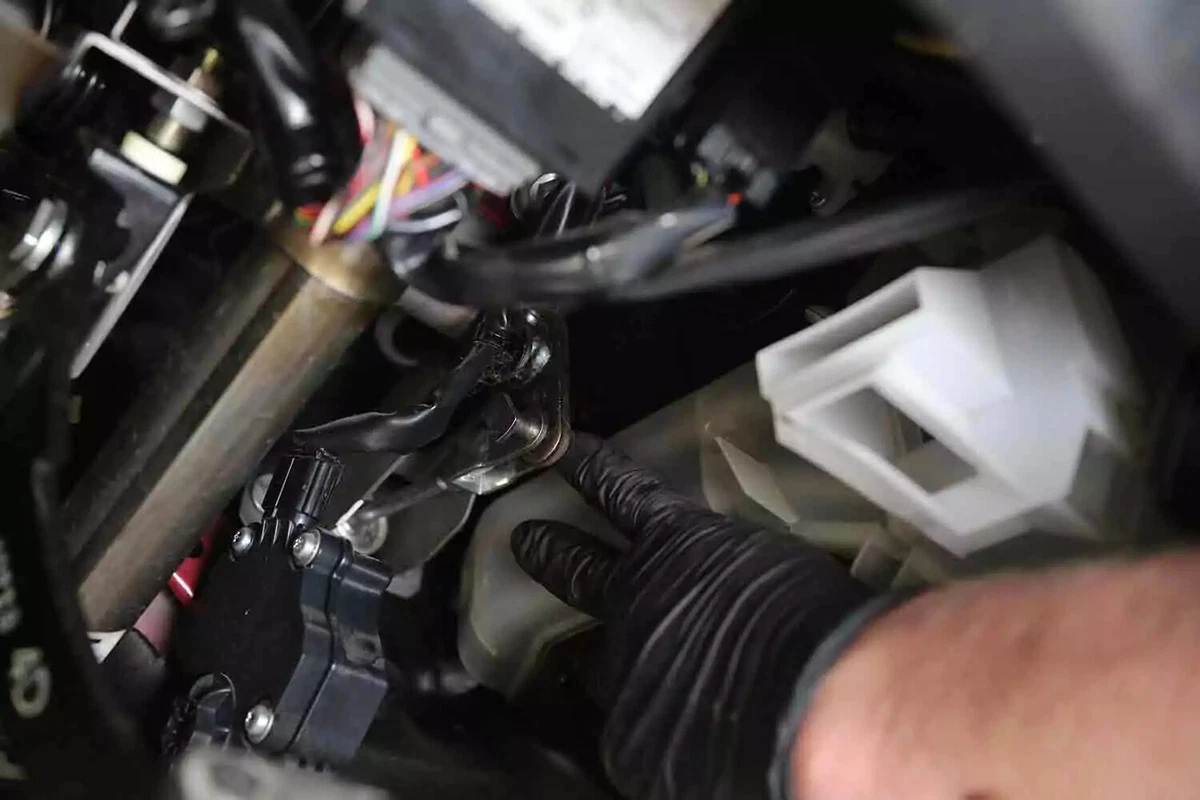
Find the clutch pedal attachments under the dash. They should be directly behind the clutch master cylinder under the dash.
You might need to remove an access panel.

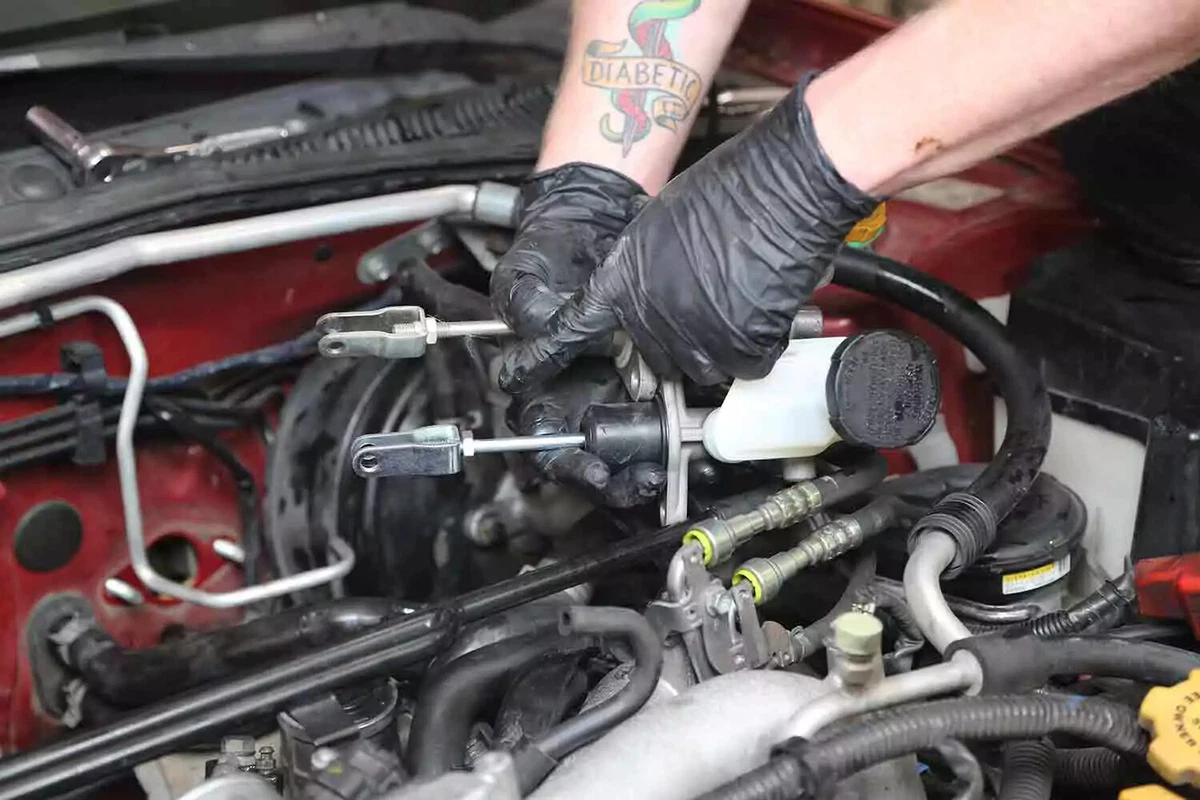
Most clutch master cylinders are connected to the pedal via a clevis pin and fork.
Our demo vehicle has a hairpin keeper, which we removed with a small pick. Others have a shoulder bolt or a washer with a locking tab.

Pull the clevis fork off the pedal arm. Move it to the arm’s side to prevent snagging while removing the clutch master.

Return to work under the hood. Disconnect the fluid line at the master cylinder (to the HRB or slave cylinder).
Most vehicles have a hard steel line, but some may use a heavy-duty rubber or braided stainless steel line. Use a line wrench for this task to avoid rounding off the hex’s edges.
This is a good time to inspect the line for wear or damage. Rubber lines with cracks, bulges, or abrasions should be replaced. Replace the hard line if it’s kinked, dented, or rusty.

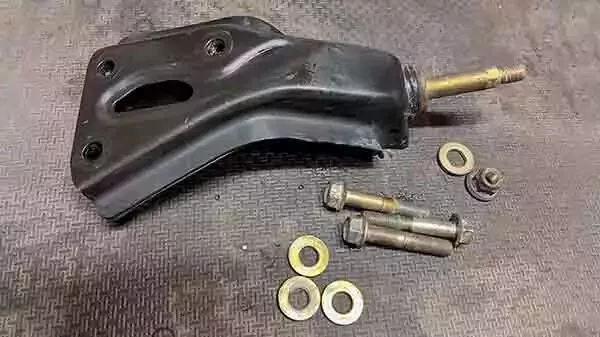
Use a socket wrench to unbolt the clutch master from the firewall. Most clutch masters use two or three bolts/nuts holding them to the firewall.
Pull the clutch master from the firewall. You might have to twist the unit and maneuver it around lines or brackets. This is why removing the fluid is a good idea. You might have to turn it upside down, which could spill fluid.
Compare the new clutch master to the old one. Ensure they match in shape, size, and bolt pattern.
Line the two clutch masters up by the firewall pad. Adjust the clevis fork on the new clutch master to match the length of the old one. Measure from the firewall flange to the clevis pinhole. This gives you the best starting point for adjusting the pedal.

Leave the clevis loose until you get the clutch master installed to the firewall. Most clutch masters use a threaded clevis fork and a jamb nut, like the one shown here.
Thread the clevis on the pushrod to the approximate position. Hold it in place with a Phillips screwdriver or large pick while the jamb nut is tightened.
Some clutch masters have an inner and outer nut with a non-threaded clevis. Those require two wrenches to tighten.

The master cylinder must be bench-bled before installing it in the vehicle. Gently tighten the clutch master into a vice. Ensure the vice is securely mounted so that it doesn’t move when you operate the piston.
Use a towel or soft jaws to protect the clutch master’s finish.

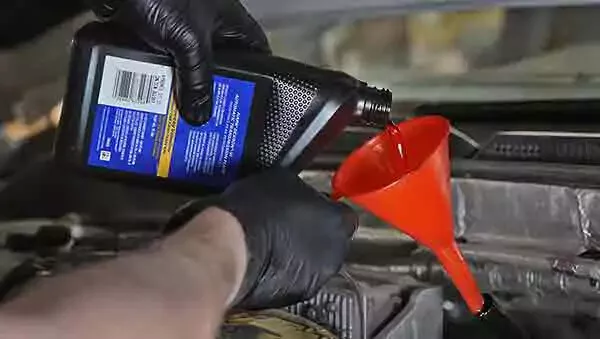
Fill the reservoir with new DOT 3 brake fluid. Most clutch masters use DOT 3 or DOT 4 brake fluid, which are compatible with each other.
Use DOT 5 only for motorcycles. DOT 5 is not compatible with other brake fluids.
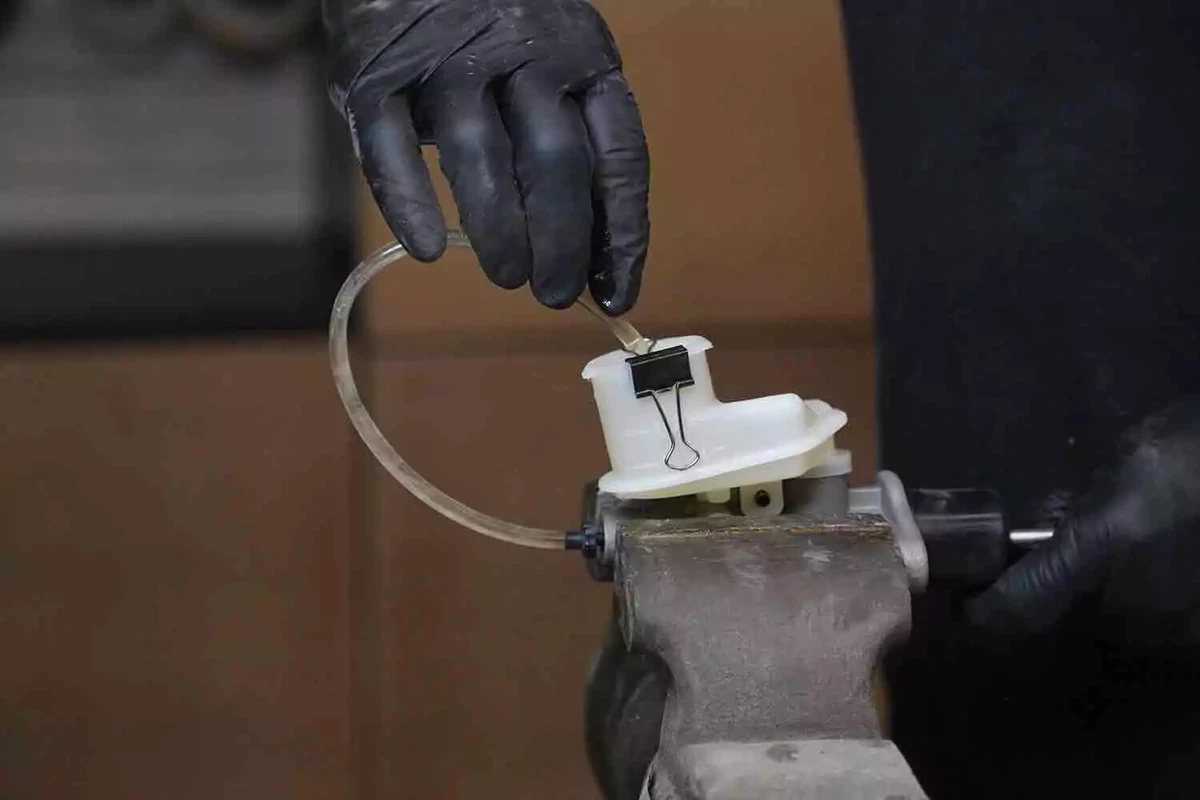
Install a bleeder line into the clutch master’s output. Run the hose into the reservoir. A binder clip can hold the hose in place. The hose should be placed at the bottom of the reservoir so it can’t suck air back in.
Slowly push the pushrod in and out, watching the hose for air bubbles. Repeat slowly until the fluid is free of bubbles. If you push the rod too fast, it will aerate the fluid, making the air bubbles very small. This will substantially increase the time it takes to bleed the clutch master cylinder. You may need to top off the reservoir during this procedure.
Remove the bleeder line, without dripping brake fluid.
Install the clutch master into the firewall as the old one was removed. Be careful because it will be full of fluid.
Place a towel below the work area to catch drips.

Reinstall the clutch master. Tighten the bolts that hold it to the firewall.
These are usually wrench tight. Do not overtighten the bolts because you can strip the threads or crack the clutch master.
Use a line wrench to Install the fluid line to return to its original location. Do not overtighten the line, which can strip the threads.
Under the dash, reattach the clevis pin as it was removed.

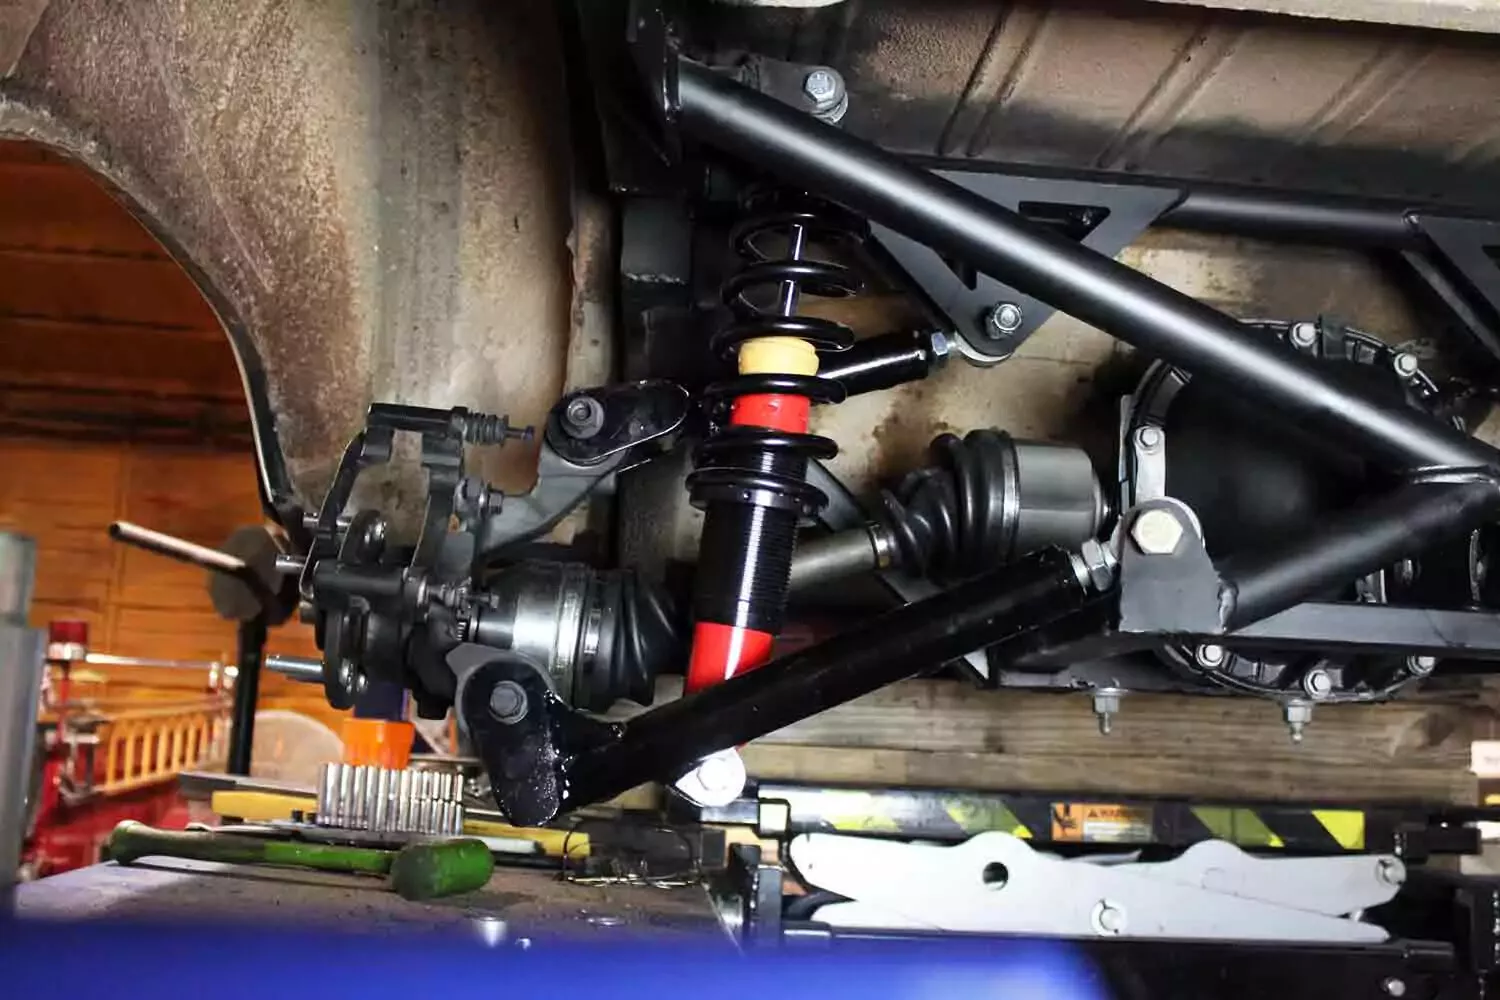
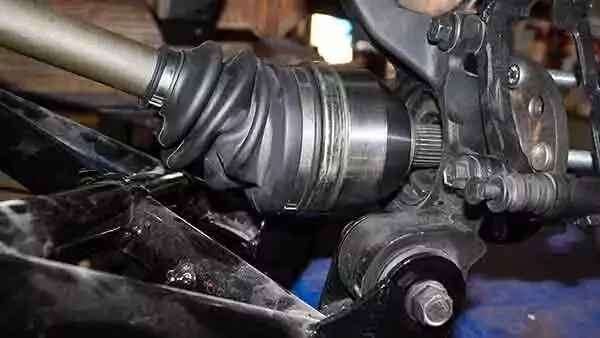
Bleed the clutch system by accessing the slave or HRB. Our demo vehicle uses a slave cylinder, which is located on the engine block and pushes a lever in the bellhousing.
Some engines with slave cylinders position the slave on the transmission to operate the clutch fork directly.
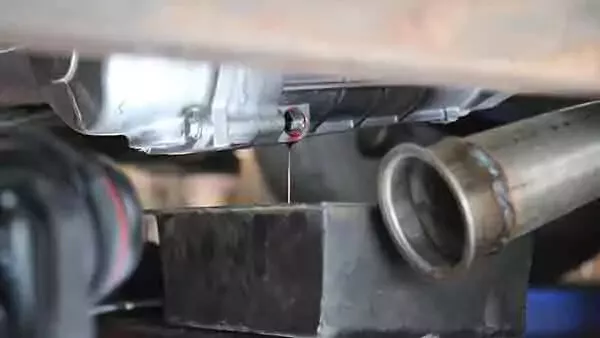
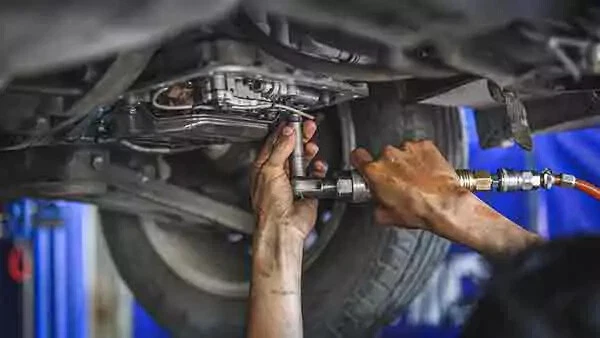
Start bleeding the system by slightly opening the bleeder on the slave or HRB.

Have an assistant slowly press the clutch pedal and hold it to the floor.
The emergency spring will most likely snap the pedal to the floor once you reach a certain point. That’s normal.
While the pedal is pressed firmly to the floor, tighten the bleeder and have your assistant release the pedal. Wait five seconds to allow the reservoir to fill the master cylinder with fresh fluid. Repeat these steps until the pedal is firm and you can feel the clutch disengaging and engaging with pedal actuations.
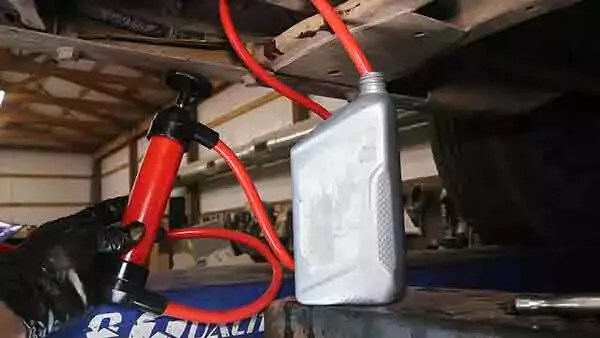
Put the transmission in gear and push the body with the pedal depressed to verify the clutch is disengaged. This process can take several minutes. We recommend pressure bleeding.
On some vehicles, the slave cylinder sits in a position that traps air. This is common for self-adjusting slave cylinders. On our demo vehicle, we had to do a final manual bleed of the slave cylinder. This is done after the main system is bled while there’s some pressure, but the pedal snaps to the floor.
With the pedal raised to the resting position, open the bleeder and manually pull the slave’s piston into the cylinder. This pushes out the remaining air pocket with a bit of fluid.
Hold the piston in place and close the bleeder. Then, release the piston.
Pump the pedal about 20 times to adjust the slave—so the piston pushes out until it fully contacts the clutch mechanism. This step is complete when the pedal feels normal and does not snap to the floor.
For HRBs, the process is the same. Some HRBs are self-bleeding. Check your repair manual to confirm. Self-bleeding HRBs require pumping the clutch pedal about 100 times.
Reinstall components that were removed to gain access to the clutch system.
About the author

Share your feedback
This article is meant to provide general guidance only. Automotive maintenance, repair, upgrade, and installation may depend on vehicle-specifics such as make and model. Always consult your owner's manual, repair guide for specific information for your particular vehicle and consider a licensed auto-care professional's help as well, particularly for advance repairs.
Recommended for you
Find answers and inspiration-
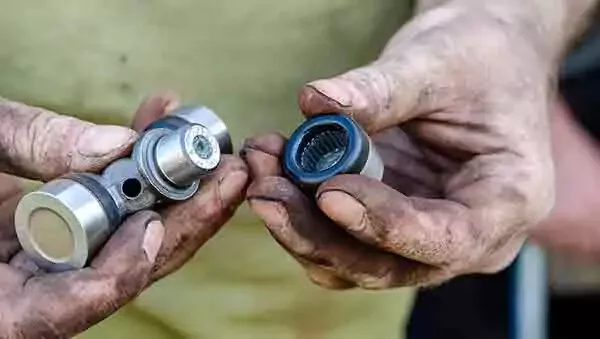
Types of U-Joints and When They Go Bad
6 min read -

How to Buy the Right Differential Fluid
4 min read -
An Intro to Replacing Clutch Fluid
5 min read -

How to Change Manual Transmission Fluid
4 min read -
Picking the Right Manual Transmission Fluid
4 min read -

How to Replace Wheel Bearings
7 min read -

How To Replace Differential Fluid
8 min read -

Choosing the Right Clutch Fluid
6 min read -
Buying the Right Transmission Fluid and Filter
4 min read -
Buying the Right CV Axle
6 min read -

How to Replace Transmission Fluid and Filter
11 min read -

How to Change Automatic Transmission Fluid
6 min read -
What to Know About Changing Transmission Fluid
6 min read -
How to Replace a U-Joint
14 min read -
Choosing the Best Clutch Master Cylinder
4 min read -
Buying the Right Transmission Mounts
4 min read -
How to Buy the Right Transmission Fluid
5 min read -
A Quick Guide to Your Clutch Master Cylinder
5 min read -
How to Replace a Transmission Mount
7 min read -
Replacing Your Transmission Fluid and Filter
5 min read -
Selecting the Right Transfer Case Fluid
4 min read -
What Your Differential Fluid Is Telling You
5 min read -

How to Replace a CV Axle
7 min read -

Everything You Need to Know About Wheel Bearings
7 min read -

How to Replace an Idler Pulley
4 min read -
What You Need To Know About Transfer Case Fluid
4 min read -
Understanding the Purpose of Transmission Mounts
5 min read -
U-Joint Buying Guide
4 min read -
An Introduction to CV Axles and Joints
5 min read -
How to Buy the Right Replacement Wheel Bearings
6 min read -

How to Replace Ball Joints
12 min read -
An Intro to Replacing Manual Transmission Fluid
4 min read
Explore more projects

How to Repair a Chipped Windshield
1 to 2 hours
Beginner
7 min read

How to Replace Brake Fluid
1 to 2 hours
Beginner
10 min read

How to Replace an Ignition Coil
Less than 30 minutes
Beginner
6 min read

How to Replace a Radiator Hose
Less than 30 minutes
Beginner
5 min read

How to Replace Brake Rotors
1 to 2 hours
Beginner
7 min read

How to Replace a Serpentine Belt Tensioner
Less than 30 minutes
Beginner
4 min read

How to Replace a Drive Belt
Less than 30 minutes
Beginner
5 min read

How to Rotate Your Tires
30 to 60 minutes
Beginner
5 min read

How to Refill Windshield Washer Fluid
Less than 30 minutes
Beginner
4 min read

How to Replace an Oxygen Sensor
30 to 60 minutes
Beginner
5 min read
How To Replace Differential Fluid
Less than 30 minutes
Beginner
8 min read

How to Replace Sway Bar End Links and Bushings
30 to 60 minutes
Beginner
6 min read
How to Replace Transmission Fluid and Filter
1 to 2 hours
Beginner
11 min read

How to Change Disc Brake Pads
30 to 60 minutes
Beginner
8 min read

How to Replace a Cabin Air Filter
Less than 30 minutes
Beginner
5 min read

How to Replace a Valve Cover Gasket
Less than 30 minutes
Beginner
7 min read

How to Change Windshield Wipers
Less than 30 minutes
Beginner
3 min read

How to Replace an Engine Air Filter
Less than 30 minutes
Beginner
5 min read

How to Clean Fuel Injectors
1 to 2 hours
Beginner
8 min read

How to Replace Shock Absorbers
30 to 60 minutes
Beginner
8 min read

How to Change a Car Battery
Less than 30 minutes
Beginner
6 min read
Automation How to Change a Car Battery
Less than 30 minutes
Beginner
6 min read

How to Replace a Mass Air Flow (MAF) Sensor
Less than 30 minutes
Beginner
7 min read

How to Flush and Change Engine Coolant
30 to 60 minutes
Beginner
6 min read

How to Replace a Distributor Cap and Rotor
30 to 60 minutes
Beginner
5 min read

How to Check Tire Pressure and Change a Tire
Less than 30 minutes
Beginner
9 min read

How to Replace a Fuel Filter
30 to 60 minutes
Beginner
7 min read

How to Replace a PCV Valve
30 to 60 minutes
Beginner
6 min read

How to Replace a Brake Caliper
1 to 2 hours
Beginner
7 min read
How to Replace an Idler Pulley
30 to 60 minutes
Beginner
4 min read

How to Change a Headlight Bulb
Less than 30 minutes
Beginner
6 min read

How to Replace an Exhaust Gasket
1 to 2 hours
Beginner
9 min read

How to Replace a Throttle Body
30 to 60 minutes
Beginner
6 min read

How to Change Oil in a Car
Less than 30 minutes
Beginner
8 min read

How to Replace an Alternator
1 to 2 hours
Beginner
11 min read

How to Replace an EGR Valve
30 to 60 minutes
Beginner
5 min read

How to Jump Start a Car
Less than 30 minutes
Beginner
9 min read