You should change your transmission fluid every 40,000 to 100,000 miles, depending on how hard you drive. Follow that schedule to extend your transmission’s life.
Some signs you need new transmission fluid
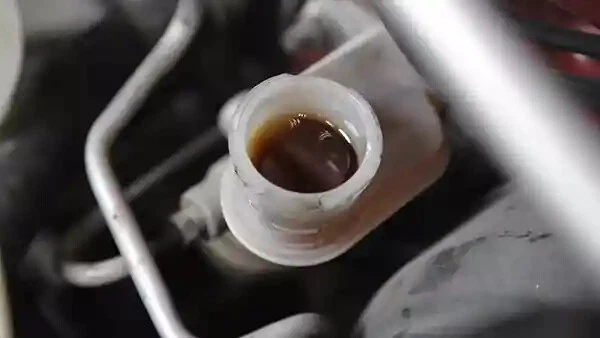
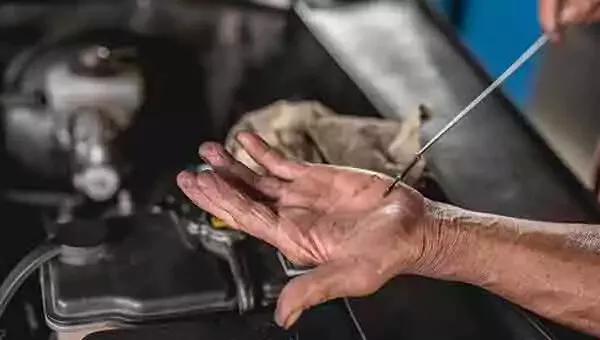
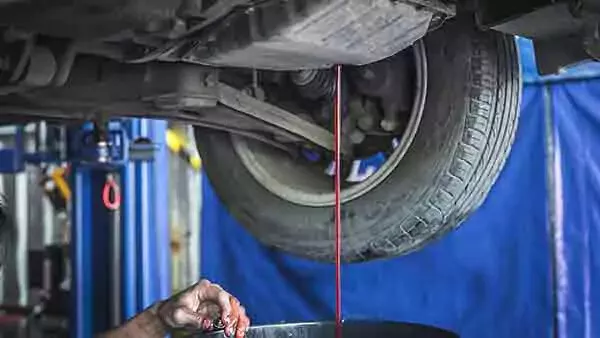
Automatic transmission fluid should be transparent cherry red and smell slightly sweet. If the fluid is dark and smells burnt, it should be changed.
If your vehicle has a transmission fluid temperature gauge, pay attention to it. If your transmission fluid gets hotter than 230 degrees Fahrenheit, replace it immediately.
How long does it take to change transmission fluid?
Replacing automatic transmission fluid is a beginner, 30-minute do-it-yourself job, but your vehicle may require you to replace the transmission fluid filter at the same time. If so, you may need to remove the transmission pan to access the filter.
Tips and tricks for DIY transmission fluid change
-
Some vehicles require changing the transmission filter along with the fluid. If your vehicle requires changing an internal filter, you must drop the transmission pan to replace that filter. After dropping the pan, fill the vehicle with fresh fluid.
-
If you race, tow a trailer, or otherwise stress your vehicle’s drivetrain, replace the transmission fluid more often than the manufacturer’s recommended interval.
-
Some vehicles have lifetime-fill transmission fluid that is not considered serviceable by the owner. Nonetheless, you should add new transmission fluid on the schedule recommended in your vehicle owner’s manual.
-
Most manufacturers recommend not using special flushing additives just before a fluid change.
-
Don’t use a pour-in flush unless your owner’s manual recommends flushing.

This project requires working safely under the vehicle. You will need a floor jack, and jack stands, ramps, or wheel cribs to support the vehicle.
Locate the factory jacking points just behind the front wheels or just in front of the rear wheels. The jacking point is a metal section with two V notches about two inches apart. Check your owner’s manual to confirm the lift location.
Never use jack stands on dirt, gravel, or asphalt. If you do not have access to a concrete work surface, use wheel cribs, solid-base ramps, or wide-base wood supports to support the vehicle. Never use cinder blocks or bricks as supports.

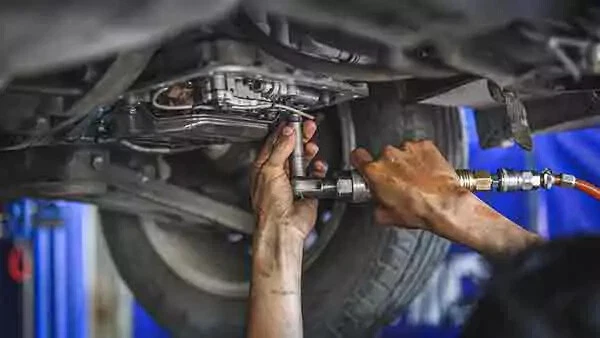
Find the transmission pan and drain plug under the vehicle. If your transmission doesn’t have a drain plug, remove the pan to drain the fluid.
-
For vehicles with an engine that sits in the vehicle with the drive belts at the front—a longitudinal design—the transmission is typically behind the engine.
-
For vehicles with engines in horizontal configuration, the drive belts and the transmission are on the side.
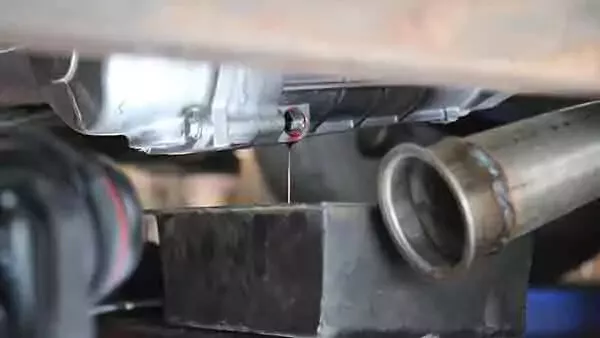
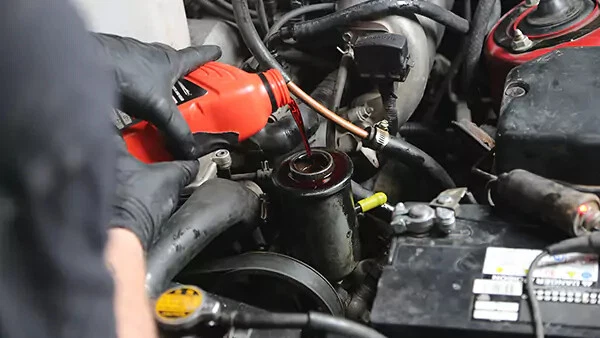
Heavy-duty trucks like our demo vehicle require more frequent fluid changes. It has an external filter—the red filter at the bottom right—that makes changing the fluid easier.

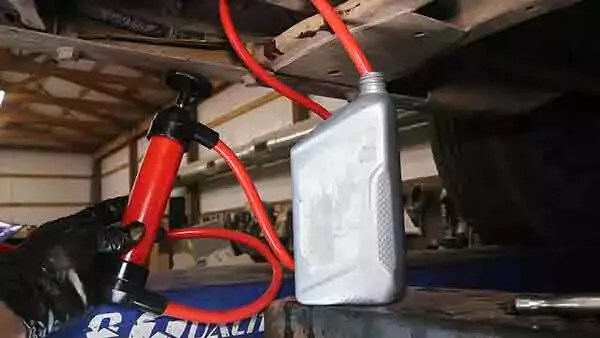
Position the drain pan under the plug so the fluid can exit the transmission and go directly into the pan. If the plug is on the side of the pan, ensure the pan can catch the widest arc and a thin dribble.
Wait 30 minutes for the transmission to cool off.

Loosen the drain plug, but don’t fully remove it yet.

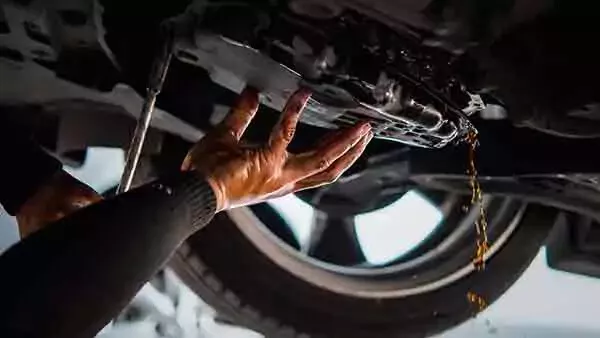
After the plug is loose, unthread and remove it by hand. This allows you to control the fluid’s flow and prevent the plug from falling into the drain pan.

Allow the transmission fluid to drain until it nearly comes to a stop. Not all of the fluid will drain. Most transmissions hold 12 to 15 quarts but drain only six to eight quarts. We changed 7.5 quarts for our demo vehicle.
A lot of transmission fluid is still sitting inside the torque converter. So, actually, you are only changing half of the fluid.

If your transmission has an external filter, use a filter wrench to remove it.

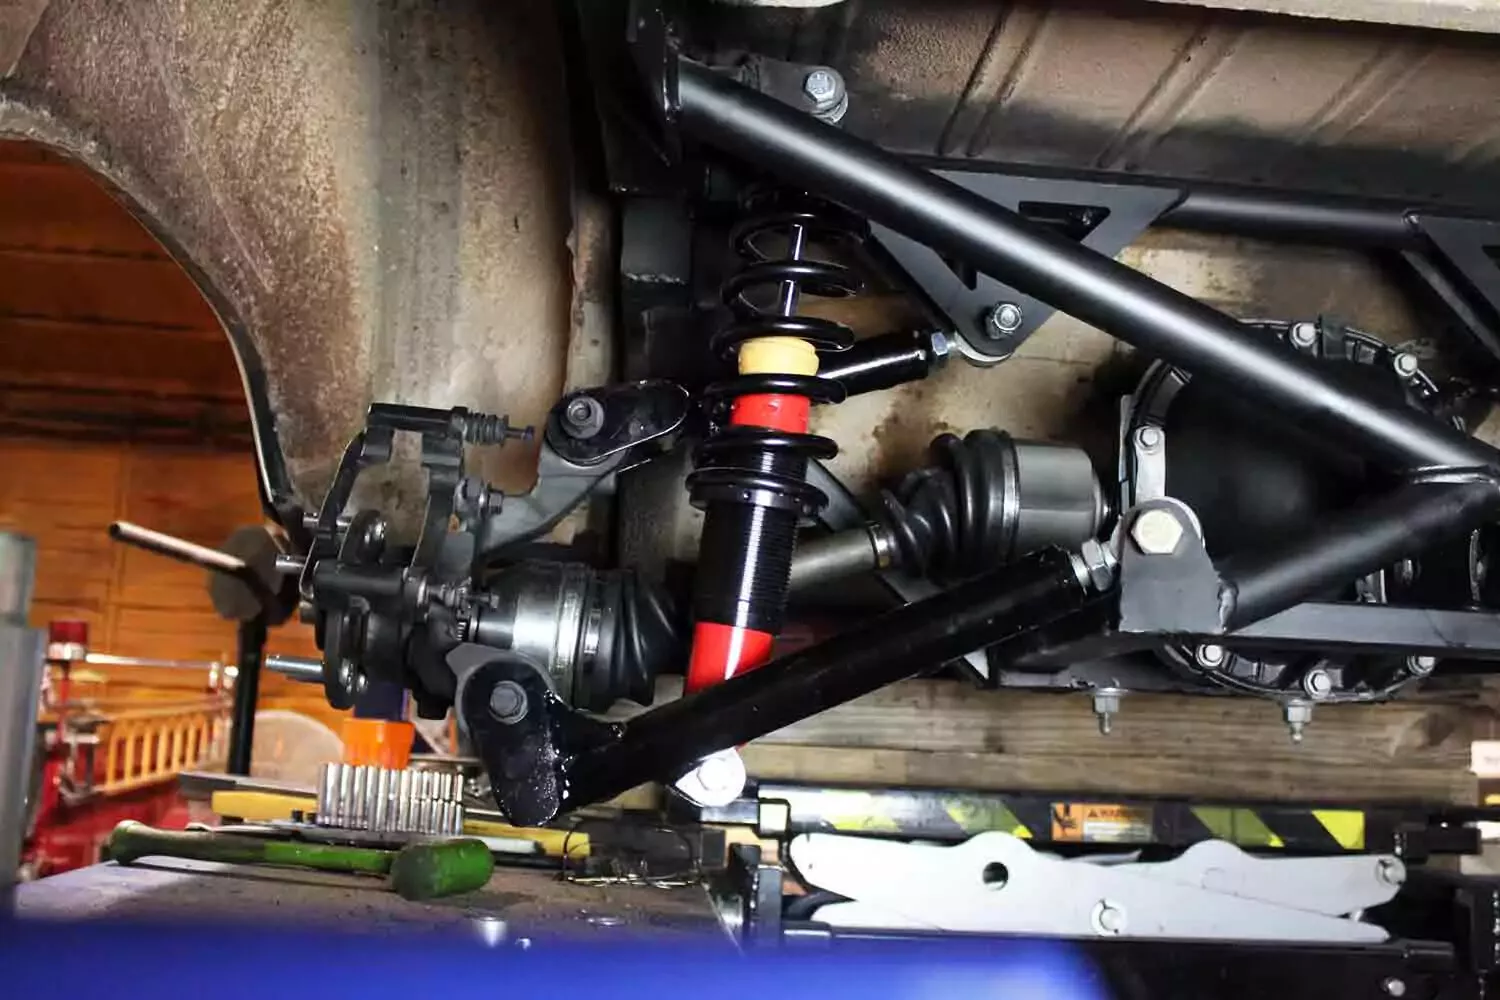
If your transmission has an internal filter like the one shown here (which is not our demo vehicle), you must remove the transmission pan and bolts to change the filter.
The filter is the large metal unit hanging below the rest of the components. It is often retained by a single bolt or pushed into place. Remove the retainer bolt and gently pull the filter down to remove it. Reinstallation is the same process but in reverse. There should be a pan gasket included with the filter, although a few vehicles use a bead of RTV gasket sealer.
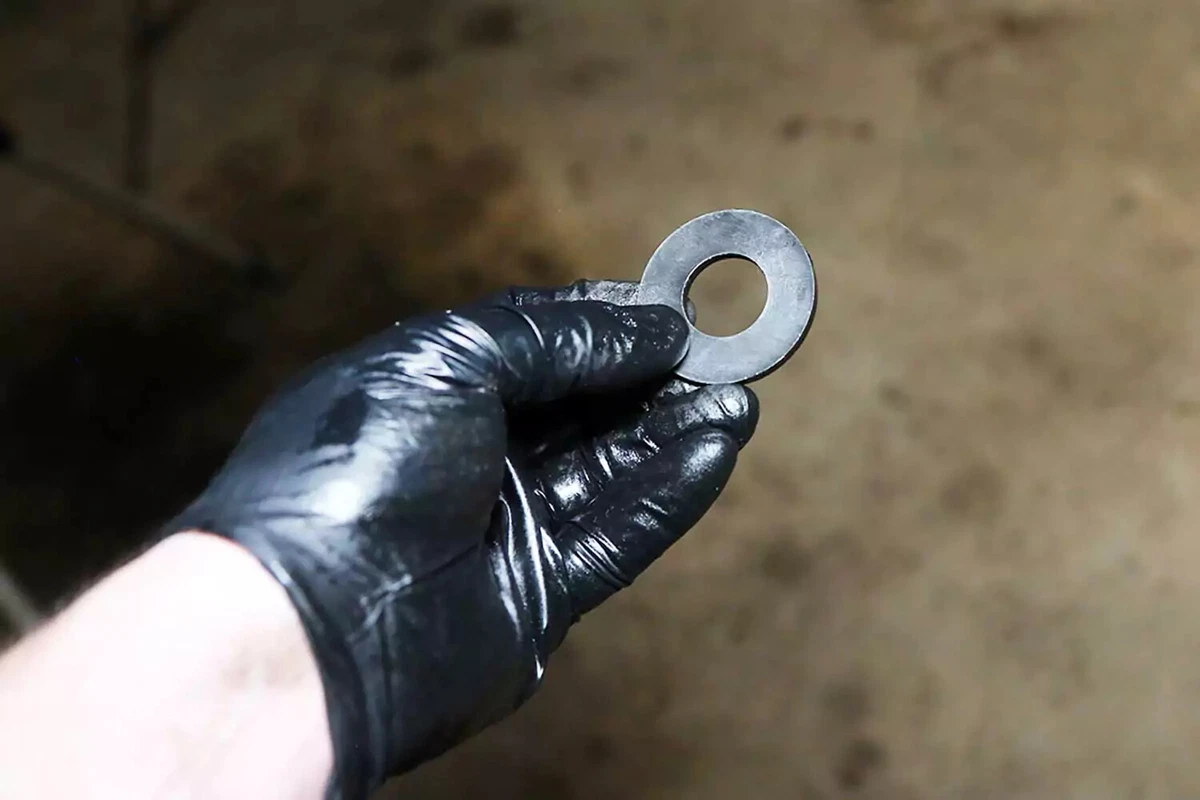
Your filter or drain plug may have a magnet to catch metal shavings. If your vehicle has one, clean it.
Our demo vehicle uses a large ring magnet on the top of the filter. If you have an external filter, check for a magnet.
If you remove the transmission pan, use a rag or brake cleaner to remove any sludge that has collected in the bottom. Reinstall the pan with the appropriate gasket. Don’t tighten any of the bolts until you have started the threads for all of them. Tighten the bolts in a criss-cross pattern.
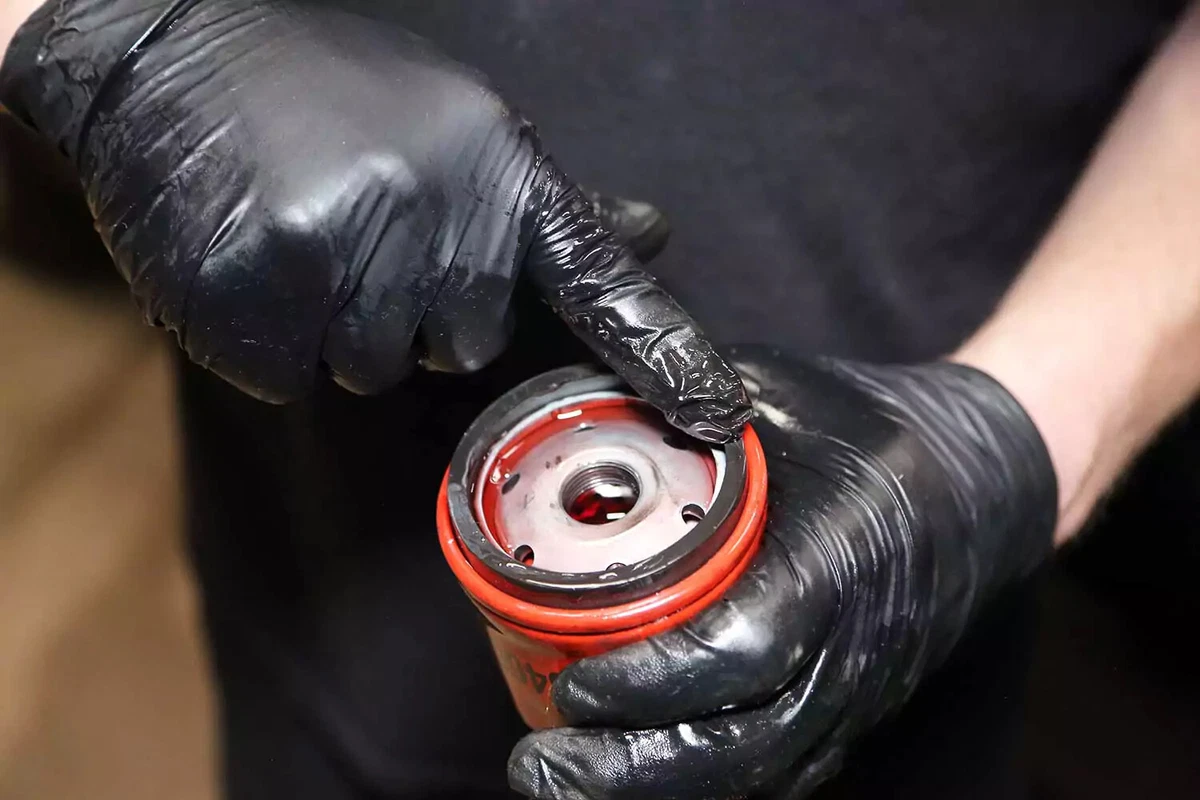
If you have an external filter, fill it all the way with new fluid. Then, wipe enough fluid on the filter gasket to wet the surface.
Wetting the gasket helps prevent it from coming loose and makes it easier to remove in the future.

Is there old gasket material left behind on the mounting flange by the old filter? If so, clean it off now.
Install the new filter to the transmission filter port. Wipe the filter body with a clean towel before tightening the filter. Tighten the filter to hand tight, and then give it three-quarters of a turn to fully seat the gasket.

Remove the dipstick from the transmission tube and wipe it clean. Set it aside.
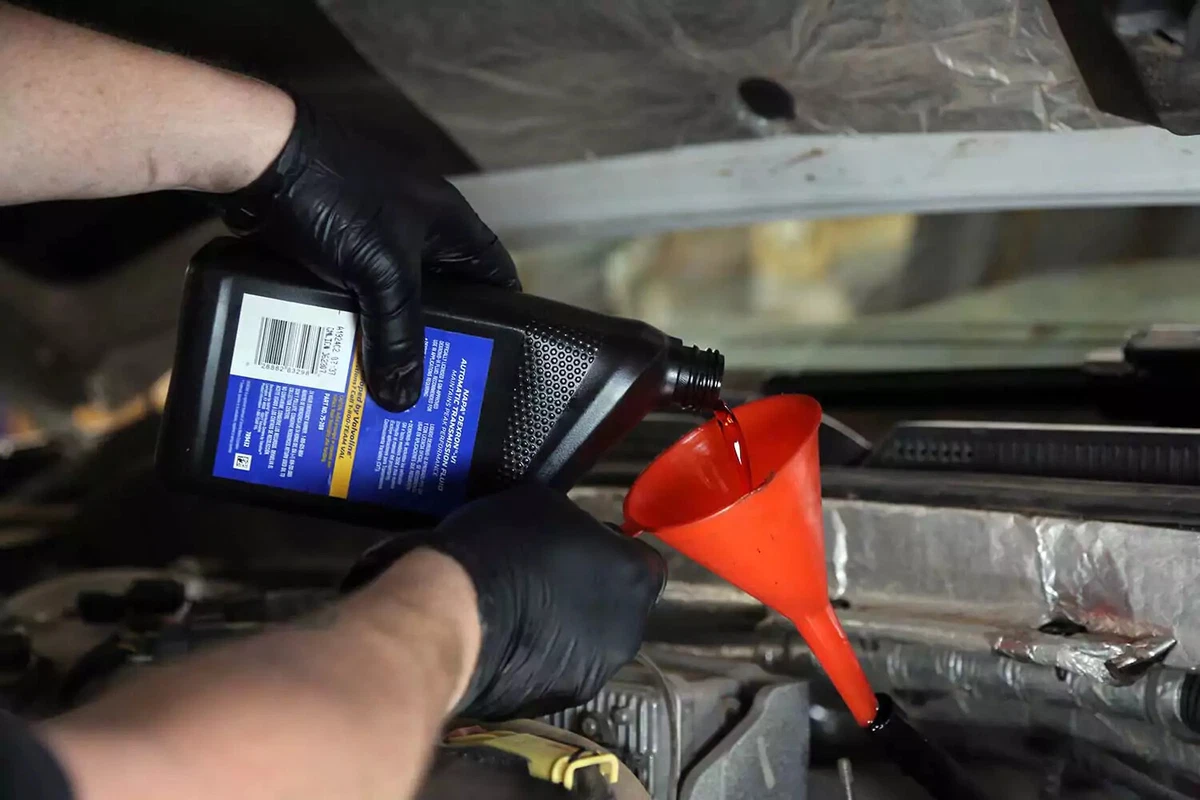
Check your owner’s manual for the recommended fluid for your vehicle. Transmission fluid is not universal.
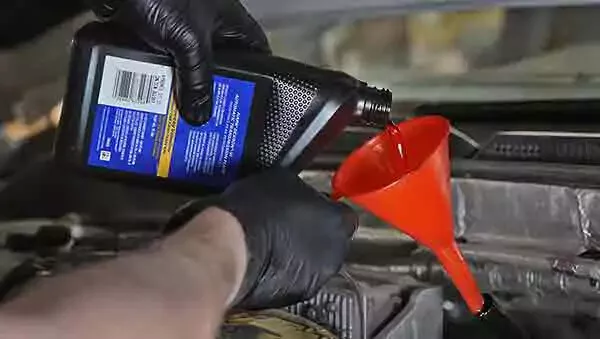
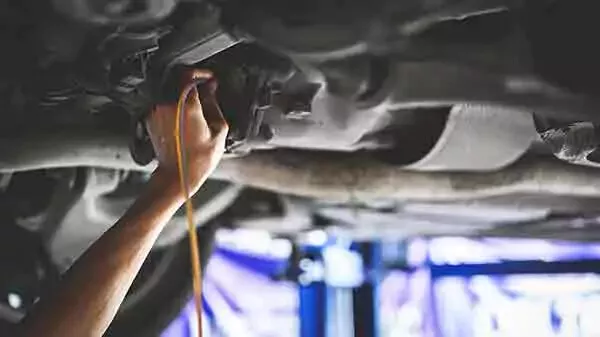
Fill the transmission via the transmission dipstick tube. Use a funnel to help reduce spillage. Because the dipstick tube is narrow, it takes time to fill.
Measure how much fluid came out and fill up with the same amount.

Replace the dipstick into the tube. Your vehicle is now ready to drive.
Start your engine and allow the temperature to reach the vehicle’s normal operating temperature. It takes about 20 minutes of driving for the fluid to warm up. Then, check the fluid level to make sure it is full.
Note your odometer’s mileage after changing the transmission fluid so you know when to change it again.
About the author

Share your feedback
This article is meant to provide general guidance only. Automotive maintenance, repair, upgrade, and installation may depend on vehicle-specifics such as make and model. Always consult your owner's manual, repair guide for specific information for your particular vehicle and consider a licensed auto-care professional's help as well, particularly for advance repairs.
Recommended for you
Find answers and inspiration-

Types of U-Joints and When They Go Bad
6 min read -

How to Buy the Right Differential Fluid
4 min read -
An Intro to Replacing Clutch Fluid
5 min read -

How to Change Manual Transmission Fluid
4 min read -
Picking the Right Manual Transmission Fluid
4 min read -

How to Replace Wheel Bearings
7 min read -

How To Replace Differential Fluid
8 min read -

Choosing the Right Clutch Fluid
6 min read -
Buying the Right Transmission Fluid and Filter
4 min read -
Buying the Right CV Axle
6 min read -

How to Replace Transmission Fluid and Filter
11 min read -
What to Know About Changing Transmission Fluid
6 min read -
How to Replace a U-Joint
14 min read -
Choosing the Best Clutch Master Cylinder
4 min read -
How to Buy the Right Transmission Fluid
5 min read -
Buying the Right Transmission Mounts
4 min read -
A Quick Guide to Your Clutch Master Cylinder
5 min read -

How to Replace a Clutch Master Cylinder
11 min read -
How to Replace a Transmission Mount
7 min read -
Replacing Your Transmission Fluid and Filter
5 min read -
Selecting the Right Transfer Case Fluid
4 min read -
What Your Differential Fluid Is Telling You
5 min read -

How to Replace a CV Axle
7 min read -

Everything You Need to Know About Wheel Bearings
7 min read -

How to Replace an Idler Pulley
4 min read -

What You Need To Know About Transfer Case Fluid
4 min read -
Understanding the Purpose of Transmission Mounts
5 min read -
U-Joint Buying Guide
4 min read -
An Introduction to CV Axles and Joints
5 min read -
How to Buy the Right Replacement Wheel Bearings
6 min read -

How to Replace Ball Joints
12 min read -
An Intro to Replacing Manual Transmission Fluid
4 min read
Explore more projects
How to Change a Thermostat
30 to 60 minutes
Intermediate
7 min read

How to Replace a Car Starter
1 to 2 hours
Intermediate
7 min read

How to Replace Spark Plugs
1 to 2 hours
Intermediate
7 min read
How to Replace a Transmission Mount
1 to 2 hours
Intermediate
7 min read

How to Replace Engine Mounts
1 to 2 hours
Intermediate
4 min read
How to Change Manual Transmission Fluid
Less than 30 minutes
Intermediate
4 min read

How to Change a Water Pump
1 to 2 hours
Intermediate
8 min read

How to Replace an Intake Manifold Gasket
2 to 5 hours
Intermediate
7 min read
How to Replace Wheel Bearings
1 to 2 hours
Intermediate
7 min read

How to Replace Tie Rod Ends
30 to 60 minutes
Intermediate
8 min read
How to Replace a Heater Core
More than 5 hours
Intermediate
12 min read

How to Replace a Power Steering Pump
1 to 2 hours
Intermediate
7 min read

How to Replace a Steering Gearbox
2 to 5 hours
Intermediate
8 min read
How to Replace Power Steering Fluid
1 to 2 hours
Intermediate
8 min read
How to Replace a U-Joint
1 to 2 hours
Intermediate
14 min read

How to Replace a Car Radiator
1 to 2 hours
Intermediate
8 min read

How to Change an In-Tank Fuel Pump
2 to 5 hours
Intermediate
9 min read