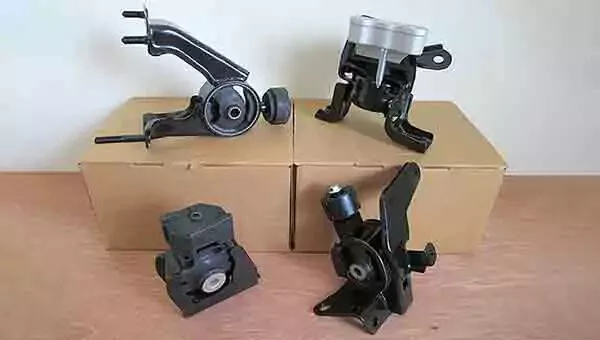
The engine and transmission in your vehicle are connected to the chassis via a series of rubber mounts that reduce vibrations. Over time, the rubber breaks down or tears, which makes for a harsher ride.
Most transmissions only have one mount—although there could be up to four.
-
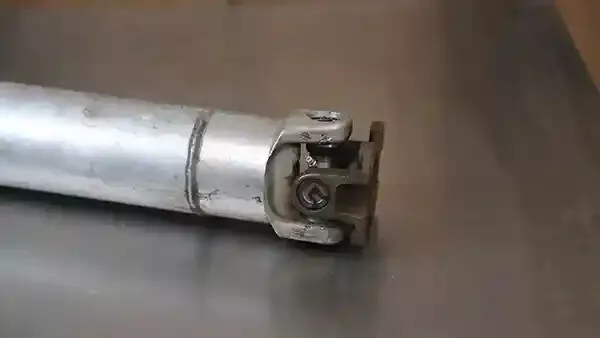
Rear-wheel-drive (RWD), four-wheel-drive (4WD), and some all-wheel-drive (AWD) vehicles have a single mount. It’s located at the rear of the transmission near the tail shaft of the unit where the driveshaft attaches.
-
Front-wheel-drive and some AWD vehicles typically have multiple drivetrain mounts that support both the engine and transmission/transaxle.
If even one mount begins to fail, you will notice increased vibration, particularly when taking off from a stop, under heavy acceleration, and at idle.
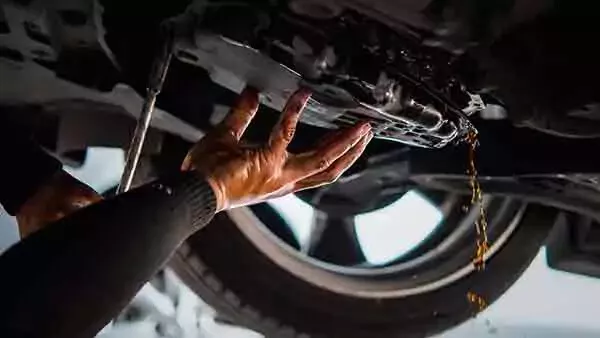
Symptoms of a failing transmission mount include sudden vibration, clunking when putting the transmission into gear, leaking around the driveshaft seal, and visible movement under the hood. For manual transmissions, your gear shift handle may shake violently. Transmission mount failures are not as easy to see as engine mount failures, but you will notice more engine movement than normal when the engine is put into gear.
Never stand in front of a vehicle when checking for engine movement. Set the parking brake and stand to the side.
Transmission mounts should be changed every 60,000 to 100,000 miles. Heavy-duty vehicles might require more frequent mount changes.
When a mount starts to tear or otherwise fail, it should be replaced immediately.
Tips and Tricks
-
Replacing a transmission mount requires lifting the vehicle. Use a floor jack and two jack stands to support the vehicle. A floor jack is a must because you need to raise the transmission after it is unbolted. An emergency jack is not suitable for this purpose.
-
This project is not technically difficult but requires physically moving around under the car. Most transmission mounts have three to six bolts. It’s easier to change transmission mounts in RWD and 4WD vehicles because the mounts are usually more accessible. In FWD and AWD vehicles, which have tighter packaging under the vehicle, mounts can be harder to access.

This project requires working safely under the vehicle. You will need a floor jack, and jack stands, ramps, or wheel cribs to support the vehicle.
Locate the factory jacking points just behind the front wheels or just in front of the rear wheels. The jacking point is a metal section with two V notches about two inches apart. Check your owner’s manual to confirm the lift location.
Never use jack stands on dirt, gravel, or asphalt. If you do not have access to a concrete work surface, use wheel cribs, solid-base ramps, or wide-base wood supports to support the vehicle. Never use cinder blocks or bricks as supports.
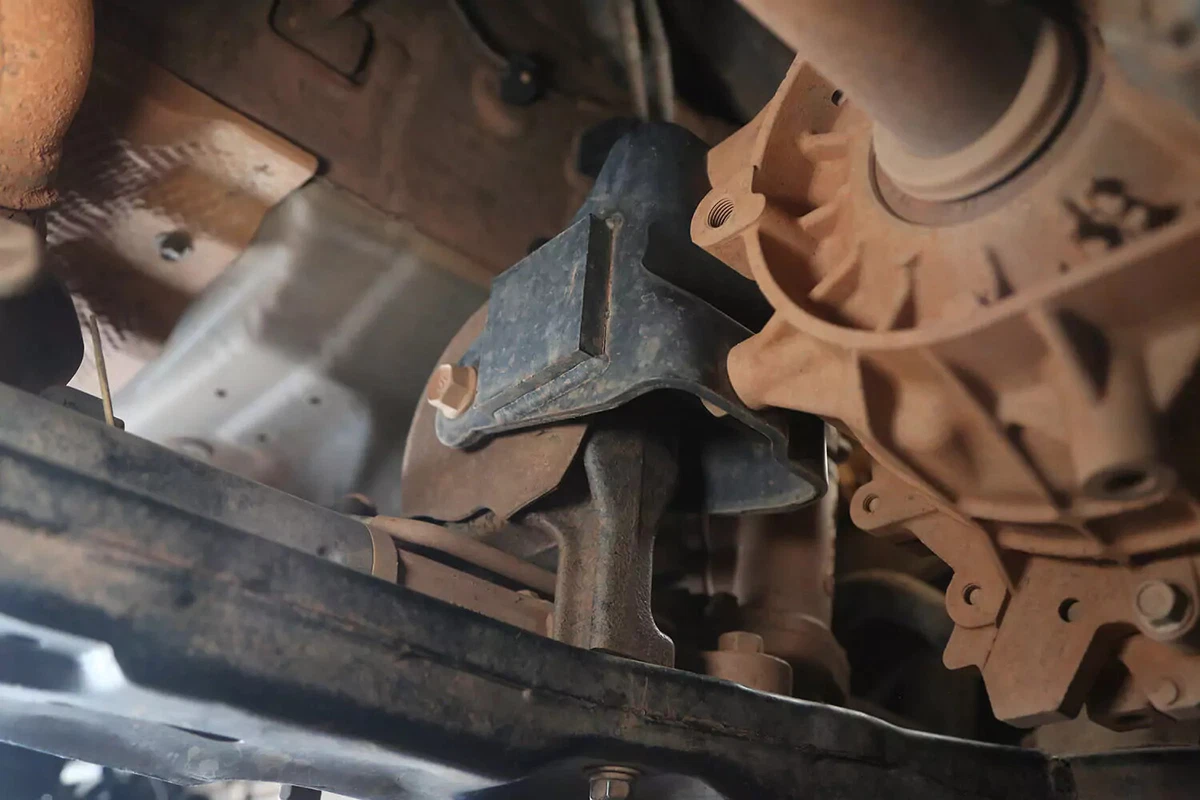
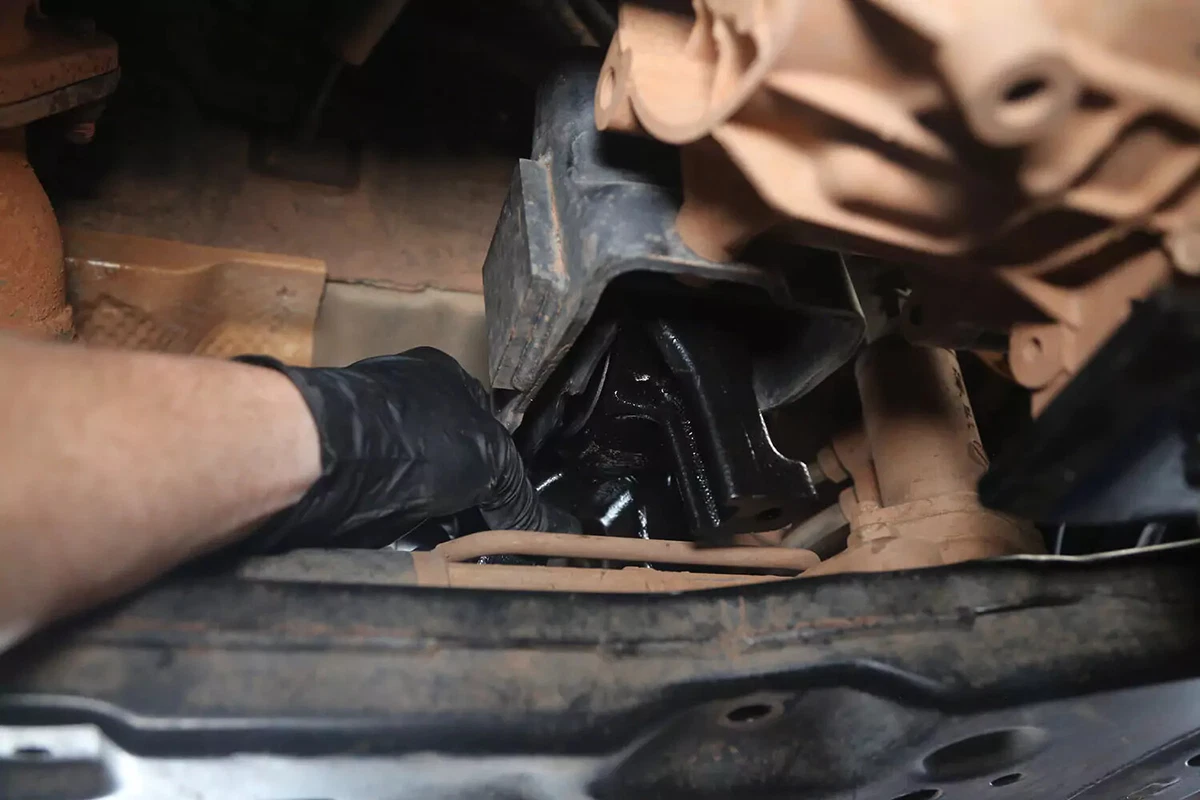
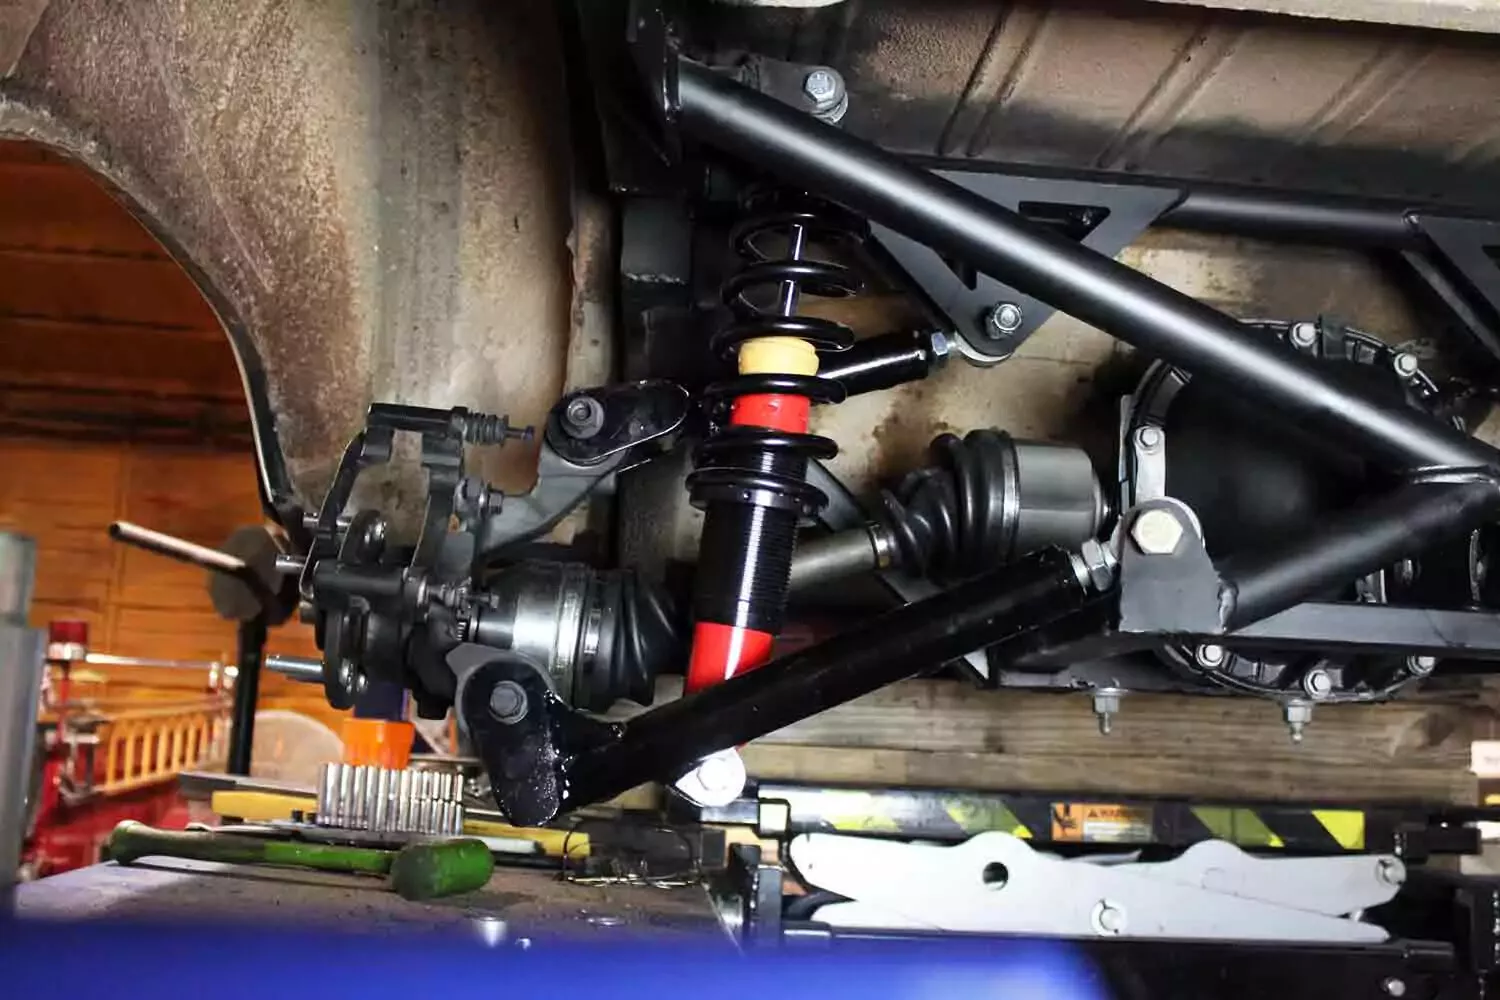
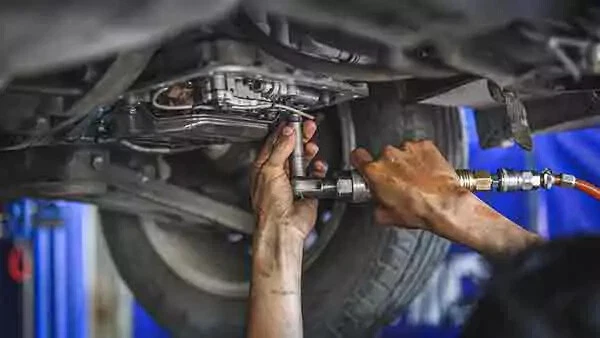
Locate the transmission and the mount under the vehicle. On RWD and 4WD (and some AWD) vehicles, the transmission will be behind the engine. On FWD and most AWD vehicles, it will be behind or beside the engine.
On our FWD demo vehicle, the transmission mount is located behind the transmission on the front subframe. If you have an AWD, 4WD, or RWD vehicle, the mount is probably at the very rear of the transmission, centered almost directly under the car.
Check with your vehicle’s repair manual to confirm the location.

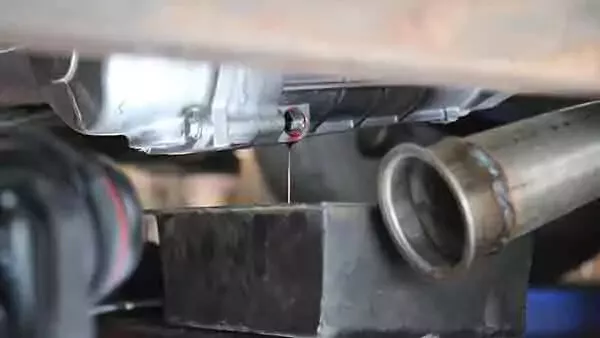
Place a floor or bottle jack under the transmission case. Do not raise the jack yet; it should be touching the transmission with only the slightest amount of pressure.
Do not place the jack under the transmission pan. That could dent the pan and damage the transmission.
If you can’t position the jack anywhere other than the pan, use a wide two-by-four to span the entire width of the pan. That will spread the load and protect the pan and the transmission.
Never use a jack on a plastic pan even with a wood block.
For our demo, we worked under a lift and used a large jack stand to make the job easier to photograph.
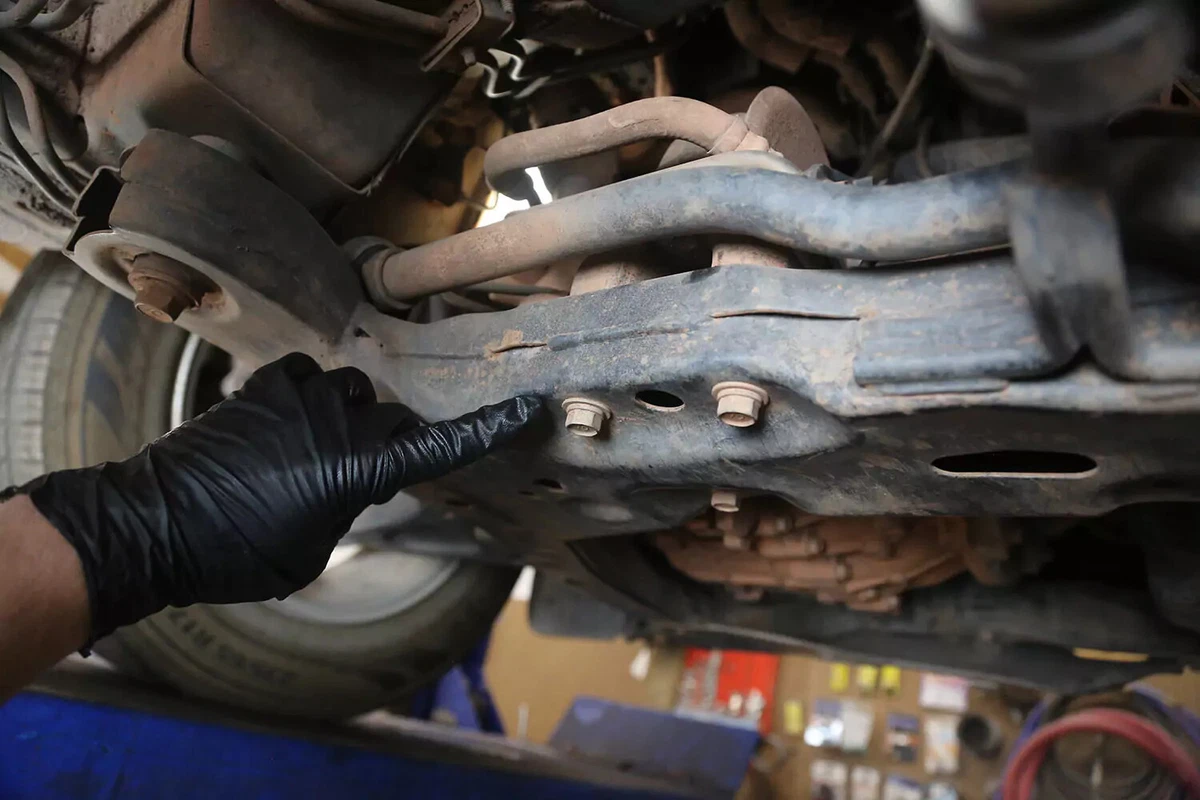
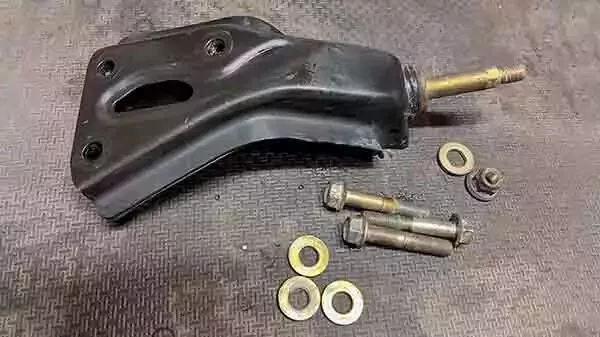
There will be two to four bolts that mount the chassis.
For our demo vehicle, the mount has three bolts on the subframe and one bolt to the transmission. Four more bolts attach the transmission-mount bracket to the transmission. On most vehicles, these do not need to be removed.
Your vehicle might require removing other brackets or components to remove the transmission mount. Consult your vehicle’s repair manual to confirm.

Loosen the transmission-to-chassis bolts. Leave them in position for now.
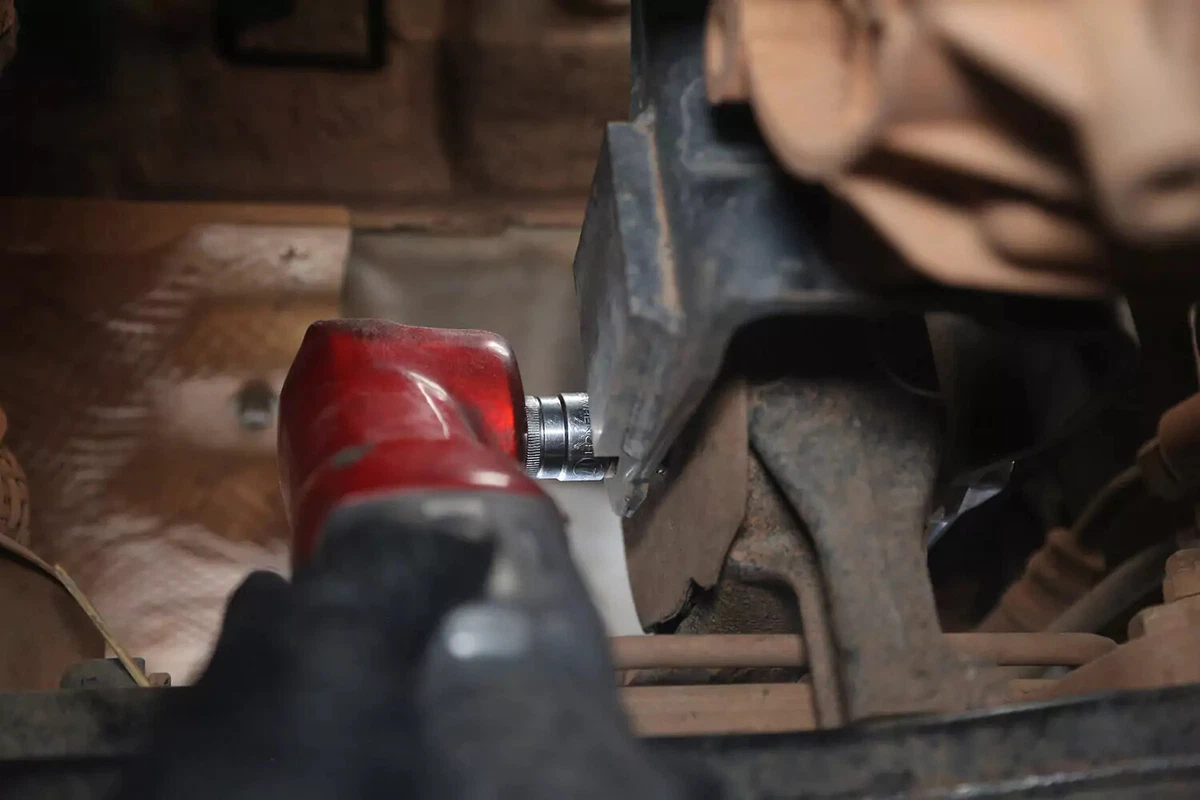
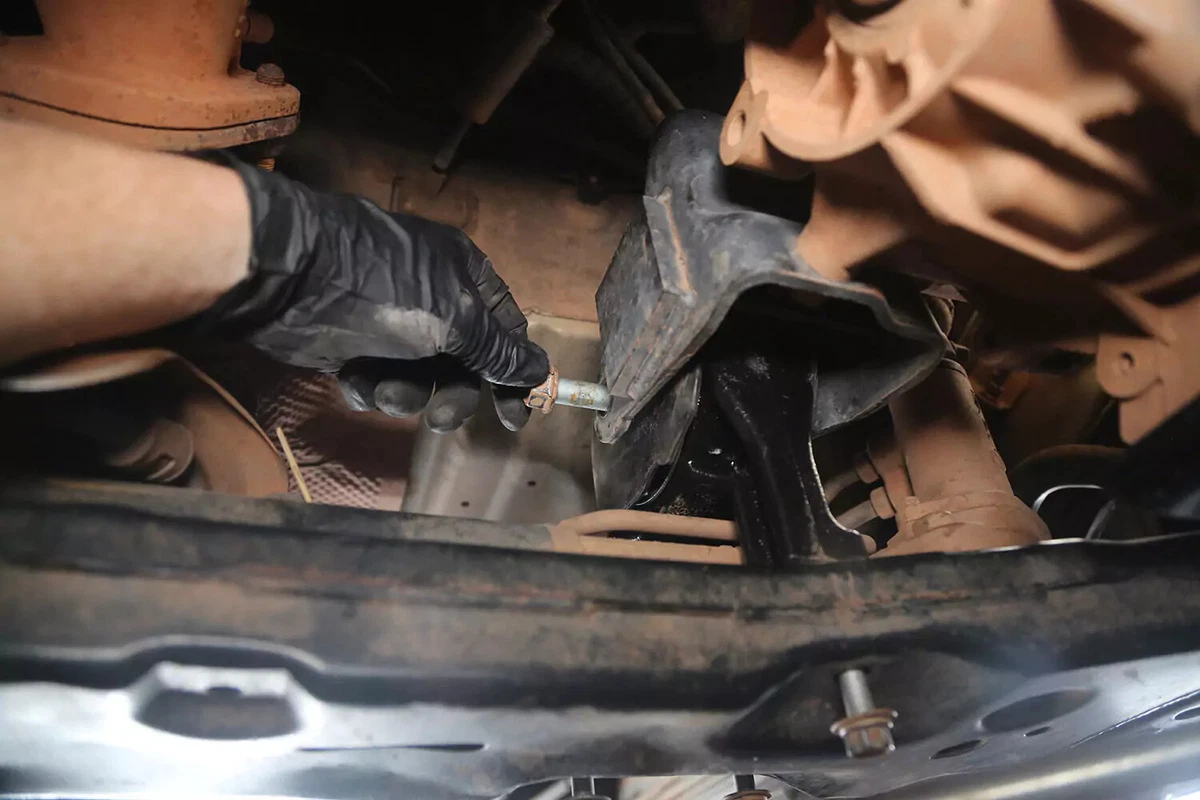
Depending on the mount style, you may have a crossbolt. Or, the mount might use flanges where the bolts do not go through the rubber mount.
Our demo vehicle has a crossbolt, which is removed using a wrench on one side and a socket on the other. These can be hard to remove in tight quarters. Use a breaker bar, impact wrench, or cheater bar to get the required leverage.
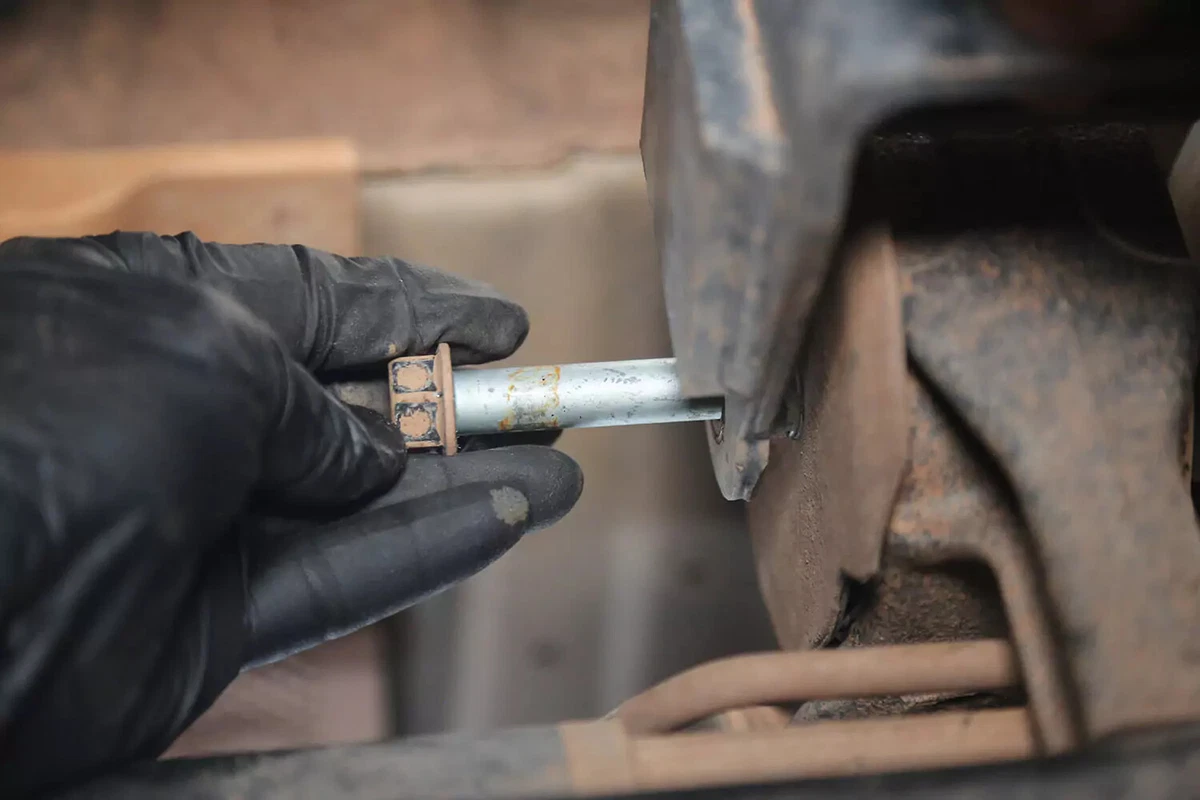
Remove the crossbolt. Then, remove the mount to the chassis bolts.

Use the jack to raise the transmission slowly until the mount can be removed. Most transmissions need only a short lift, but some require raising the transmission a couple of inches to clear the mount.
Raise the transmission just enough to get the mount out. However, too much lift can strain the other drivetrain mounts.
Our demo vehicle has a couple of support notches that lock the mount into the transmission bracket. We needed to apply extra lift to get the mount free.

Remove the mount from the vehicle. Most transmission mounts simply slide out. But you might have to roll the mount out of the bracket.
Install the new mount. The steps are the same as removing but in reverse.
The new mount should slide or roll into place easily.

Reinstall the original bolts into the mount, securing the position of the mount to the chassis.
Thread the bolts to set the position, but don’t tighten them yet. This allows the mount to shift as needed after the transmission is lowered onto the mount.

Slowly lower the transmission onto the mount until the crossbolt holes line up.
Use the same process for flange-mount bolts.
Reinstall the original crossbolt through the mount. Thread on the nut.
If the transmission is still raised, lower it. The transmission support can now be removed.
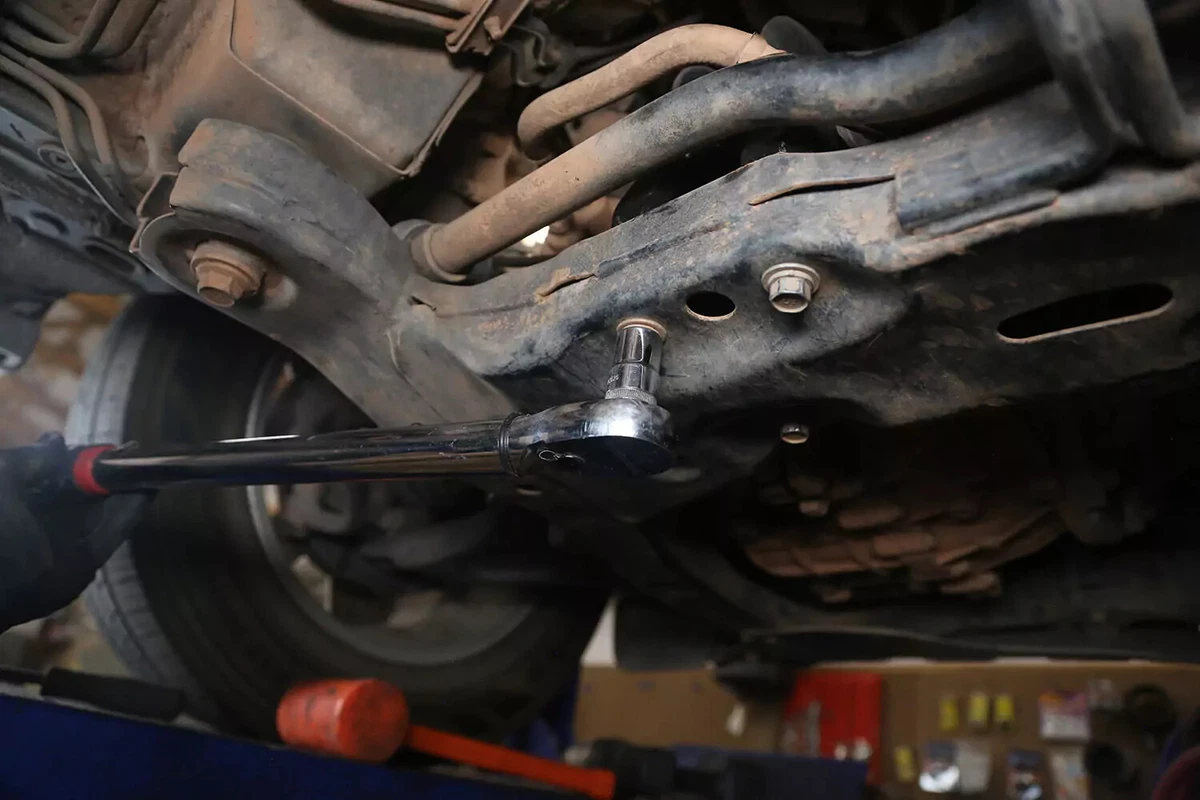
Tighten the chassis-mount bolts and crossbolt. Use a torque wrench to tighten the bolts to the factory specs.
Refer to your vehicle’s repair service manual for the torque specs—usually around 18 to 45 pound-feet for transmission mount bolts.
About the author

Share your feedback
This article is meant to provide general guidance only. Automotive maintenance, repair, upgrade, and installation may depend on vehicle-specifics such as make and model. Always consult your owner's manual, repair guide for specific information for your particular vehicle and consider a licensed auto-care professional's help as well, particularly for advance repairs.
Recommended for you
Find answers and inspiration-

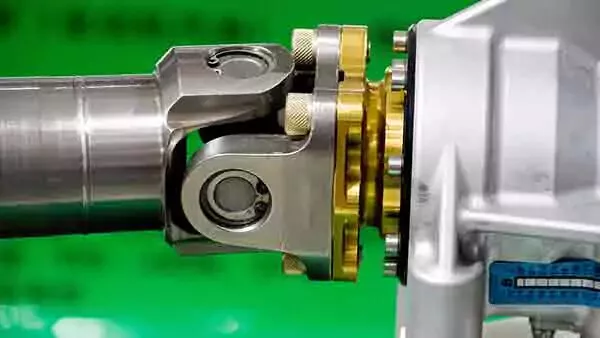
Types of U-Joints and When They Go Bad
6 min read -

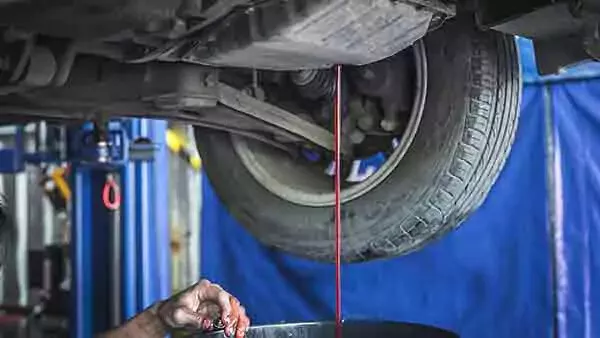
How to Buy the Right Differential Fluid
4 min read -
An Intro to Replacing Clutch Fluid
5 min read -

How to Change Manual Transmission Fluid
4 min read -
Picking the Right Manual Transmission Fluid
4 min read -

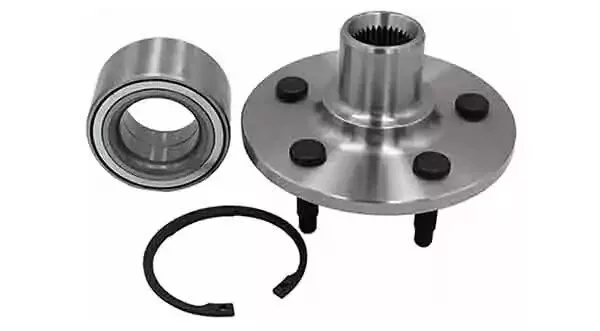
How to Replace Wheel Bearings
7 min read -

How To Replace Differential Fluid
8 min read -

Choosing the Right Clutch Fluid
6 min read -
Buying the Right Transmission Fluid and Filter
4 min read -
Buying the Right CV Axle
6 min read -

How to Replace Transmission Fluid and Filter
11 min read -

How to Change Automatic Transmission Fluid
6 min read -
What to Know About Changing Transmission Fluid
6 min read -
How to Replace a U-Joint
14 min read -
Choosing the Best Clutch Master Cylinder
4 min read -
Buying the Right Transmission Mounts
4 min read -

How to Buy the Right Transmission Fluid
5 min read -
A Quick Guide to Your Clutch Master Cylinder
5 min read -

How to Replace a Clutch Master Cylinder
11 min read -
Replacing Your Transmission Fluid and Filter
5 min read -
Selecting the Right Transfer Case Fluid
4 min read -
What Your Differential Fluid Is Telling You
5 min read -

How to Replace a CV Axle
7 min read -

Everything You Need to Know About Wheel Bearings
7 min read -

How to Replace an Idler Pulley
4 min read -

What You Need To Know About Transfer Case Fluid
4 min read -
Understanding the Purpose of Transmission Mounts
5 min read -
U-Joint Buying Guide
4 min read -
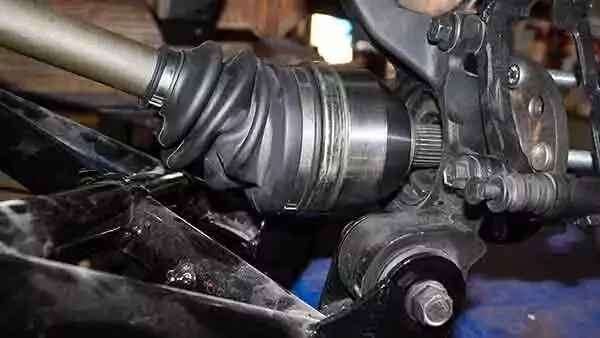
An Introduction to CV Axles and Joints
5 min read -
How to Buy the Right Replacement Wheel Bearings
6 min read -

How to Replace Ball Joints
12 min read -
An Intro to Replacing Manual Transmission Fluid
4 min read
Explore more projects
How to Change a Thermostat
30 to 60 minutes
Intermediate
7 min read

How to Replace a Car Starter
1 to 2 hours
Intermediate
7 min read

How to Replace Spark Plugs
1 to 2 hours
Intermediate
7 min read

How to Replace Engine Mounts
1 to 2 hours
Intermediate
4 min read
How to Change Manual Transmission Fluid
Less than 30 minutes
Intermediate
4 min read

How to Change a Water Pump
1 to 2 hours
Intermediate
8 min read

How to Replace an Intake Manifold Gasket
2 to 5 hours
Intermediate
7 min read
How to Replace Wheel Bearings
1 to 2 hours
Intermediate
7 min read

How to Replace Tie Rod Ends
30 to 60 minutes
Intermediate
8 min read
How to Replace a Heater Core
More than 5 hours
Intermediate
12 min read

How to Replace a Power Steering Pump
1 to 2 hours
Intermediate
7 min read

How to Replace a Steering Gearbox
2 to 5 hours
Intermediate
8 min read
How to Replace Power Steering Fluid
1 to 2 hours
Intermediate
8 min read
How to Change Automatic Transmission Fluid
Less than 30 minutes
Intermediate
6 min read
How to Replace a U-Joint
1 to 2 hours
Intermediate
14 min read

How to Replace a Car Radiator
1 to 2 hours
Intermediate
8 min read

How to Change an In-Tank Fuel Pump
2 to 5 hours
Intermediate
9 min read