Your vehicle’s entire weight rides on a handful of wheel bearings packed in grease at the end of the suspension. When the bearings begin to fail, you may hear grinding or whining. You might also feel vibrations and loose steering.
While wheel bearings typically last 85,000 miles or longer, they can wear out before then. If they reach the point of failure, your wheel can become locked. In extreme cases, the wheel could fall off.
There are two main types of wheel bearings.
-
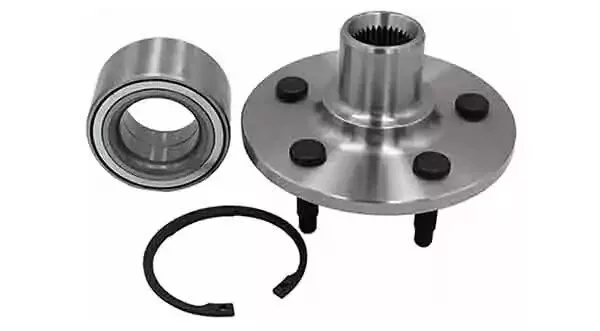
Most modern vehicles built since the early 2000s use sealed wheel bearing hubs. Most front-wheel-drive, all-wheel-drive, and four-wheel-drive vehicles use sealed bearing hubs on the front wheels and most rear wheels (except live axle).
-
The other style is commonly used on older vehicles for the non-drive wheels. These bearings are mounted in the wheel hub or integrated brake rotor with a front and rear bearing and a separate seal.
This guide shows how to replace a wheel bearing hub—the sealed style you are most likely to encounter.
Is it hard to replace wheel bearings on a car?
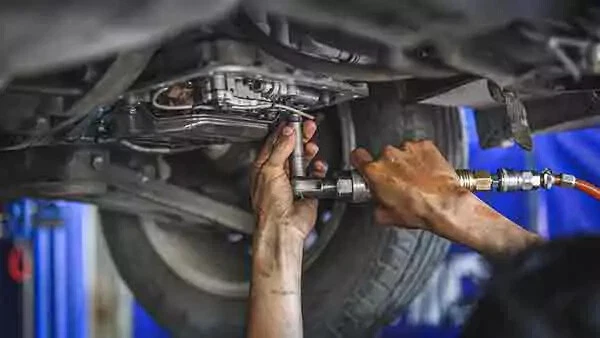
Changing wheel bearings in a sealed hub is an intermediate do-it-yourself mechanic job. Because you’ll need to remove the wheel, axle hub (on drive wheels), and brake, (and possibly disconnect some electrical components), the entire wheel bearing replacement process usually takes one or two hours.
Tips and tricks for DIY wheel bearing replacement
-
Electrical components, such as ABS and speed sensors, may be connected to the hub. Remember to disconnect and then reconnect these during your installation. Otherwise, the check engine light might illuminate.

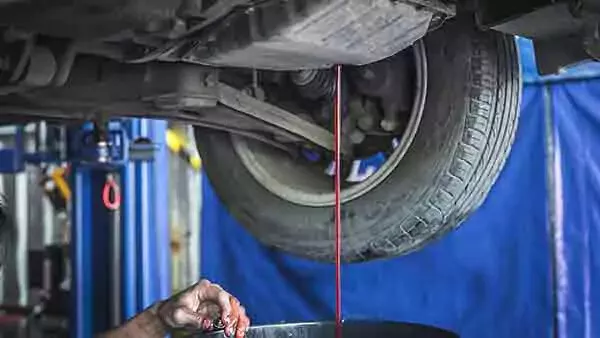
This project requires working safely under the vehicle. You will need a floor jack, and jack stands, ramps, or wheel cribs to support the vehicle.
Multiple steps below are best performed with the wheels on the ground. Read through all the steps before beginning this job.
Locate the factory jacking points just behind the front wheels or just in front of the rear wheels. The jacking point is a metal section with two V notches about two inches apart. Check your owner’s manual to confirm the lift location.
Never use jack stands on dirt, gravel, or asphalt. If you do not have access to a concrete work surface, use wheel cribs, solid-base ramps, or wide-base wood supports to support the vehicle. Never use cinder blocks or bricks as supports.
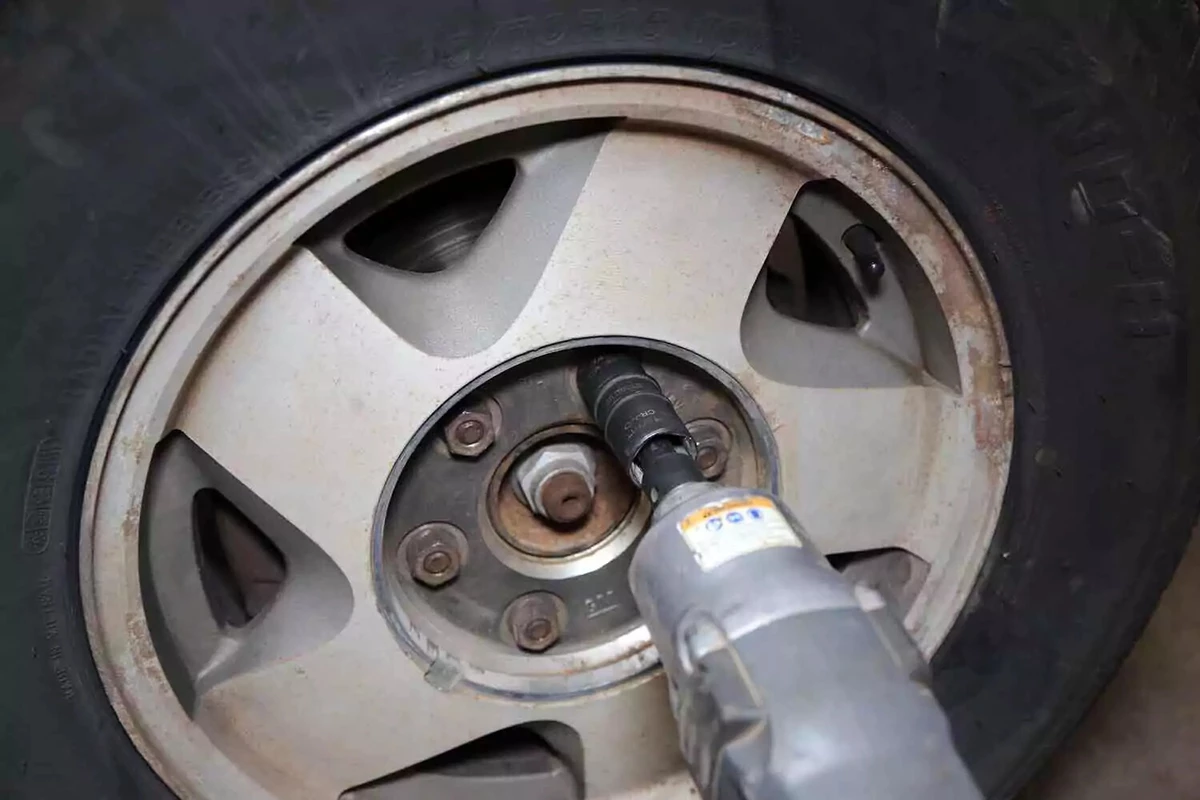
Lug nuts can be difficult to remove. If you plan to use a lug wrench or a socket and breaker bar, begin by loosening the nuts free while the wheels are on the ground.
Then, after you raise the vehicle, remove the lug nuts and pull off the wheel. If you have an impact gun, use it to spin the lugs off while the vehicle is raised.
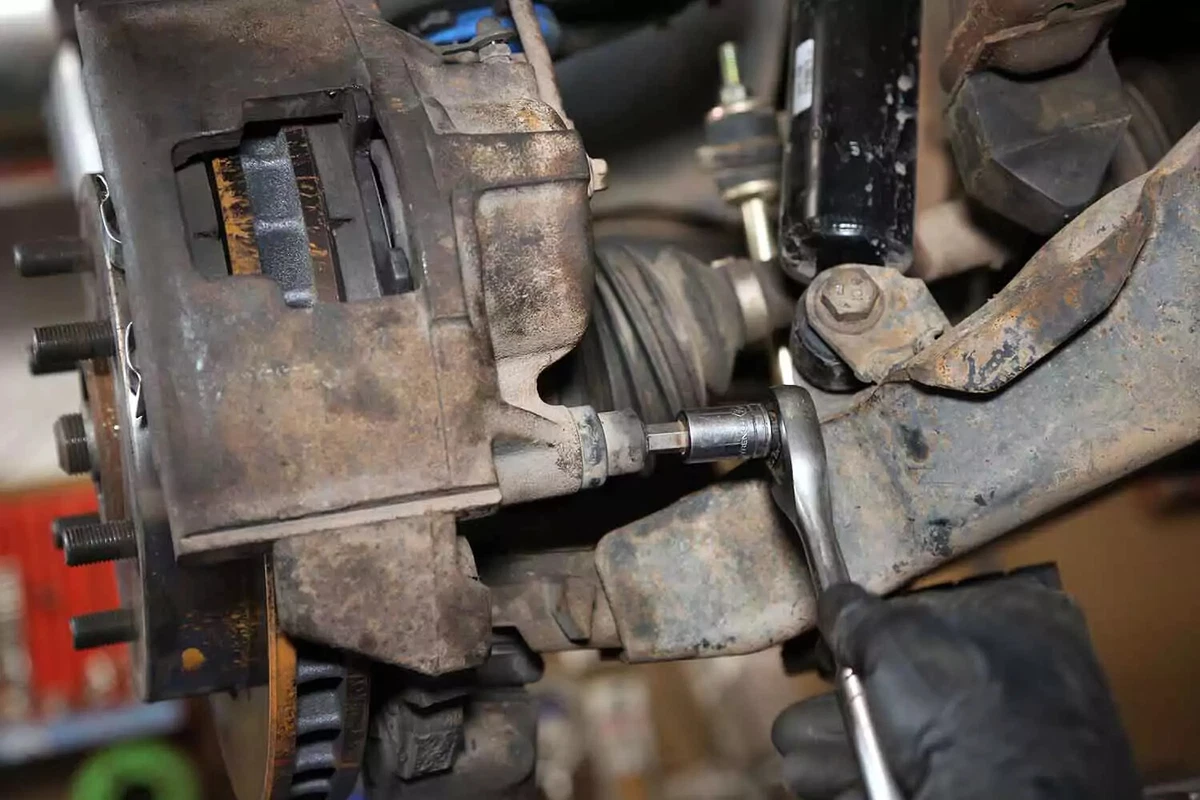
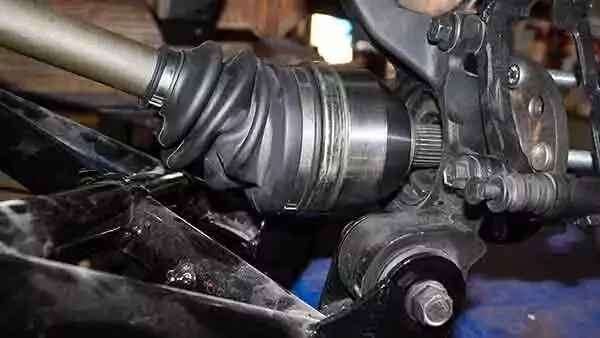
To gain access to the wheel hub, remove the caliper, caliper bracket, and rotor.
You might need to use a pry bar or flat-blade screwdriver to gently pry between the brake pads to slightly open up the pistons in the caliper. This will make removing and installing the brakes easier.
Use a zip tie or baling wire to store the caliper away from the suspension. You can also tuck it away on the chassis, as shown here. Do not let the caliper hang by the hose.
If there is a Phillips-head bolt holding the rotor to the hub, it’s okay to drill it out if you can’t get it to budge. It’s not necessary to reinstall it, as it’s only there to keep the rotor in place while on the assembly line.
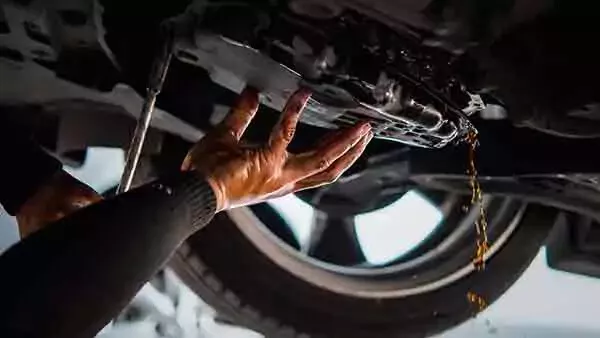
Rotor stuck on the hub? Use penetrating oil,\ and moderate tapping on the hub face of the rotor to free it up. Don’t damage the braking surface of the rotor unless you’re replacing it.

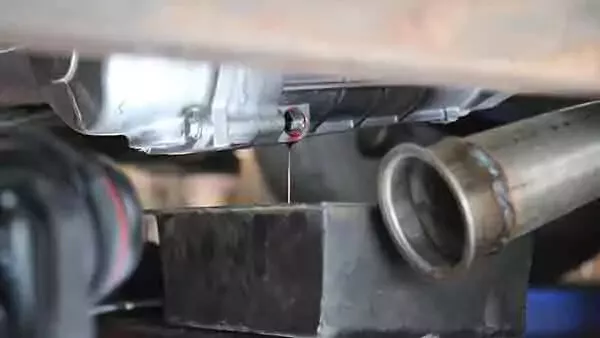
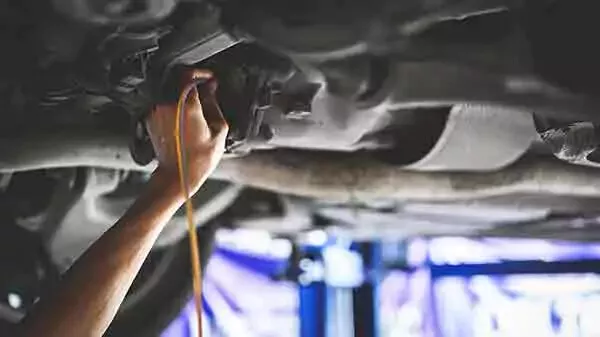
Locate any wires coming off the wheel hub and trace them to the connector. Disconnect the plug and remove any fasteners or clips holding the wires to the vehicle.
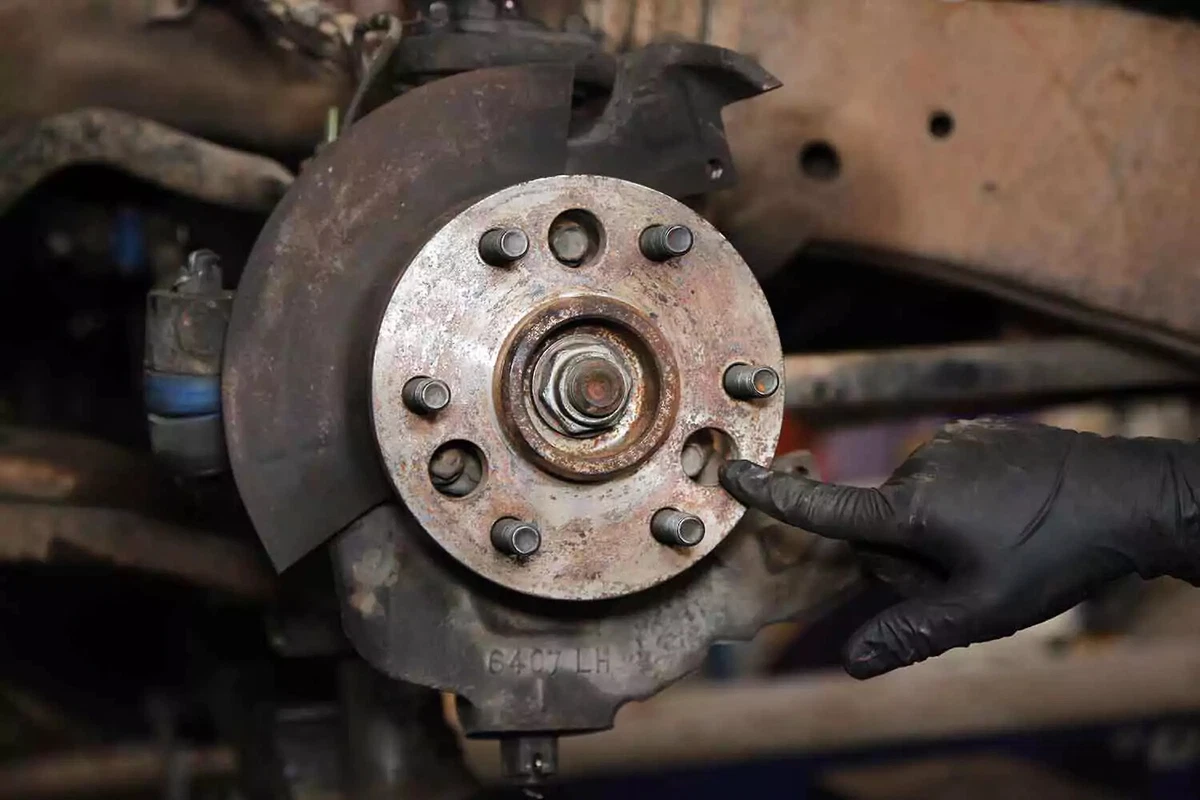
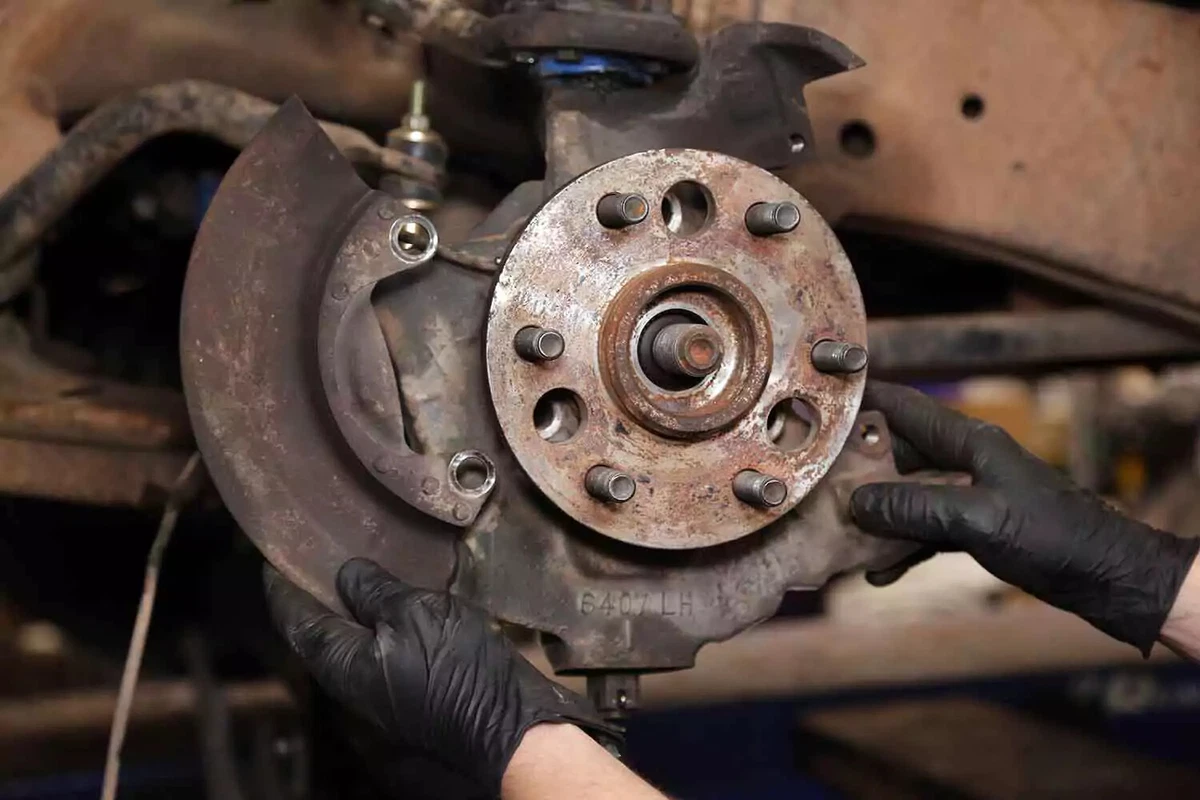
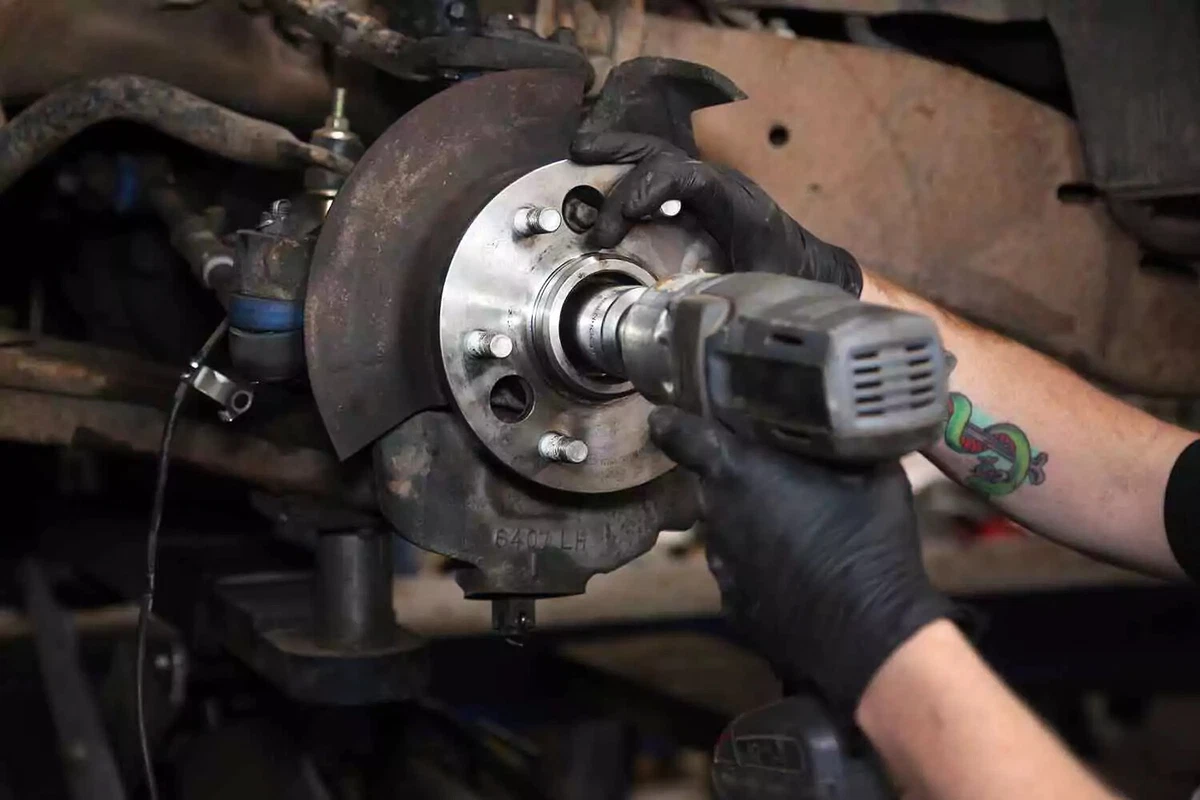
Most hubs have a feature like the one shown here: a series of holes that line up with the bolts holding the hub to the steering knuckle. Spin the hub so that the holes line up with the bolts.

For drive wheels, use an impact gun to remove the axle nut.
If you don’t have an impact gun, do this step while the wheel is still on the ground. Access the nut through the center of the wheel. A breaker bar on the socket—perhaps using a pipe to extend it—will help you loosen and remove the large nut.

Some vehicles have a spacer or washer behind the axle nut. Retain them for reuse.

Use a socket and ratchet or impact gun to remove the wheel hub bolts from the knuckle. Save these for reuse.
Some vehicles have only one access hole, so you may need to rotate the hub to reach each bolt.
Your vehicle may have a splash shield for the brake rotor, attached by the hub bolts. Remove the shield and set it aside.
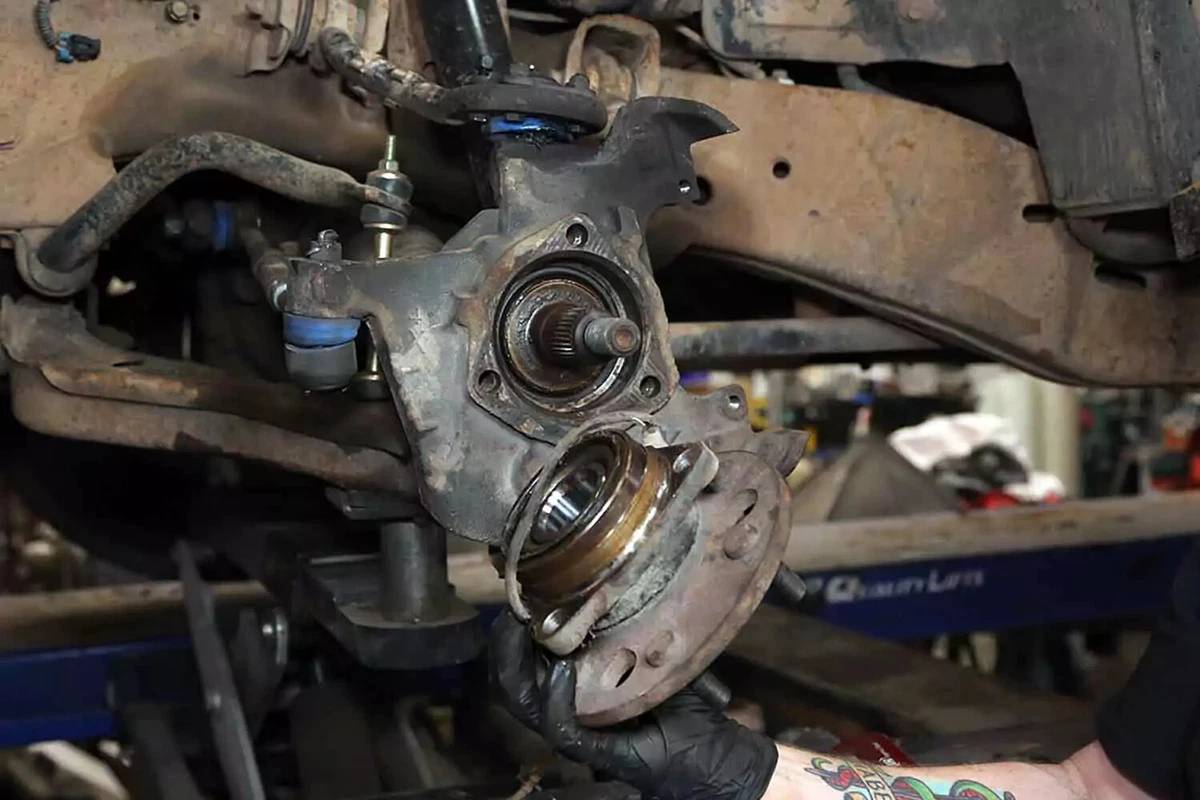
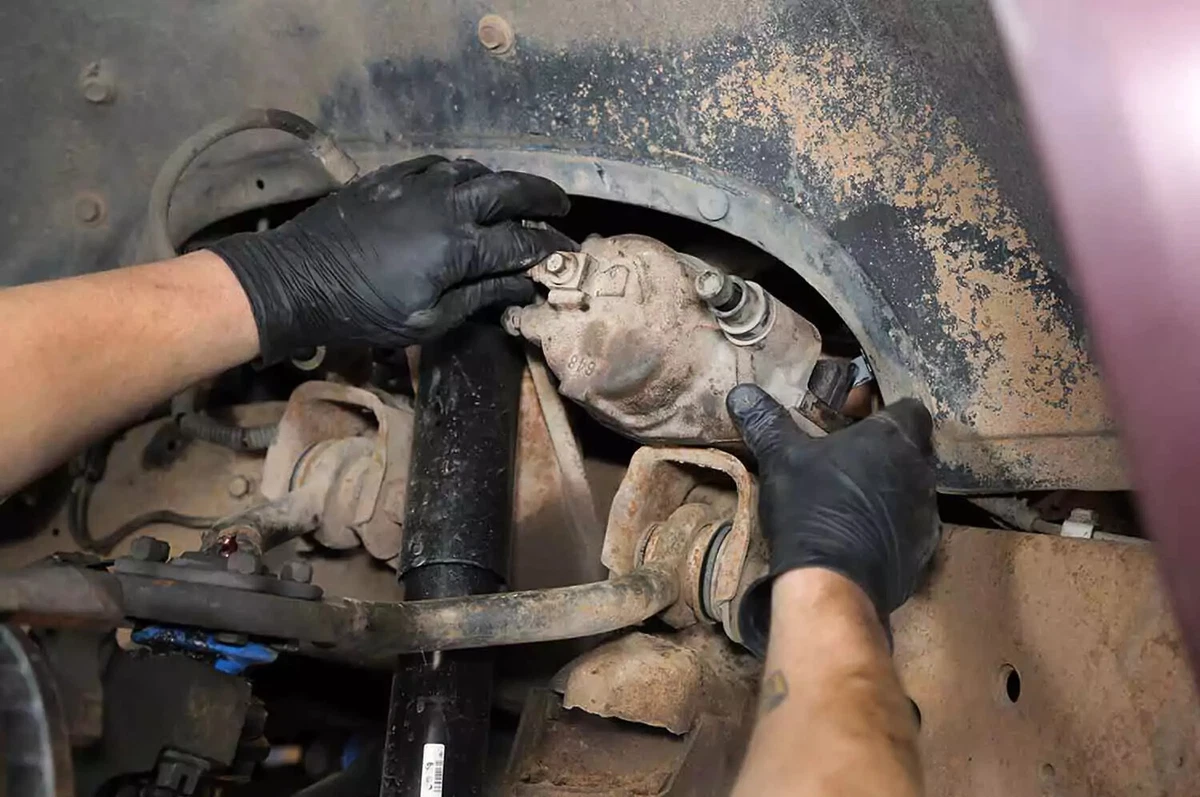
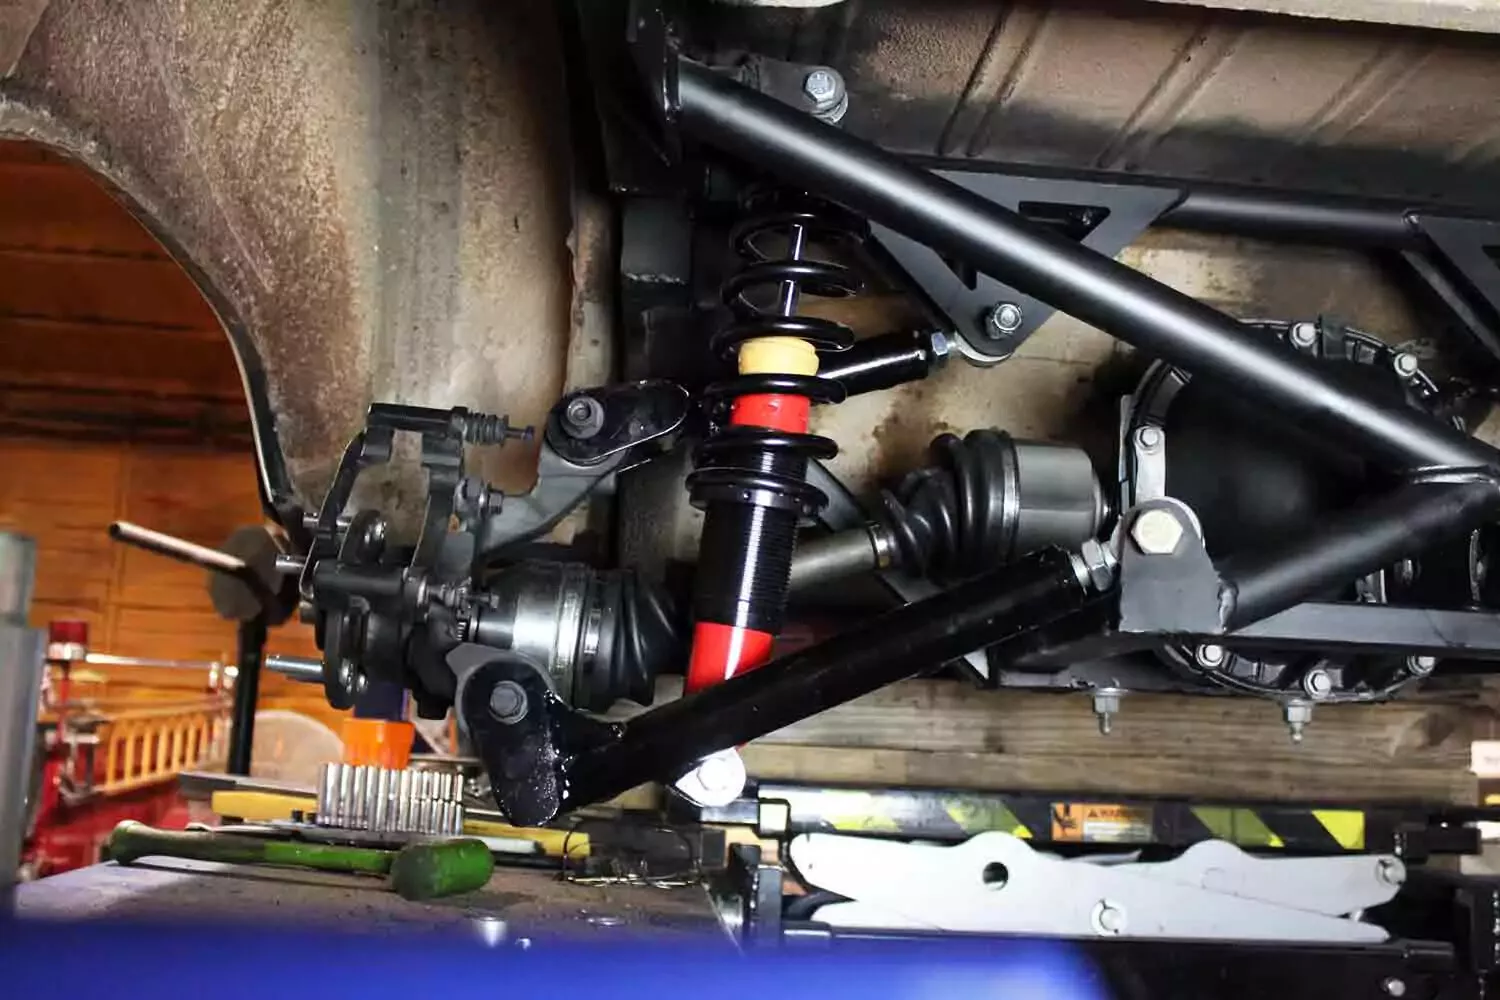
In most cases, the hub will easily slide out. However, you might need to use a wheel bearing hub remover tool.
Tools for removing wheel bearings come in several varieties. The most common axle/puller designs are three-jaw, behind-hub clamp, and bolt-on. Pullers may have a threaded jackscrew or a slide hammer.
When you remove the hub, make a note of how the wire harness for the wheel speed sensor is routed. Ensure the new hub’s orientation allows the wires to be installed the same way. Otherwise, the wires may not reach, or they could get caught in moving parts.
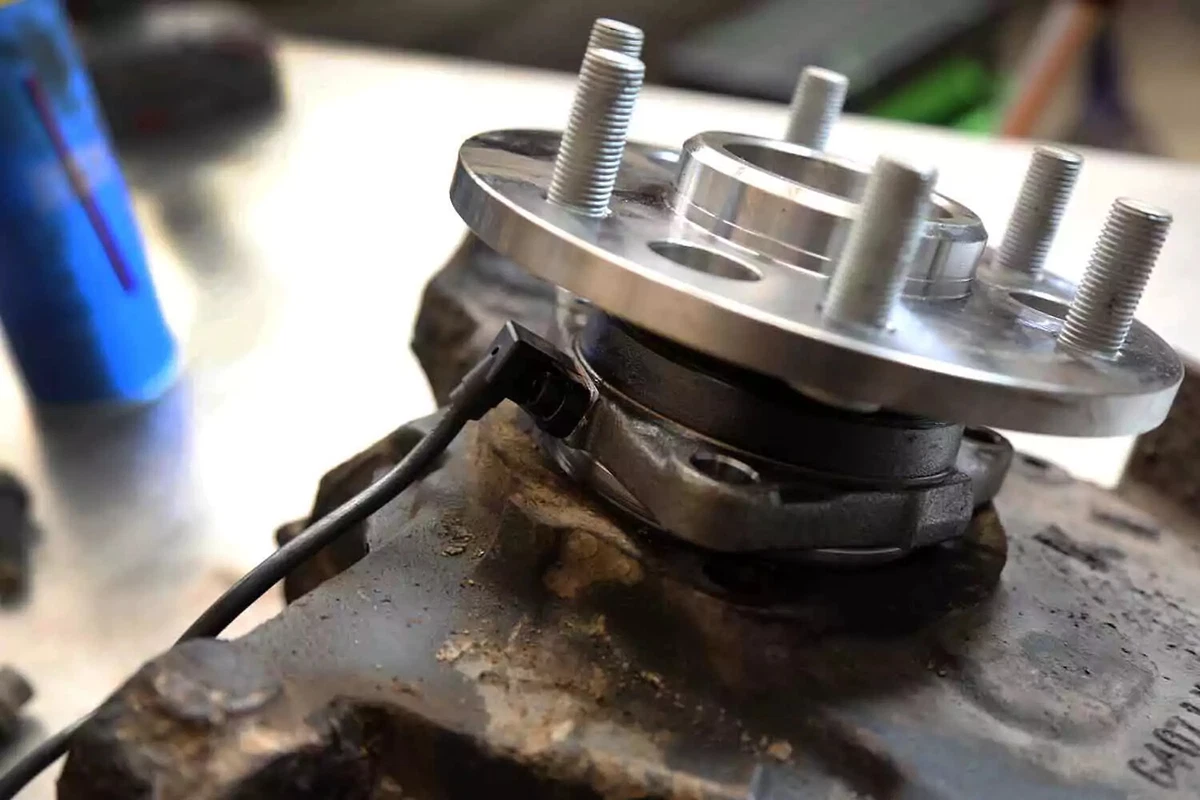
Clean the bore in the knuckle of debris and corrosion so the new hub will slide in easily. Insert the new wheel bearing hub into the knuckle. Most new wheel bearing hubs are sealed. They don’t require grease or have external seals to install.

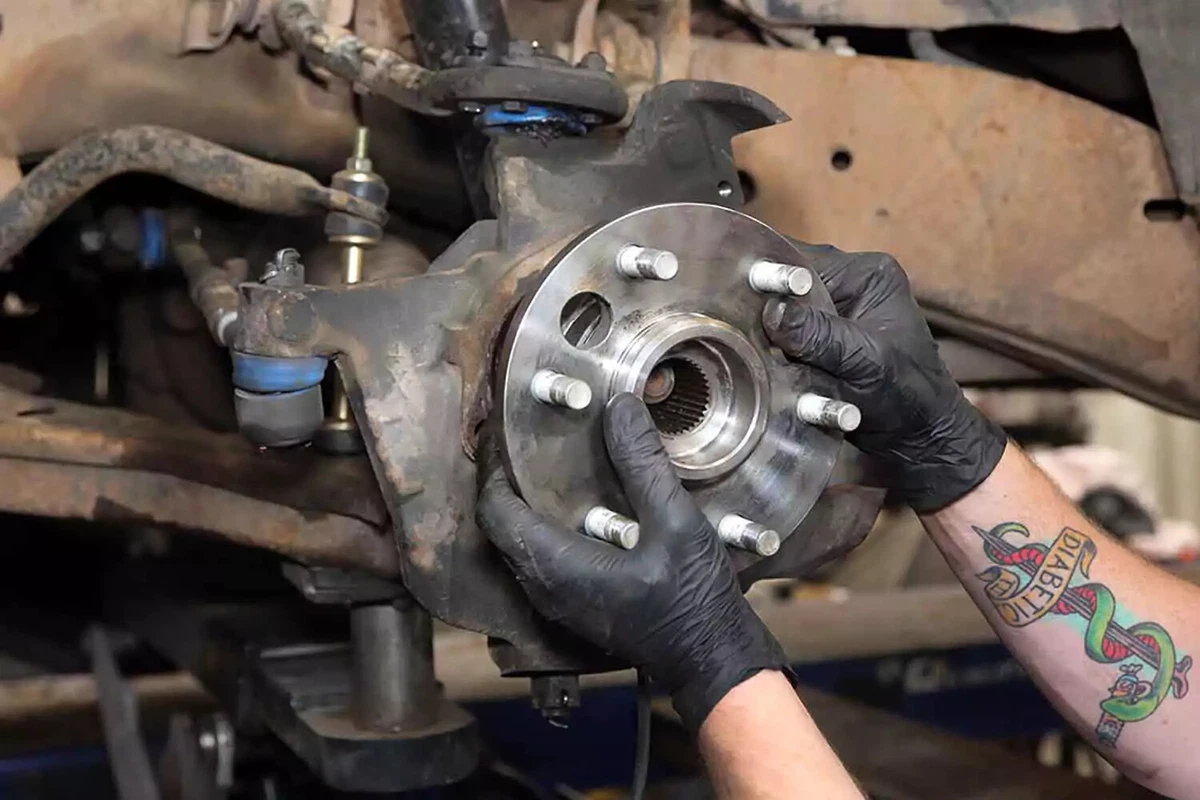
Rotate the hub to the correct orientation and install the original fasteners. Don’t torque these yet, in case you need to remove something before the installation is complete.

Before inserting all of the bolts, reinstall the splash shield (if equipped) in the original location.
Route any wires under or through the shield in the original layout. Our demo vehicle uses the shield to protect the wheel-speed sensor wire.
Use an impact gun to reinstall the original axle nut (and any spacers or washers) to the axle and hub. Make them snug. They will get fully torqued later.
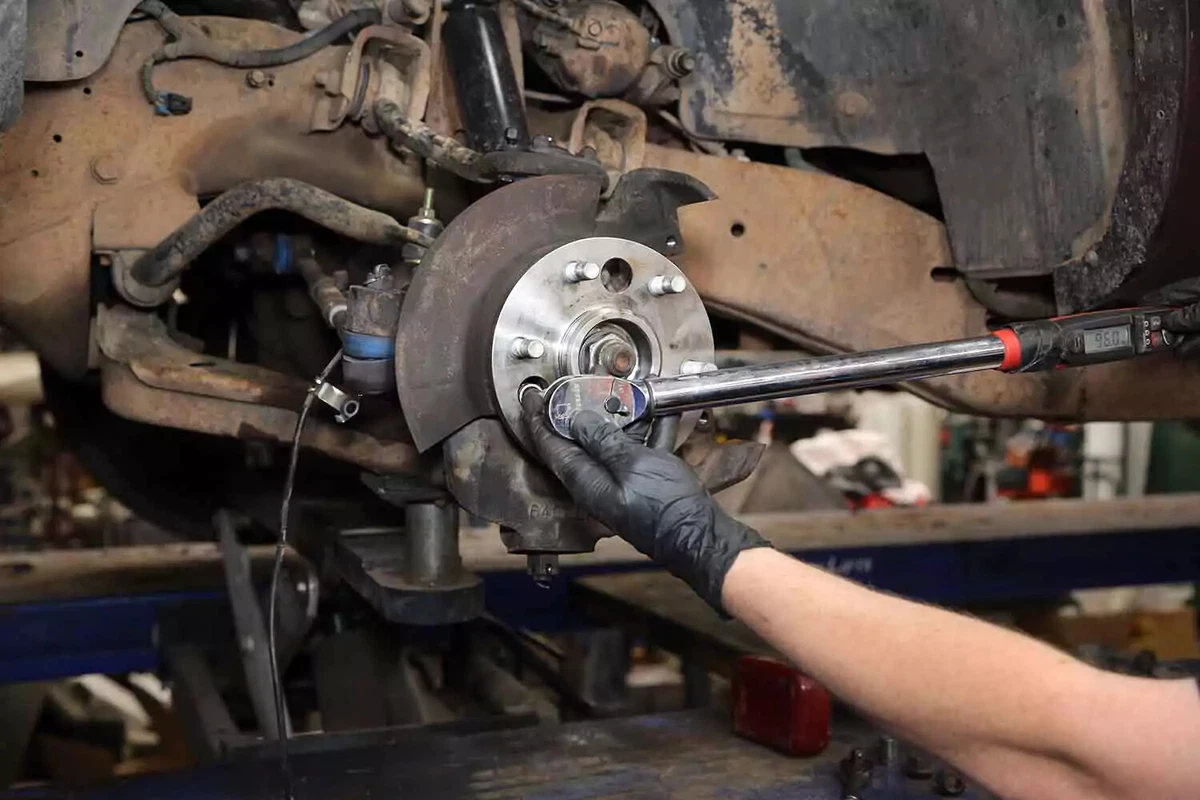
Use a torque wrench or gauge to tighten the wheel hub bolts. Consult your repair manual for torque specifications.

Use the original clips and fasteners to reconnect the hub’s electrical wiring. Follow the harness's original routing to keep it from conflicting with any moving parts.

Reinstall the brake rotor and caliper. Follow the same steps you used to remove them but in reverse.
Use a drill-mounted wire brush to clean the hub’s mating surface and rotor. Any dirt or debris between the hub and rotor could cause the rotor to wobble.
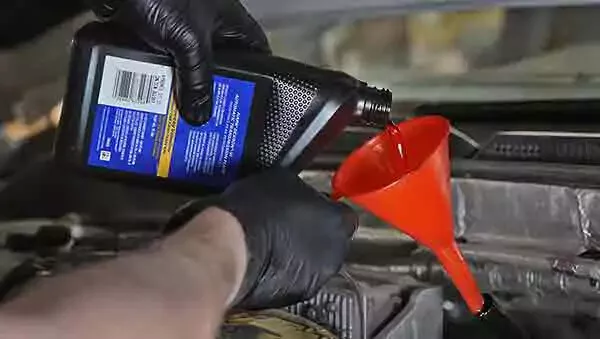
If your brake pads are worn, now is a good time to replace them.
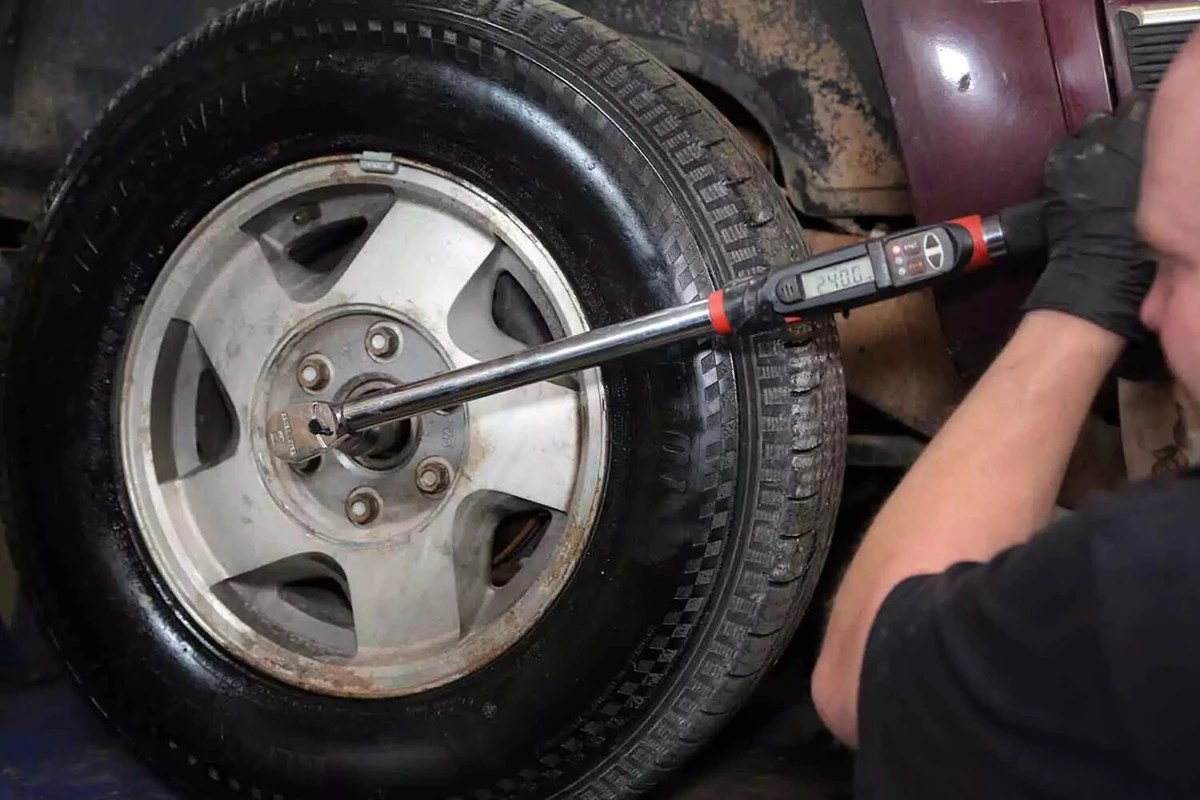
First, remove the jack stand and lower the vehicle. Then, torque the lug nuts to the specifications in your owner’s manual. The axle nut is typically torqued to 230 to 250 pound-feet. Some axle nuts are one-time-use and should be replaced.
If your wheel bearing caused trouble codes to be set, use a scan tool to clear them now.
About the author

Share your feedback
This article is meant to provide general guidance only. Automotive maintenance, repair, upgrade, and installation may depend on vehicle-specifics such as make and model. Always consult your owner's manual, repair guide for specific information for your particular vehicle and consider a licensed auto-care professional's help as well, particularly for advance repairs.
Recommended for you
Find answers and inspiration-

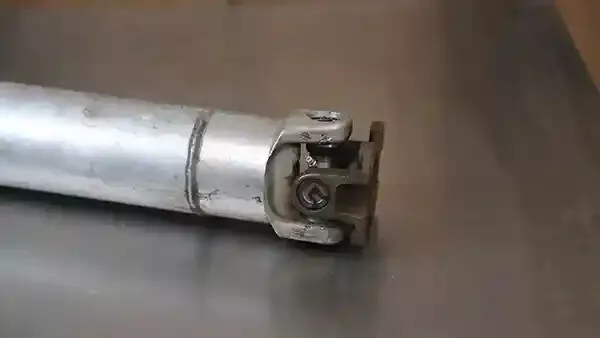
Types of U-Joints and When They Go Bad
6 min read -

How to Buy the Right Differential Fluid
4 min read -
An Intro to Replacing Clutch Fluid
5 min read -

How to Change Manual Transmission Fluid
4 min read -
Picking the Right Manual Transmission Fluid
4 min read -

How To Replace Differential Fluid
8 min read -

Choosing the Right Clutch Fluid
6 min read -
Buying the Right Transmission Fluid and Filter
4 min read -
Buying the Right CV Axle
6 min read -

How to Replace Transmission Fluid and Filter
11 min read -

How to Change Automatic Transmission Fluid
6 min read -
What to Know About Changing Transmission Fluid
6 min read -
How to Replace a U-Joint
14 min read -
Choosing the Best Clutch Master Cylinder
4 min read -
How to Buy the Right Transmission Fluid
5 min read -
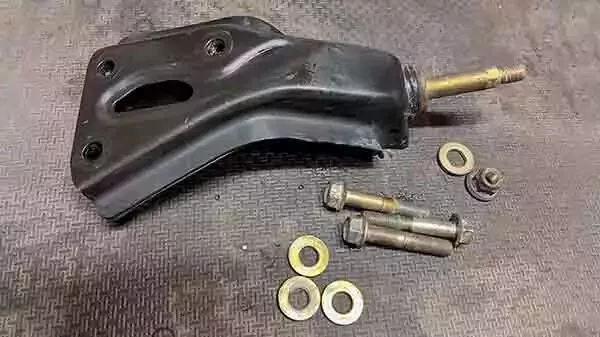
Buying the Right Transmission Mounts
4 min read -
A Quick Guide to Your Clutch Master Cylinder
5 min read -

How to Replace a Clutch Master Cylinder
11 min read -
How to Replace a Transmission Mount
7 min read -
Replacing Your Transmission Fluid and Filter
5 min read -
Selecting the Right Transfer Case Fluid
4 min read -
What Your Differential Fluid Is Telling You
5 min read -

How to Replace a CV Axle
7 min read -

Everything You Need to Know About Wheel Bearings
7 min read -

How to Replace an Idler Pulley
4 min read -
What You Need To Know About Transfer Case Fluid
4 min read -
Understanding the Purpose of Transmission Mounts
5 min read -
U-Joint Buying Guide
4 min read -
An Introduction to CV Axles and Joints
5 min read -
How to Buy the Right Replacement Wheel Bearings
6 min read -

How to Replace Ball Joints
12 min read -
An Intro to Replacing Manual Transmission Fluid
4 min read
Explore more projects
How to Change a Thermostat
30 to 60 minutes
Intermediate
7 min read

How to Replace a Car Starter
1 to 2 hours
Intermediate
7 min read

How to Replace Spark Plugs
1 to 2 hours
Intermediate
7 min read
How to Replace a Transmission Mount
1 to 2 hours
Intermediate
7 min read

How to Replace Engine Mounts
1 to 2 hours
Intermediate
4 min read

How to Change a Water Pump
1 to 2 hours
Intermediate
8 min read
How to Change Manual Transmission Fluid
Less than 30 minutes
Intermediate
4 min read

How to Replace an Intake Manifold Gasket
2 to 5 hours
Intermediate
7 min read

How to Replace Tie Rod Ends
30 to 60 minutes
Intermediate
8 min read
How to Replace a Heater Core
More than 5 hours
Intermediate
12 min read

How to Replace a Power Steering Pump
1 to 2 hours
Intermediate
7 min read

How to Replace a Steering Gearbox
2 to 5 hours
Intermediate
8 min read
How to Replace Power Steering Fluid
1 to 2 hours
Intermediate
8 min read
How to Change Automatic Transmission Fluid
Less than 30 minutes
Intermediate
6 min read
How to Replace a U-Joint
1 to 2 hours
Intermediate
14 min read

How to Replace a Car Radiator
1 to 2 hours
Intermediate
8 min read

How to Change an In-Tank Fuel Pump
2 to 5 hours
Intermediate
9 min read