The lifeblood of your vehicle’s transmission is the fluid. Over time, automatic transmission fluid (AFT) gets dirty from moisture, dirt, and chemical breakdown. Most manufacturers recommend changing automatic transmission fluid every 60,000 to 100,000 miles. Often, by the time you feel the symptoms—sloppy shifts, noise, slow shifting—the burned, contaminated fluid has already damaged your transmission.
Your transmission filter cleans most dirt and debris, but it can’t get it all. After the filter reaches its end of life, it’s no longer doing its job. Replace the transmission filter when you change your transmission fluid. A substantial amount of sludge can collect in the bottom of the pan.
Check your owner’s manual to ensure that you use the correct type and rating of transmission fluid. This is important. Transmissions require different additives and detergents to function properly.
Transmissions typically hold 10 to 16 quarts of fluid. You can only drain about half of that with this process. That’s the best way to do a fluid change at home. Purchase enough fluid to do a full change while leaving enough for top-offs.
You should always check the transmission fluid level with the engine running, with the exception of the initial fill after installing the pan, which is done to make sure there is enough fluid in the transmission to operate safely. Don’t start the transmission until the fluid is in the full range on the stick. It will drop significantly after the vehicle is running. Then start the engine and add more fluid until it is at the full mark again.
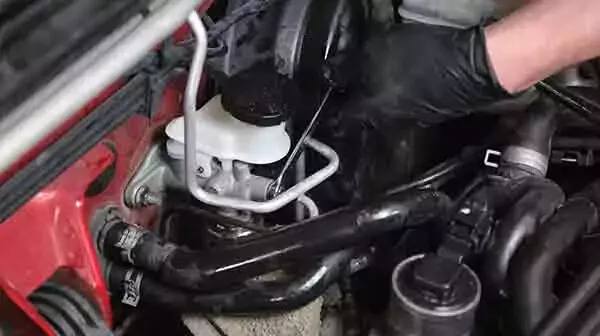
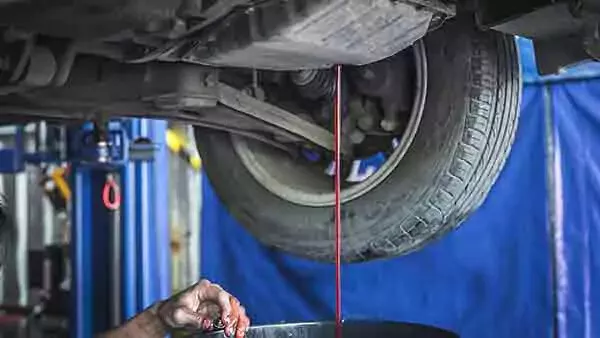
Changing your transmission fluid and filter is more involved than an oil change. In most cases, you need to remove the transmission pan. This job can be messy, so keep lots of towels on hand for cleanup.
Flush Or No Flush?
For a chemical flush, you add a flush treatment to the transmission, drive it for about 20 minutes, and then do a fluid change. This is not necessary for a typical servicing but can be good for transmissions that have been run hot, or if the transmission starts showing signs of failure, including slipping, skipping gears, and not shifting at all.
If you have these symptoms, a chemical flush can help free up stuck valves and clear passages, getting more life out of a failing transmission.
Tips and Tricks
-
Most but not all vehicles have serviceable transmission filters. All vehicles built before the late 1990s have them. Some modern vehicles use “lifetime” filters, which are not serviceable and are only changed when the transmission is rebuilt. Some vehicles, such as GM 2500 and 3500 trucks, have two filters: an external filter and an internal non-serviceable filter. Check your owner’s manual to confirm if your vehicle has a serviceable filter.
-
If your transmission has never been serviced and has clocked more than 150,000 miles, changing the fluid can cause the transmission to fail. This is due to the fact that the dirt and debris in the fluid have thickened the fluid to the point that it keeps the transmission working. For these high-mileage vehicles, slowly change the fluid over a month or two, a couple of quarts at a time.
-
Some vehicles don’t have a transmission dipstick. They are considered “lifetime fill” transmissions. Nonetheless, they still must be serviced at the same intervals as other transmissions. You can usually change the fluid at home, but the fill process can be more difficult. If your vehicle does not have a dipstick, check your repair manual about the refill process. You may need a special tool to add fluid to these transmissions from the bottom.
-
This procedure does not apply to vehicles with a continuously variable transmission (CVT).

This project requires working safely under the vehicle. You will need a floor jack, and jack stands, ramps, or wheel cribs to support the vehicle.
Locate the factory jacking points just behind the front wheels or just in front of the rear wheels. The jacking point is a metal section with two V notches about two inches apart. Check your owner’s manual to confirm the lift location.
Never use jack stands on dirt, gravel, or asphalt. If you do not have access to a concrete work surface, use wheel cribs, solid-base ramps, or wide-base wood supports to support the vehicle. Never use cinder blocks or bricks as supports.

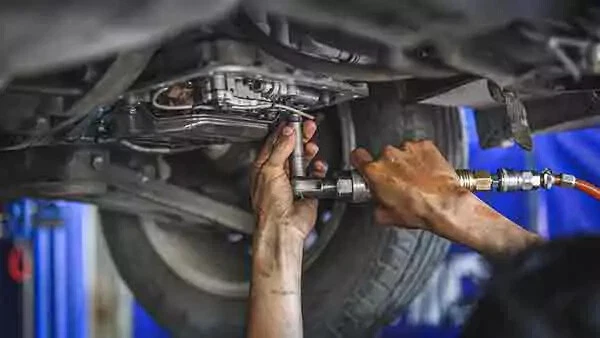
Look under the vehicle to locate the transmission pan.
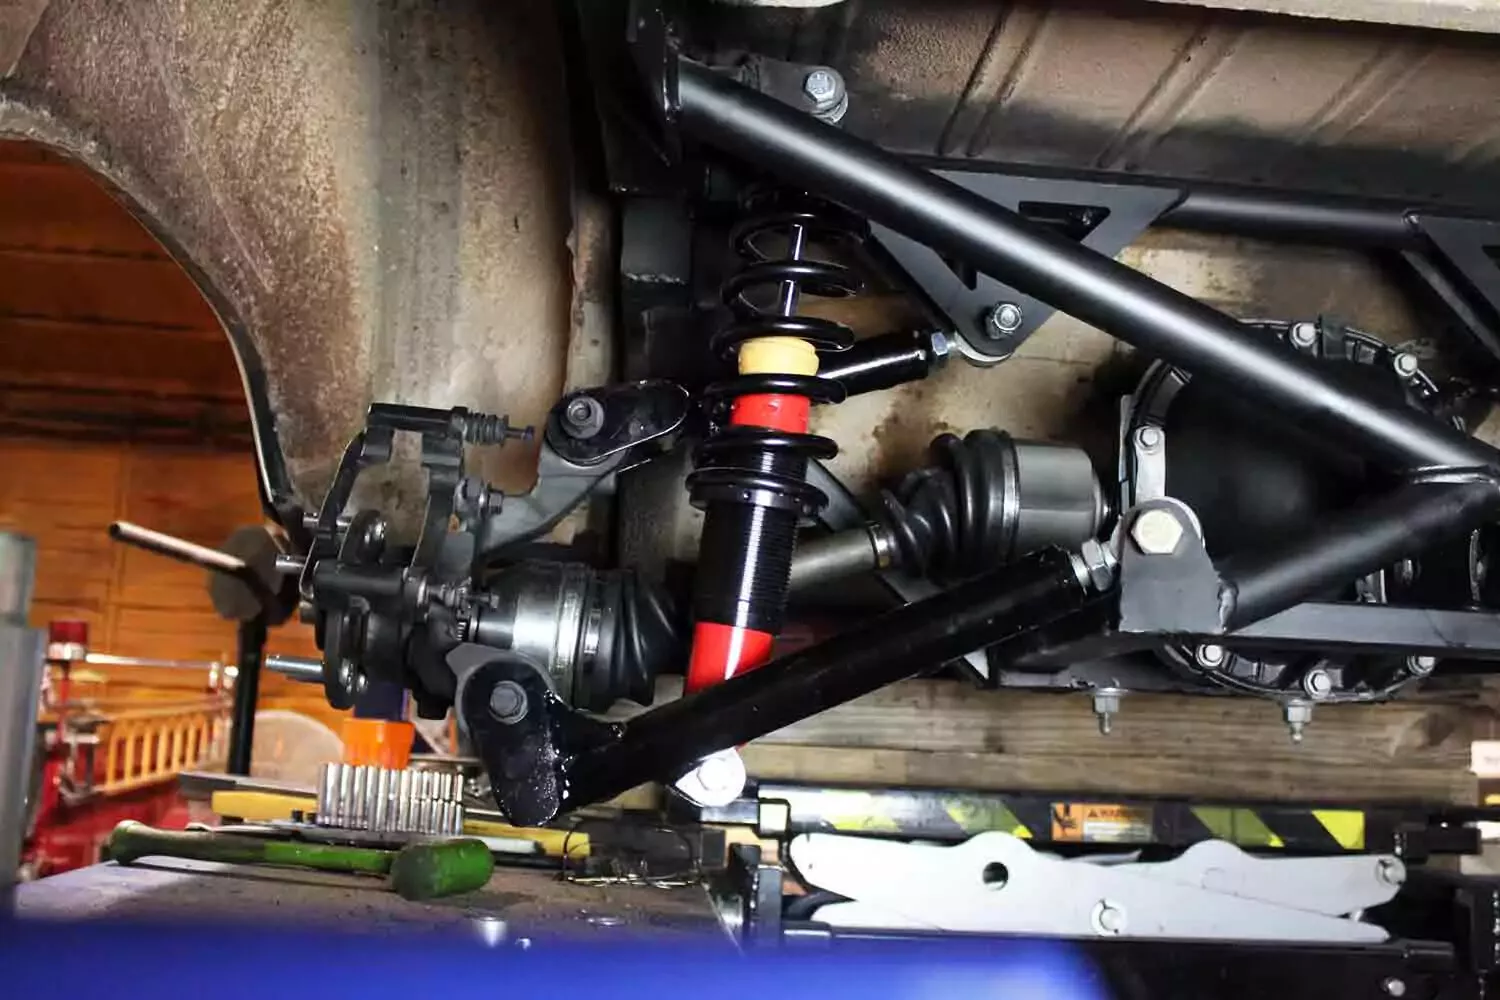
The transmission is typically found behind the engine in longitudinal engines (in which the engine sits in the vehicle with the drive belts at the front) or to the side of the engine in horizontal configuration (when drive belts are to the side of the vehicle).
The transmission has a driveshaft running the rear wheels for rear-wheel-drive and four-wheel-drive vehicles. It has axles to the front wheels in front-wheel-drive and all-wheel-drive vehicles.
A typical transmission (left) has a serviceable filter. This guide focuses on this common type. A transmission with an external filter (top right) is serviced like an oil change—drain fluid, change spin-on filter, and refill. The transmission (bottom right) is front wheel drive with a vertical pan. It’s a “lifetime fill” transmission without a serviceable filter. Fill it at the top of the pan with the vehicle raised at the front, then lower it and check the level at the bottom port.

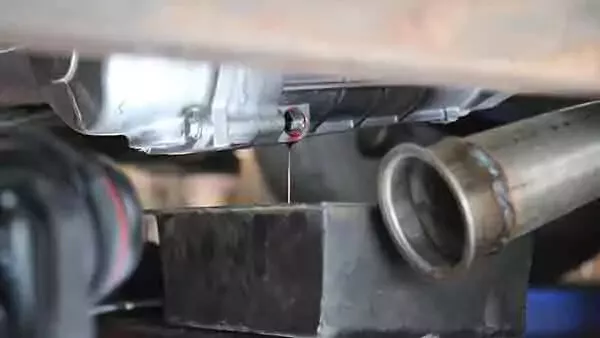
Some pans have a drain plug. If your vehicle has a plug, it could look like this one. If your pan does not have a drain plug, skip to Step 6.
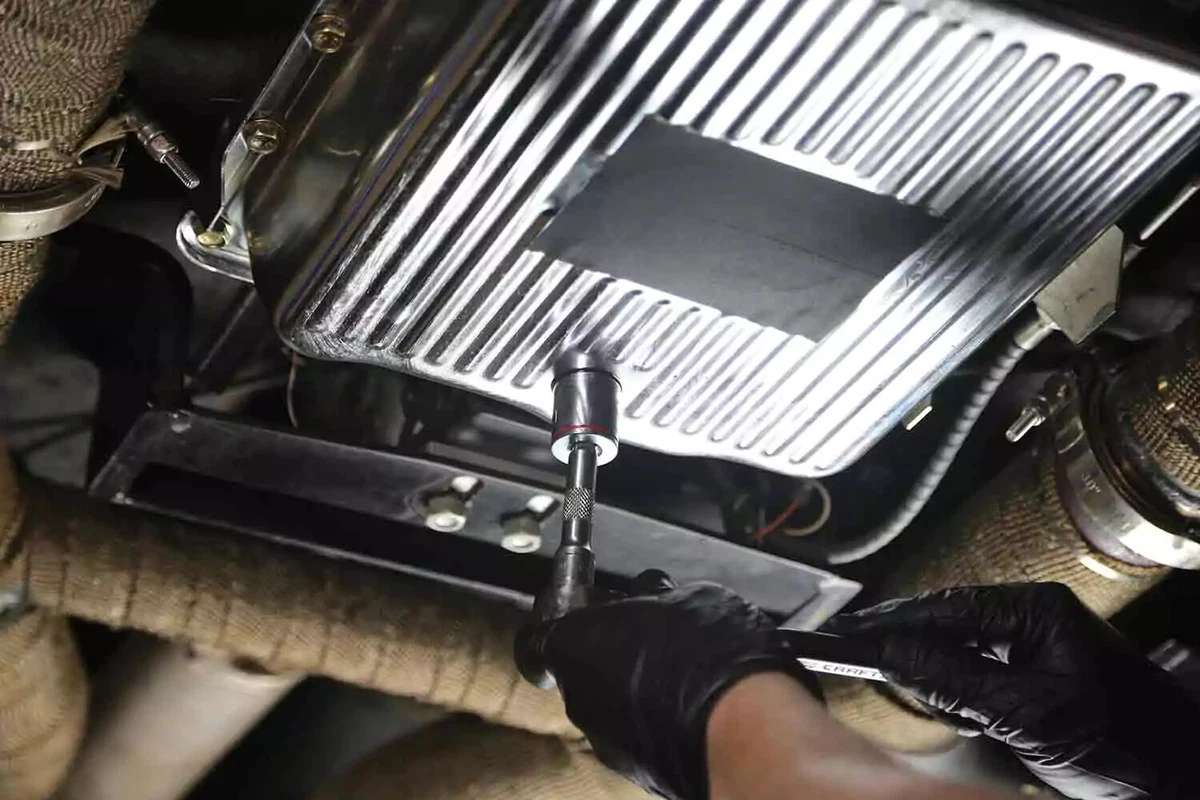
Use a socket and ratchet to loosen the plug. Do not remove it yet.
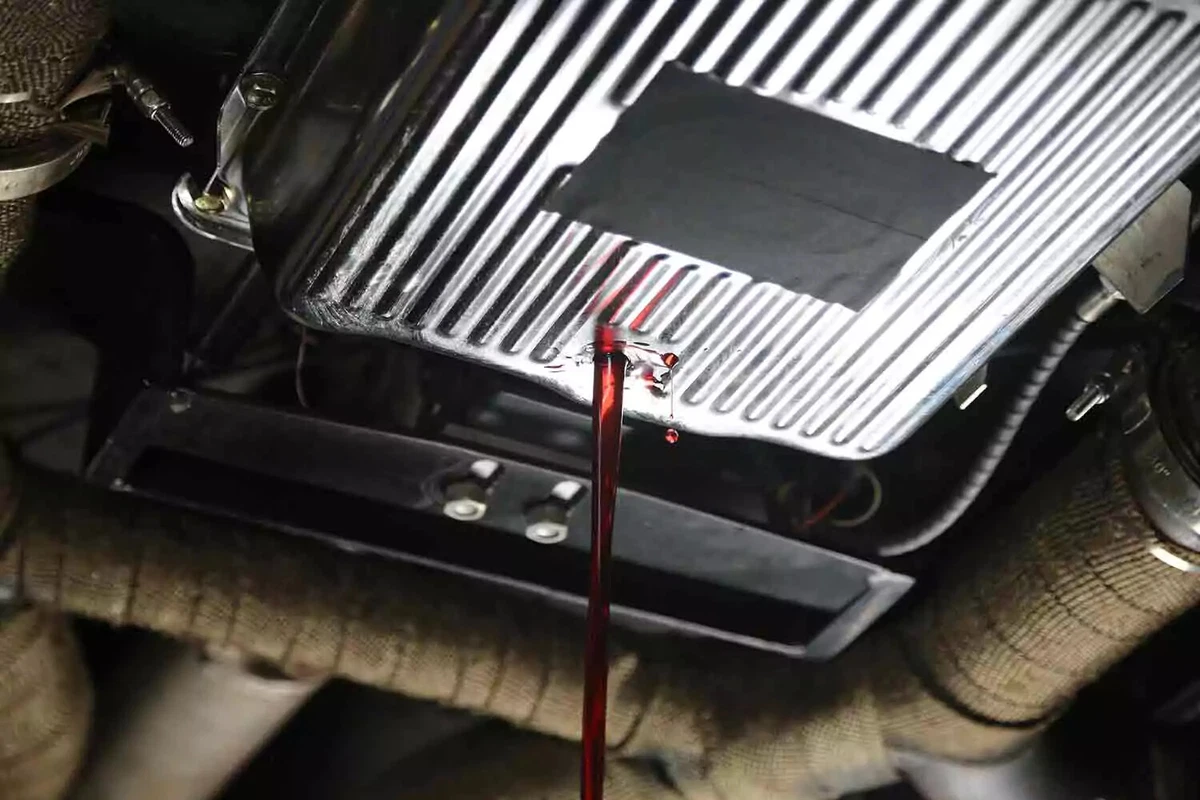
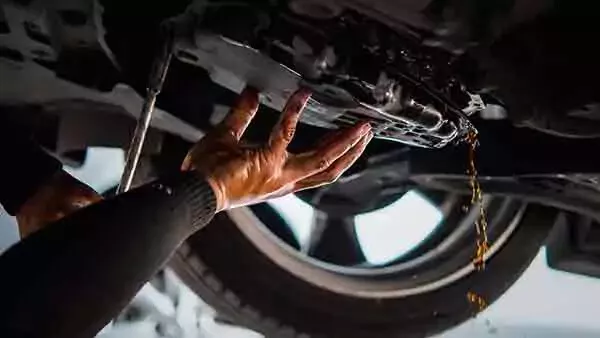
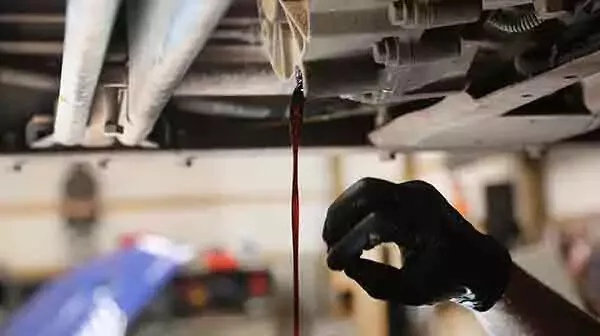
Position the drain pan under the plug. Remove the plug. Allow the fluid to drain until it is a slow drip.

Use a socket and ratchet or cordless impact tool to remove the transmission pan bolts.
Remove all the bolts except for two on one side of the pan—typically the front or narrowest side. This will allow you to remove the pan slowly with fewer spills.
Loosen (but do not remove) the two remaining bolts. The pan should remain stuck to the transmission. But keep a hand on the bottom of the pan to prevent it from dropping.

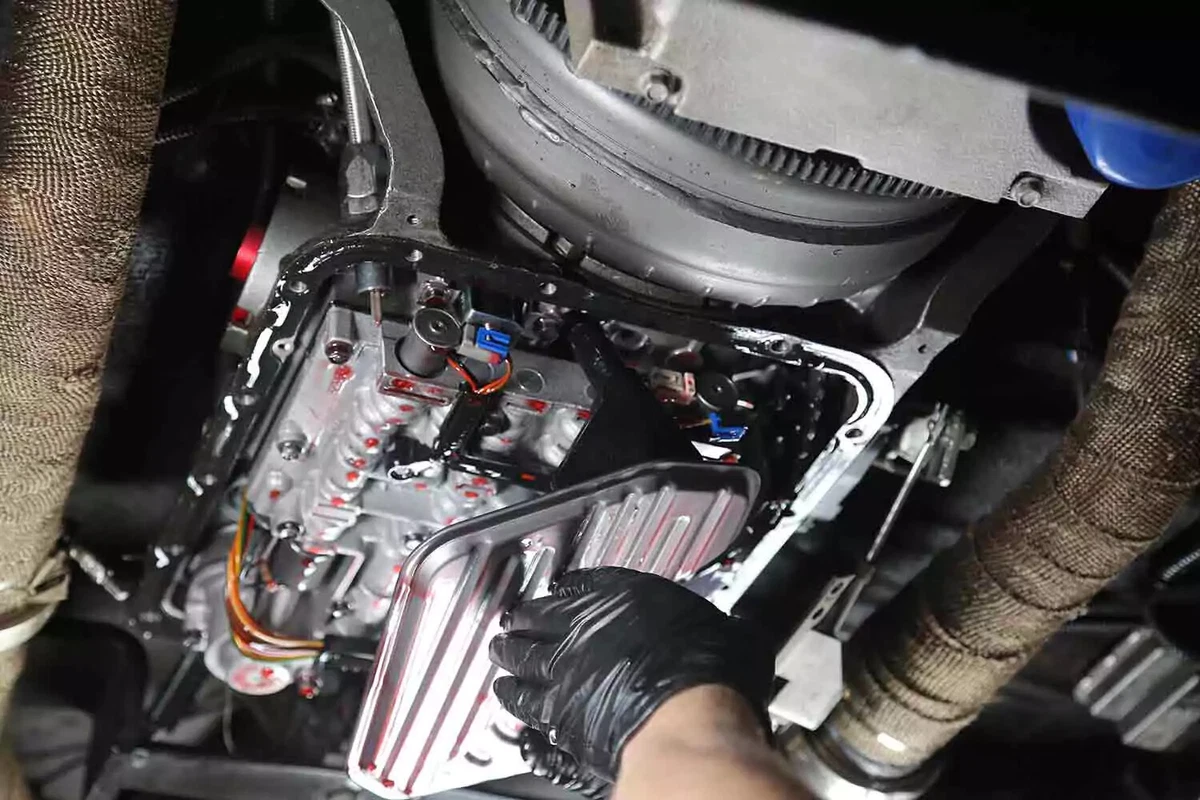
Lower the pan so that it hangs on the two remaining bolts. You might need to use a pry bar or screwdriver to get the pan to pop loose from the transmission. The remaining fluid in the pan will pour out quickly.
If your pan does not have a drain plug, position the drain pan under the transmission pan (at the lowest point). Then, slowly lower the pan so the fluid pours out. This will be messy. Allow fluid to drain.
Remove the two remaining bolts. Then, remove the pan entirely.
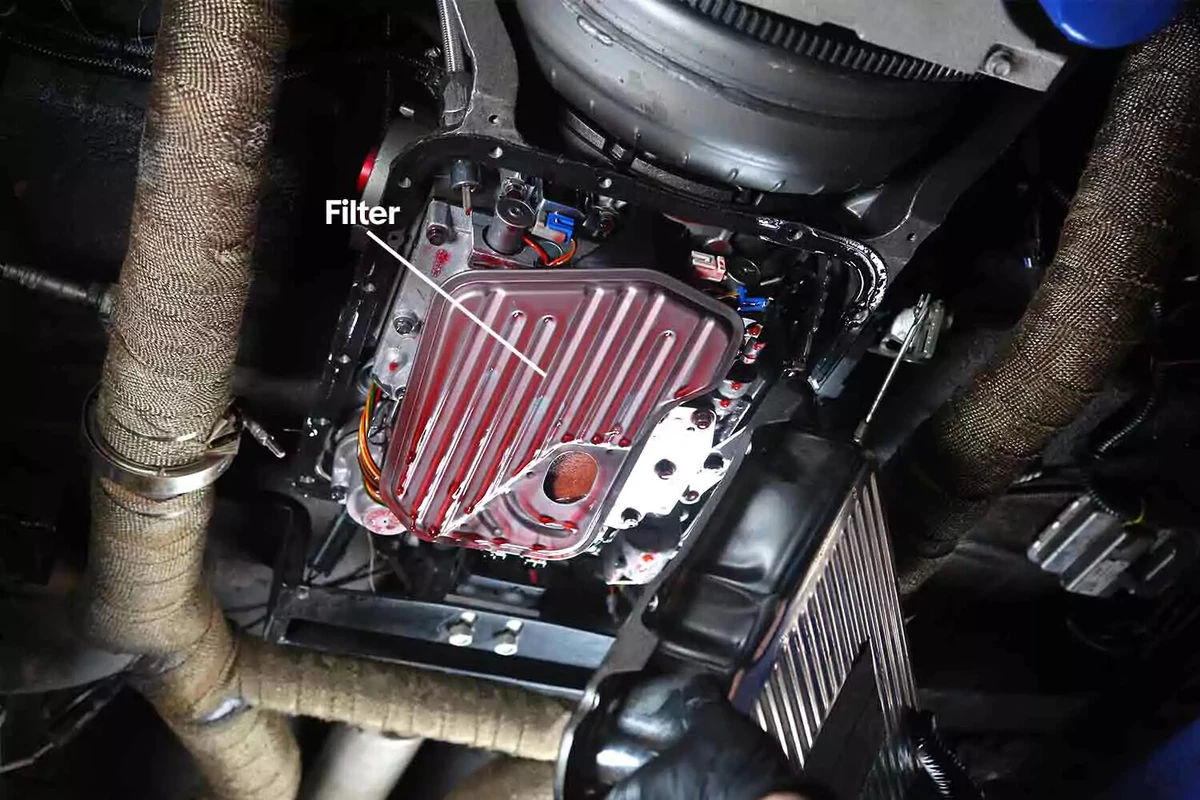
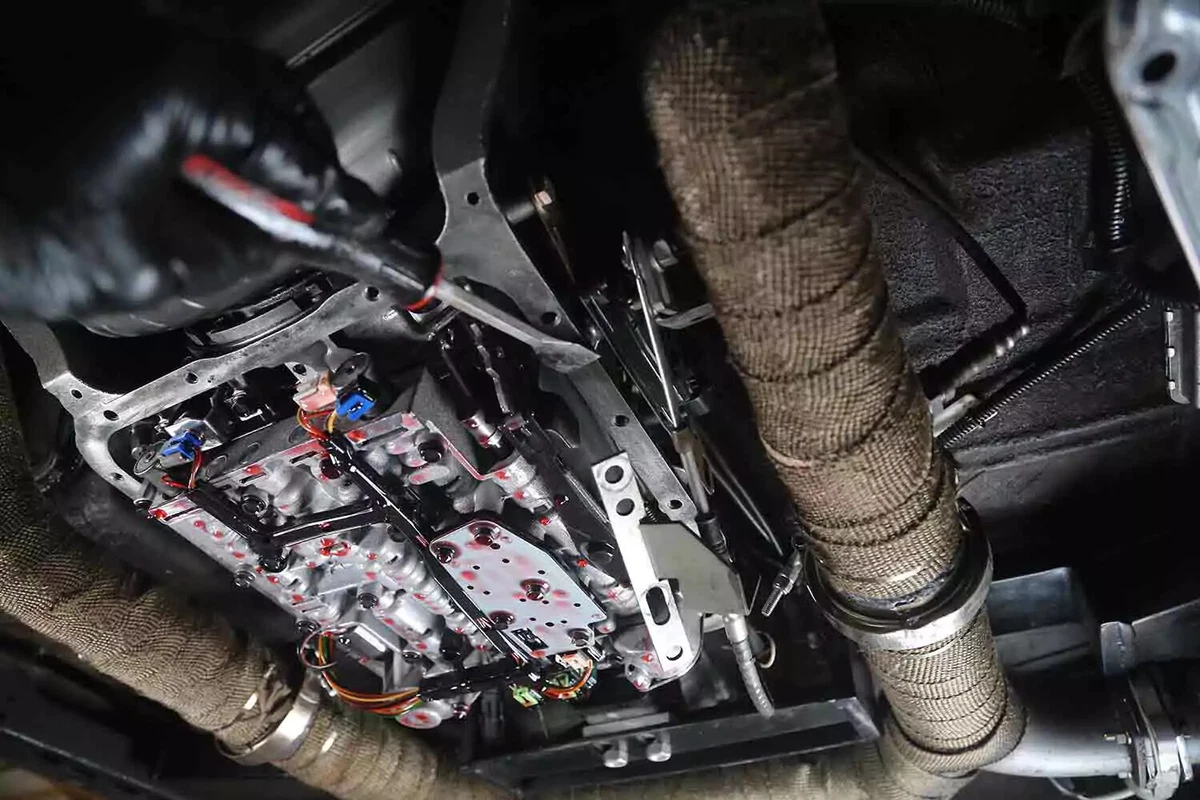
The filter will be the lowest item inside the transmission pan. It should look like the new one you purchased.
Remove the filter from the transmission. Some filters are secured with a bolt. Others hang from the pickup port. You might need to remove an O-ring or seal as well.
Wiggle the filter a bit to get it out of the transmission.
Install the new filter. Be sure any seal or O-ring that seals the filter to the pickup tube is in place.
If your pan has a rubber or cork gasket, it will likely leave chunks on the pan and transmission surfaces. Use a gasket scraper or razor blade to clean off both surfaces. This is critical to getting a leak-free seal.
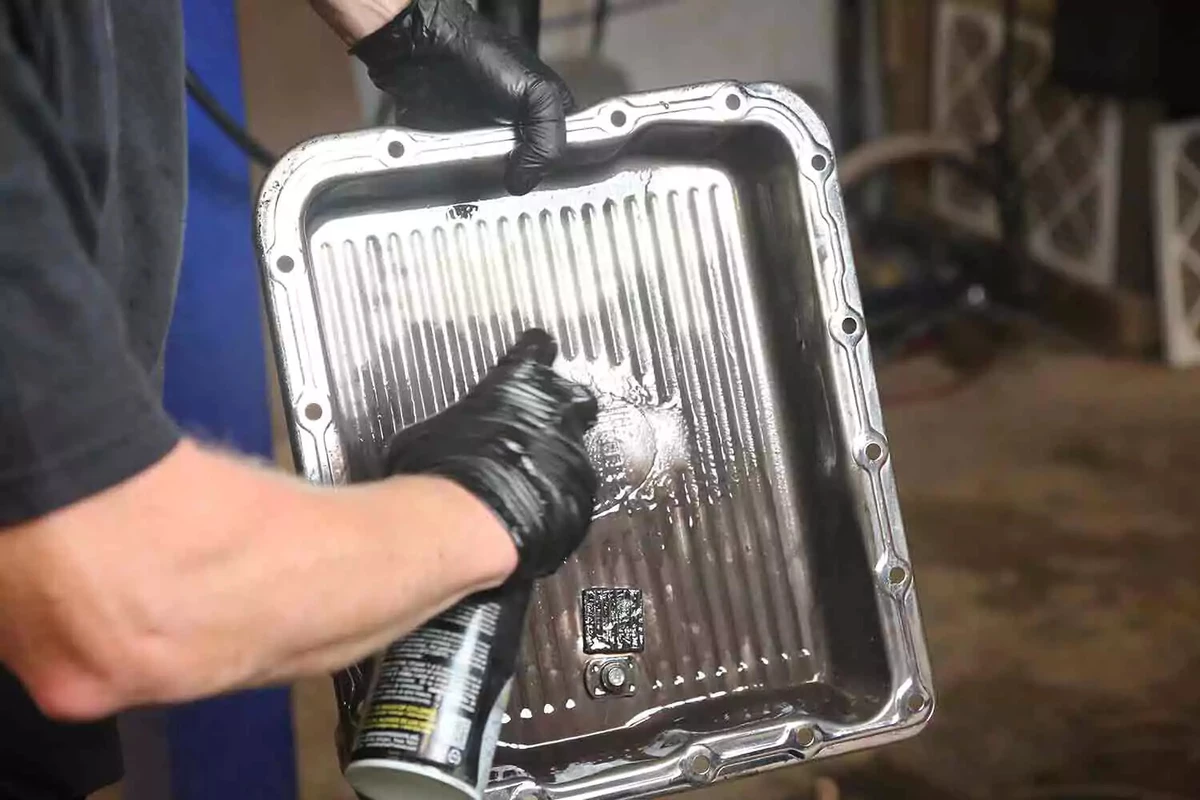
Clean the pan with brake cleaner to remove gunk. This transmission in our demo vehicle has fewer than 500 miles of use. This material, part of the normal break-in process, will be in every transmission pan. Higher-mileage vehicles have more sludge buildup. Your goal is a perfectly clean pan.
Clean the gasket flange as well.

If your pan does not have a magnetic drain plug or a magnet inside the pan, add one. It will collect metal shavings, increasing the life of your transmission.
If your pan has a magnetic plug or pan magnet, clean it well.

Pan gaskets usually have an odd shape. Lay it out flat to identify odd features that will help you figure out the correct orientation. This pan is square. But the gasket has a half-moon shape on one side, which matches the pan’s shape.
These gaskets are notorious for moving around when bolting the pan. Cork and rubber gaskets can be retained with small clips (left). Better yet, pre-install some of the pan bolts (right).
Do not use gasket sealer on the pan gasket. However, some transmissions don’t use a gasket—just a carefully-applied bead of RTV sealant on the pan flange.

Reinstall the pan. Carefully thread in a few bolts to keep the pan in place.
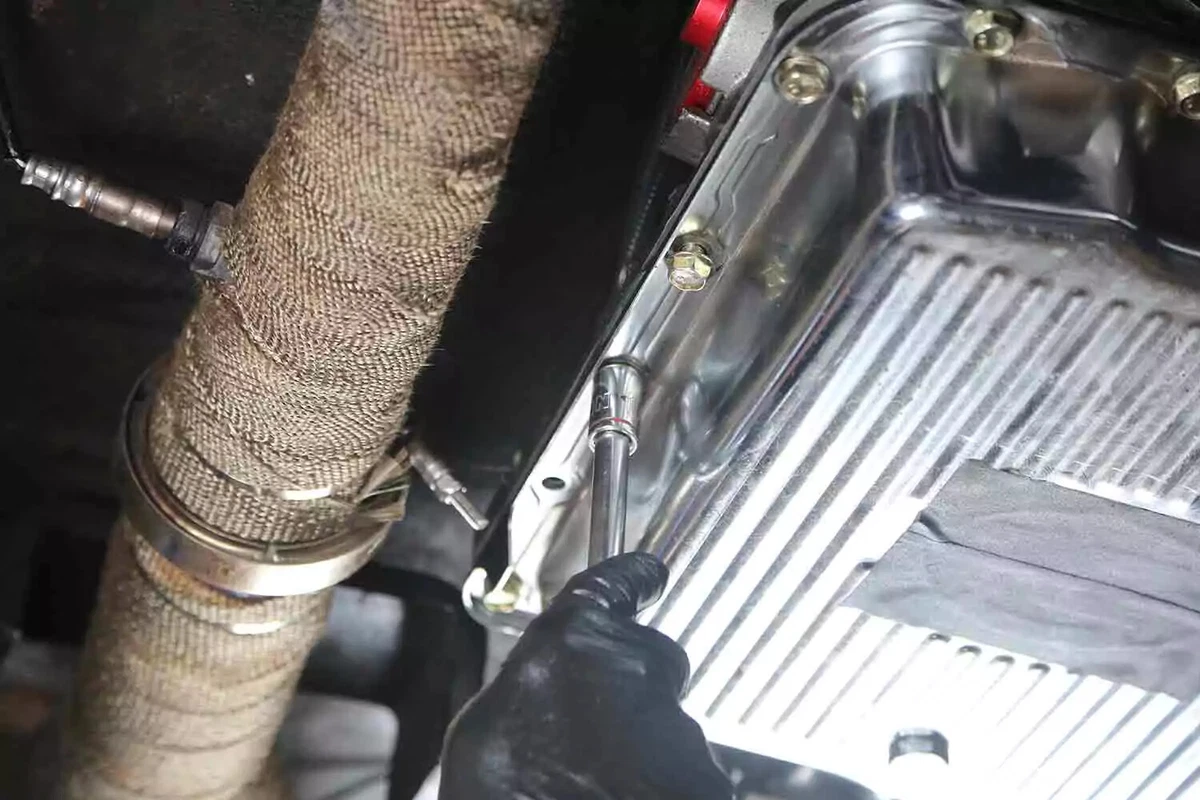
Install the pan bolts into each hole. Leave all of the bolts a couple of threads short of finger-tight. This allows you to shift the pan slightly until you install the last couple of bolts.
Ensure the gasket is centered over the hole, but don’t allow it to slip inside the pan. This could result in a massive leak.
Use a pick tool to move the gasket if it slips.

Tighten the pan bolts in a criss-cross fashion from the center out. Some transmissions require a specific order, but most use the indicated sequence.
Most pan bolts require 15 to 25 pound-feet of torque. That’s below what most torque wrenches can measure. Hand-tighten with a wrench or low-strength impact gun.
Lower the vehicle back to the ground.
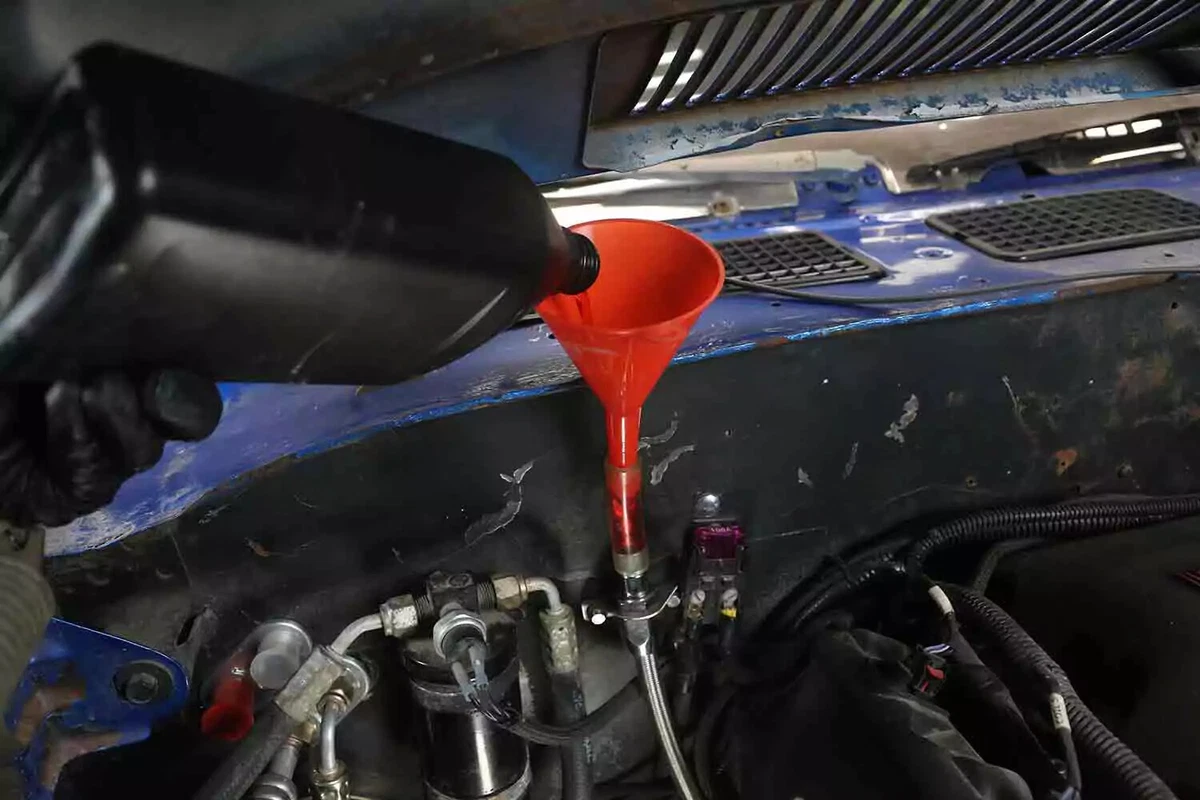
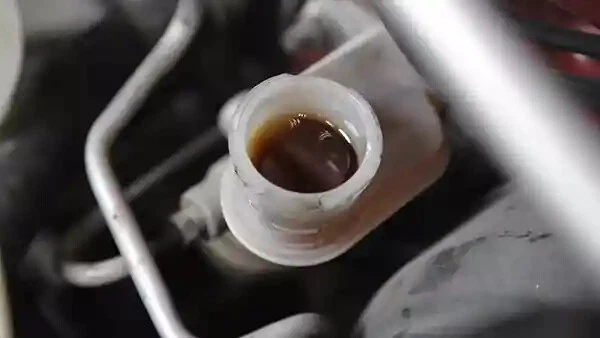
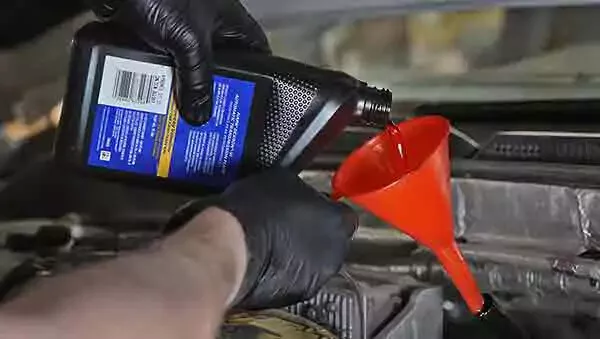
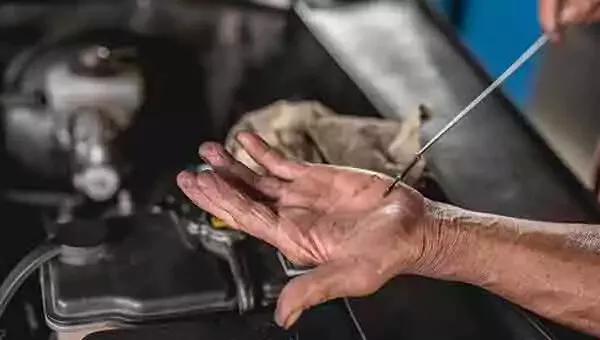
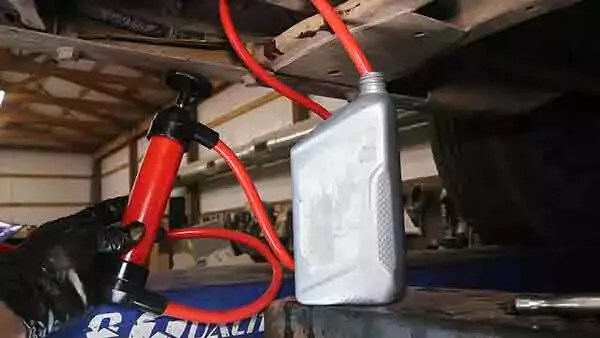
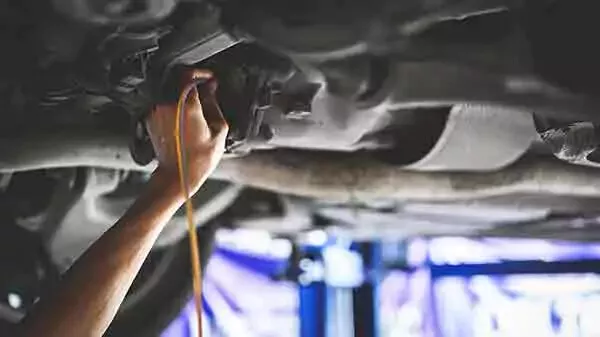
Locate the dipstick tube. Refill the transmission with the correct amount of fluid. Add a few quarts, let it settle, then check the level with the dipstick. After the fluid is at the “full hot” mark, start and run the engine until it’s completely warmed up. Check the level again. It will be lower. Clean the dipstick every time before reinserting it to check the fluid level.
Continue adding fluid until the level is at the “full hot” mark when the engine is running. Always check the transmission fluid level with the engine running—preferably at operating temperature, with the vehicle parked on a level surface. A cold transmission will show low fluid. It expands considerably when heated up to its normal operating temp. Do not overfill.
Over the next few hundred miles, look for leaks under the vehicle. Leaks can be a sign of a loose bolt or slipped gasket. Check the fluid level again and top off as necessary.
You should check the transmission fluid level at least at every oil change to see whether or not you see leaks.
About the author

Share your feedback
This article is meant to provide general guidance only. Automotive maintenance, repair, upgrade, and installation may depend on vehicle-specifics such as make and model. Always consult your owner's manual, repair guide for specific information for your particular vehicle and consider a licensed auto-care professional's help as well, particularly for advance repairs.
Recommended for you
Find answers and inspiration-
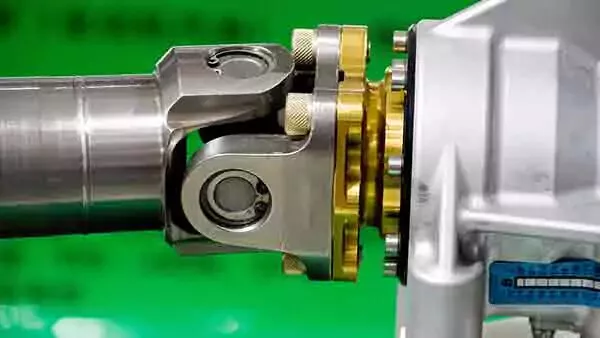
Types of U-Joints and When They Go Bad
6 min read -

How to Buy the Right Differential Fluid
4 min read -
An Intro to Replacing Clutch Fluid
5 min read -

How to Change Manual Transmission Fluid
4 min read -
Picking the Right Manual Transmission Fluid
4 min read -

How to Replace Wheel Bearings
7 min read -

How To Replace Differential Fluid
8 min read -

Choosing the Right Clutch Fluid
6 min read -
Buying the Right Transmission Fluid and Filter
4 min read -
Buying the Right CV Axle
6 min read -

How to Change Automatic Transmission Fluid
6 min read -
What to Know About Changing Transmission Fluid
6 min read -
How to Replace a U-Joint
14 min read -
Choosing the Best Clutch Master Cylinder
4 min read -
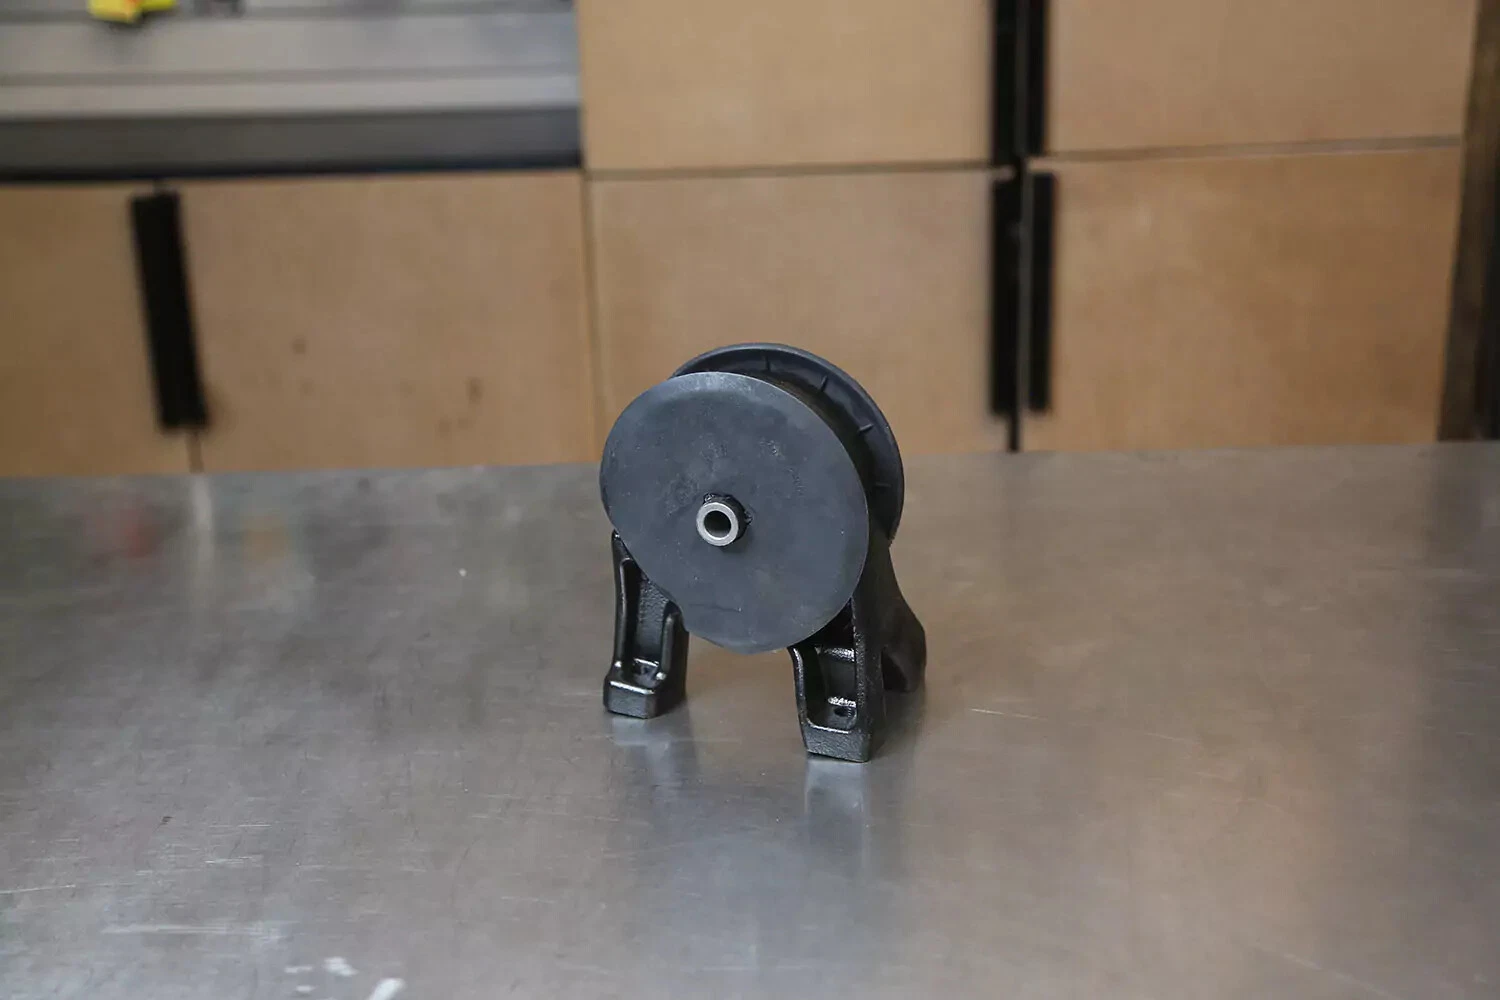
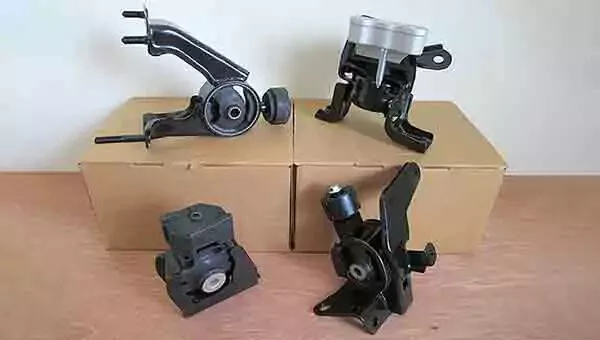
Buying the Right Transmission Mounts
4 min read -
How to Buy the Right Transmission Fluid
5 min read -
A Quick Guide to Your Clutch Master Cylinder
5 min read -

How to Replace a Clutch Master Cylinder
11 min read -
How to Replace a Transmission Mount
7 min read -
Replacing Your Transmission Fluid and Filter
5 min read -
Selecting the Right Transfer Case Fluid
4 min read -
What Your Differential Fluid Is Telling You
5 min read -

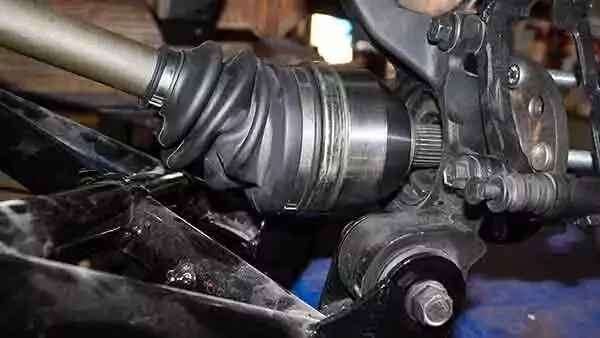
How to Replace a CV Axle
7 min read -

Everything You Need to Know About Wheel Bearings
7 min read -

How to Replace an Idler Pulley
4 min read -
What You Need To Know About Transfer Case Fluid
4 min read -
Understanding the Purpose of Transmission Mounts
5 min read -
U-Joint Buying Guide
4 min read -
An Introduction to CV Axles and Joints
5 min read -
How to Buy the Right Replacement Wheel Bearings
6 min read -

How to Replace Ball Joints
12 min read -
An Intro to Replacing Manual Transmission Fluid
4 min read
Explore more projects

How to Repair a Chipped Windshield
1 to 2 hours
Beginner
7 min read

How to Replace Brake Fluid
1 to 2 hours
Beginner
10 min read

How to Replace an Ignition Coil
Less than 30 minutes
Beginner
6 min read

How to Replace a Radiator Hose
Less than 30 minutes
Beginner
5 min read

How to Replace Brake Rotors
1 to 2 hours
Beginner
7 min read

How to Replace a Serpentine Belt Tensioner
Less than 30 minutes
Beginner
4 min read

How to Replace a Drive Belt
Less than 30 minutes
Beginner
5 min read

How to Rotate Your Tires
30 to 60 minutes
Beginner
5 min read

How to Refill Windshield Washer Fluid
Less than 30 minutes
Beginner
4 min read

How to Replace an Oxygen Sensor
30 to 60 minutes
Beginner
5 min read
How To Replace Differential Fluid
Less than 30 minutes
Beginner
8 min read

How to Replace Sway Bar End Links and Bushings
30 to 60 minutes
Beginner
6 min read

How to Change Disc Brake Pads
30 to 60 minutes
Beginner
8 min read

How to Replace a Cabin Air Filter
Less than 30 minutes
Beginner
5 min read

How to Replace a Valve Cover Gasket
Less than 30 minutes
Beginner
7 min read

How to Change Windshield Wipers
Less than 30 minutes
Beginner
3 min read

How to Replace an Engine Air Filter
Less than 30 minutes
Beginner
5 min read

How to Clean Fuel Injectors
1 to 2 hours
Beginner
8 min read

How to Replace Shock Absorbers
30 to 60 minutes
Beginner
8 min read

How to Change a Car Battery
Less than 30 minutes
Beginner
6 min read
Automation How to Change a Car Battery
Less than 30 minutes
Beginner
6 min read

How to Replace a Mass Air Flow (MAF) Sensor
Less than 30 minutes
Beginner
7 min read
How to Replace a Clutch Master Cylinder
1 to 2 hours
Beginner
11 min read

How to Flush and Change Engine Coolant
30 to 60 minutes
Beginner
6 min read

How to Replace a Distributor Cap and Rotor
30 to 60 minutes
Beginner
5 min read

How to Check Tire Pressure and Change a Tire
Less than 30 minutes
Beginner
9 min read

How to Replace a Fuel Filter
30 to 60 minutes
Beginner
7 min read

How to Replace a PCV Valve
30 to 60 minutes
Beginner
6 min read

How to Replace a Brake Caliper
1 to 2 hours
Beginner
7 min read
How to Replace an Idler Pulley
30 to 60 minutes
Beginner
4 min read

How to Change a Headlight Bulb
Less than 30 minutes
Beginner
6 min read

How to Replace an Exhaust Gasket
1 to 2 hours
Beginner
9 min read

How to Replace a Throttle Body
30 to 60 minutes
Beginner
6 min read

How to Change Oil in a Car
Less than 30 minutes
Beginner
8 min read

How to Replace an Alternator
1 to 2 hours
Beginner
11 min read

How to Replace an EGR Valve
30 to 60 minutes
Beginner
5 min read

How to Jump Start a Car
Less than 30 minutes
Beginner
9 min read