The most common source of an engine oil leak is a faulty valve cover gasket, which is commonly replaced. Over time, the pressures inside the engine, combined with repeated heat cycling, cause the valve cover gaskets to dry out and crack. Modern engines use silicone gaskets, but older engines use cork gaskets. Sometimes, the gasket fails because the valve cover warps.
Learn more about
what a valve cover gasket does and when to replace it
- opens in new window or tab.
. And see our
valve cover gasket buying guide
- opens in new window or tab.
.
How long does it take to replace a valve cover gasket?
Changing a valve cover gasket is considered a beginner DIY task. Fortunately, the valve cover gasket is accessible on most vehicles and can usually be changed in less than 30 minutes. In some cases, such as with our demo vehicle, the valve cover houses the ignition coils and spark plugs, which adds time and effort to this job.
Tips and Tricks for DIY Valve Cover Gasket Replacement
-
Use only sensor-safe automotive room temperature vulcanizing (RTV) silicone gasket sealer, not a sealant intended for household applications. The wrong type of sealer can contaminate your oxygen sensors.
-
To access the cover, you may need to remove an air box, air intake tube, brace, or brackets.
-
Early composite valve covers from the 1990s and early 2000s are more susceptible to degrading. Plastics used in that era were not quite as good as those used today. Many engines use steel or aluminum covers, which don’t warp nearly as badly.

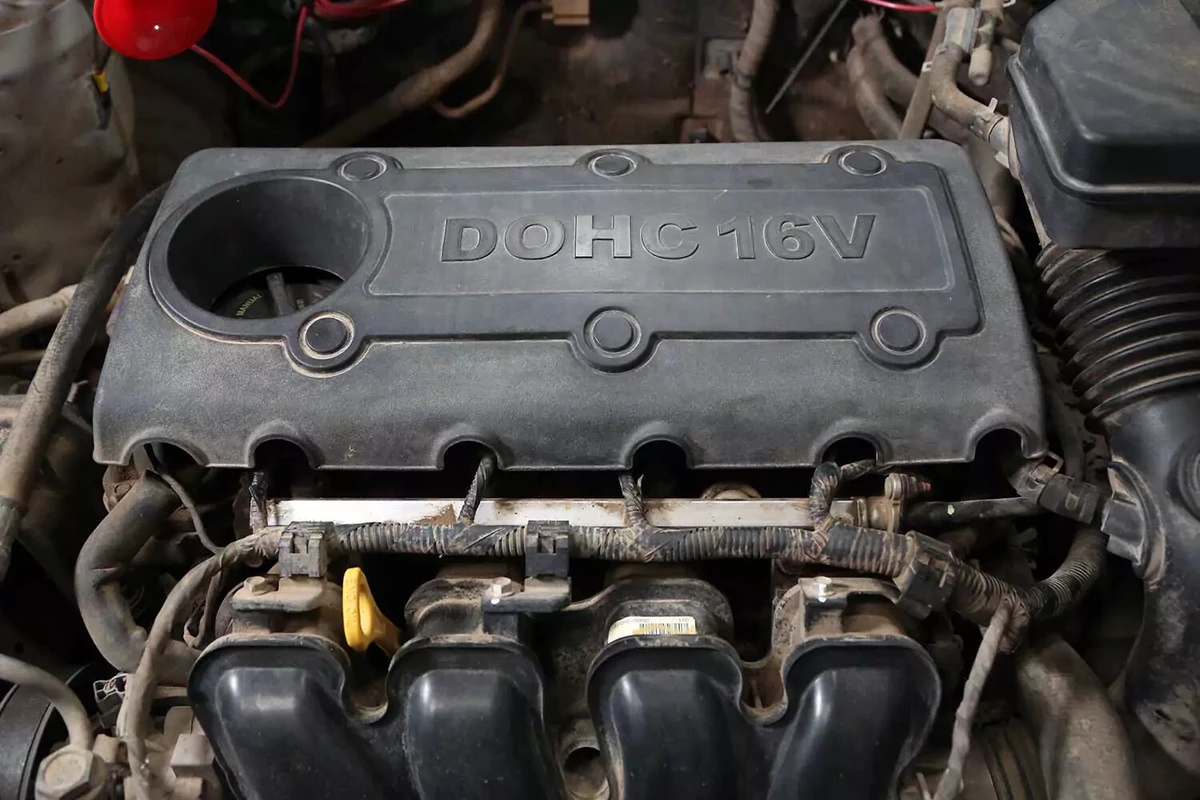
The valve cover is at the top of the engine. Our demo vehicle has a four-cylinder engine, which has one cover in the engine’s center. V-engines have two covers—one on each side of the intake.
The cover is below this plastic trim cover, which is held in place with snap-fit retainers. In most cases, these pop off with pressure, but screws or bolts may retain the cover on your engine.

If your valve cover houses the ignition coils, you should remove them. But first, label their location.
We marked the top of each one and added a mark to the #1 coil on the valve cover, too. This will help you remember where you started.

Remove the bolts securing the coil packs to the cover. (This may not apply to your vehicle.) Save the hardware for reuse.
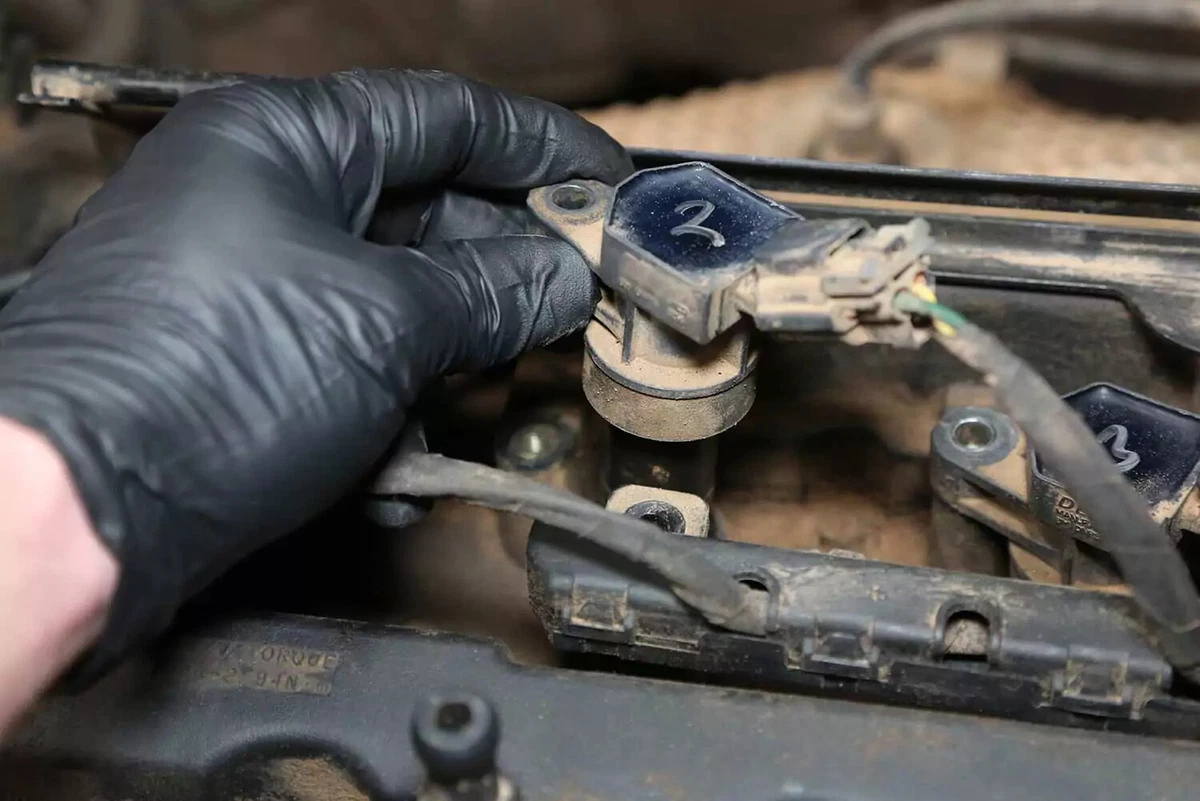
Your engine may not have spark plug ports but could have coils on the covers. Pull the coils out of the cover.
If the wires are long enough to let you fully remove the valve cover, leave the coils attached to the harness. If not, disconnect the plugs to remove the coils from the harness.
Label the wires to match the coils if you haven’t already done so.
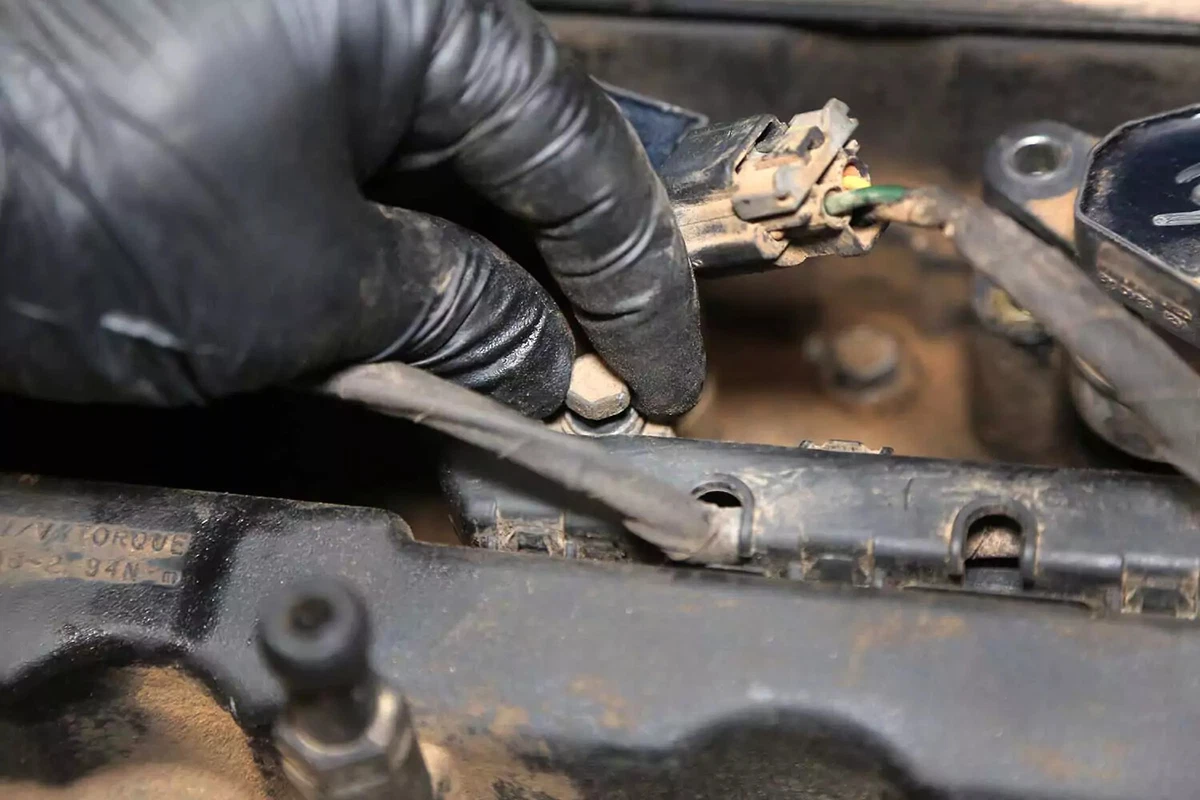
Remove the bolts securing the wiring harness to the valve cover. Other items, like brackets, vacuum lines, or wires, may be attached to the valve cover. If so, remove them now. Alternatively, you could detach them to lift the cover.

Pull the harness and coils away from the valve cover so that you have room to access the cover bolts.
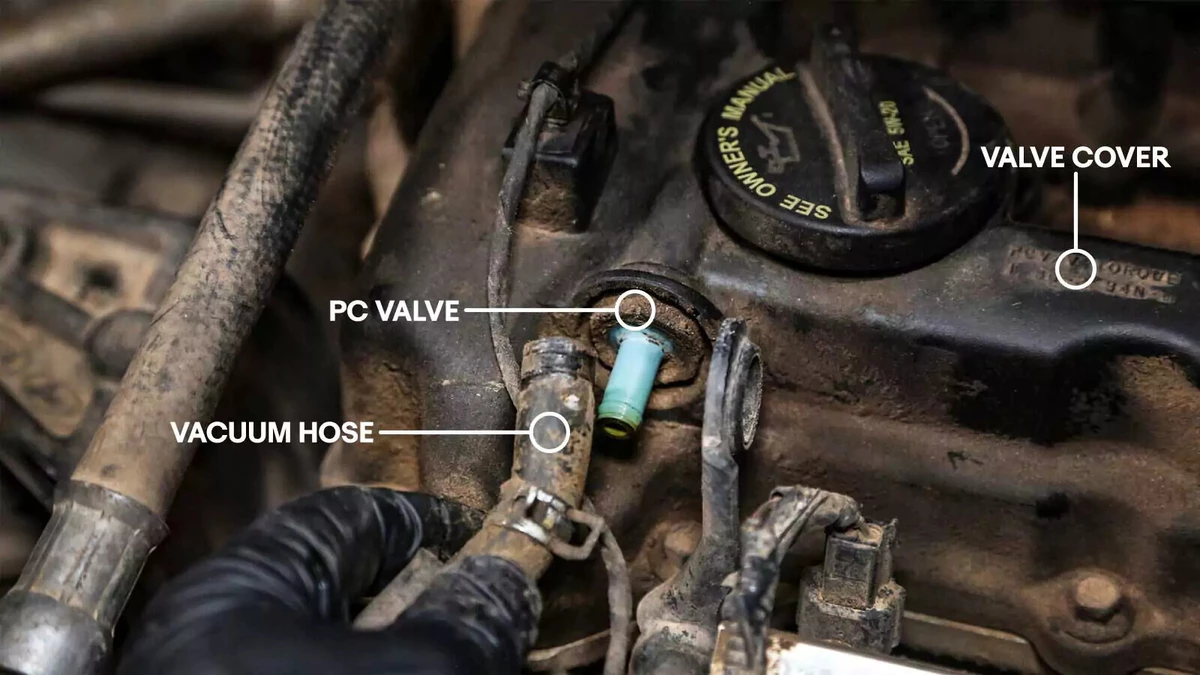
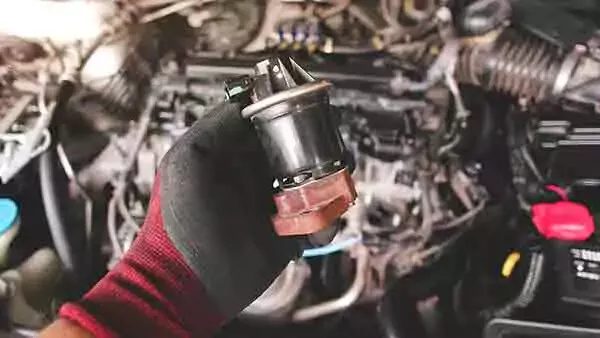
Most valve covers have one or two vacuum hose ports for the positive crankcase ventilation (PCV) system. Our cover had two hoses. The one shown here is for the PCV valve.
On this engine, we removed the hose from the PCV valve. Other engines may require removing the PCV valve from the valve cover.

Use a socket and ratchet (or driver) to remove all valve cover bolts. Retain the bolts for reuse.

Remove debris before removing the valve cover so loose dirt doesn’t fall into the engine.
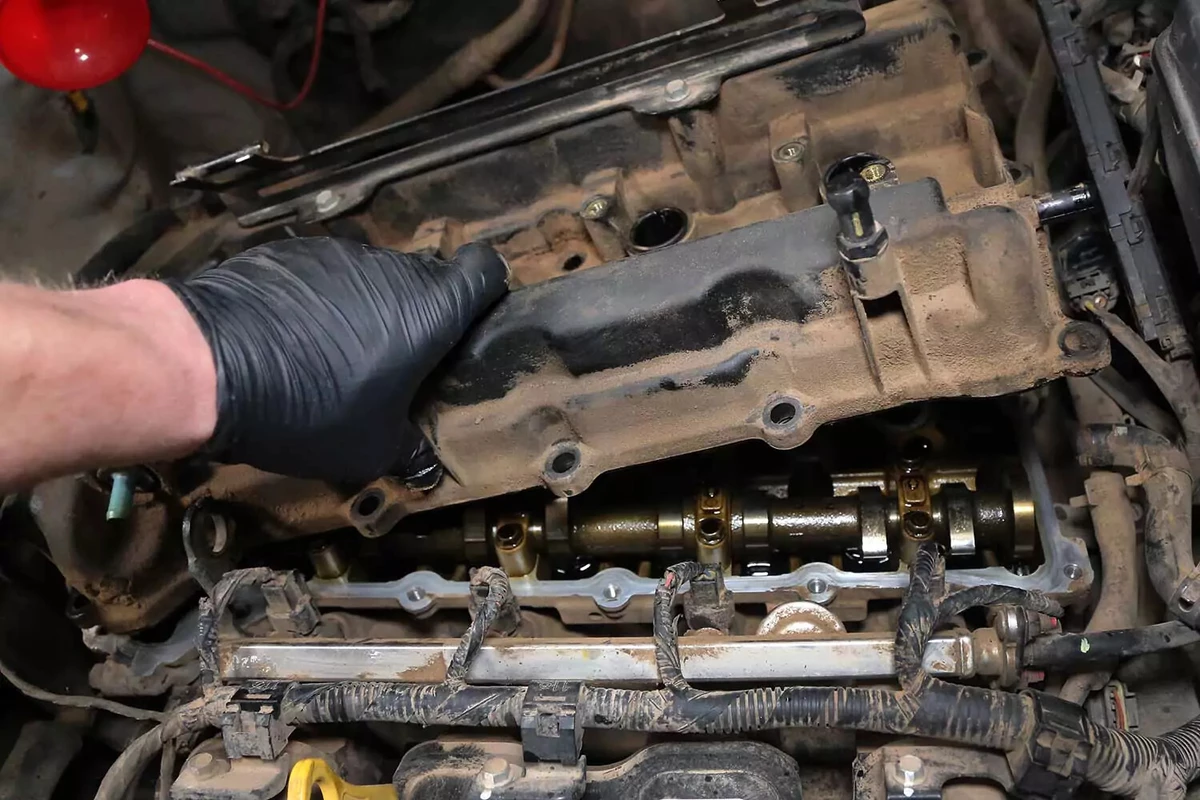
Gently pry the cover to break the seal and remove the cover from the engine. The cover is usually stuck to the engine, so you may need a small pry tool. Be gentle to avoid bending or cracking the cover.
Remove the old gasket from the valve cover. Lightly scrub the surface with a nylon brush and brake cleaner. Clean up any old gasket material, gasket sealer, or crud so the new gasket mates to a clean surface. Use more brake cleaner and a towel if necessary.
You will likely need a gasket scraper to remove an old cork gasket.
Use a plastic scraper to avoid scratching any surfaces. Avoid getting debris inside the engine.
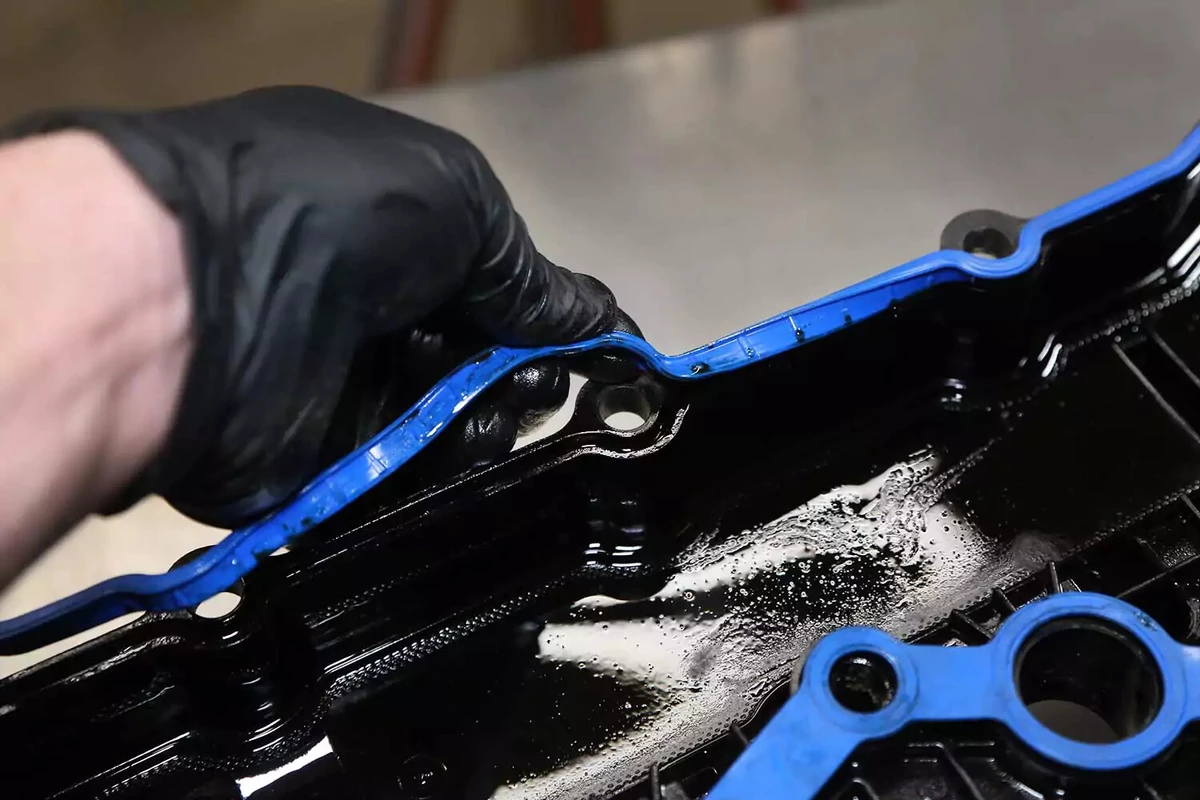
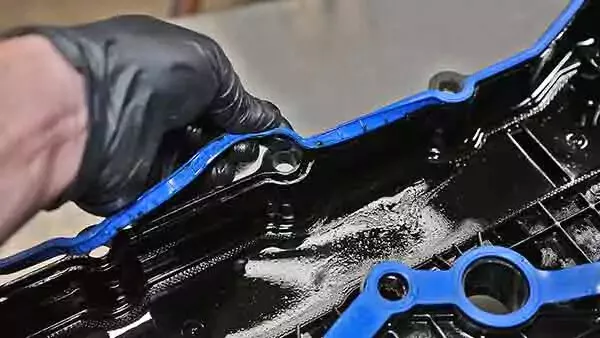
There are multiple types of valve cover gaskets and mounting methods. For this one, you press one side of the gasket into a slot.
-
Some gaskets lay into place with a few tabs or an outer ring that runs the cover perimeter.
-
Other gaskets lay on a flat surface.
-
Cork gaskets are best installed with a ⅛-inch bead of RTV silicone sealant on both sides to ensure a good seal. Clean the cover gasket surface with a gasket scraper and clean towel before applying silicone sealant.
-
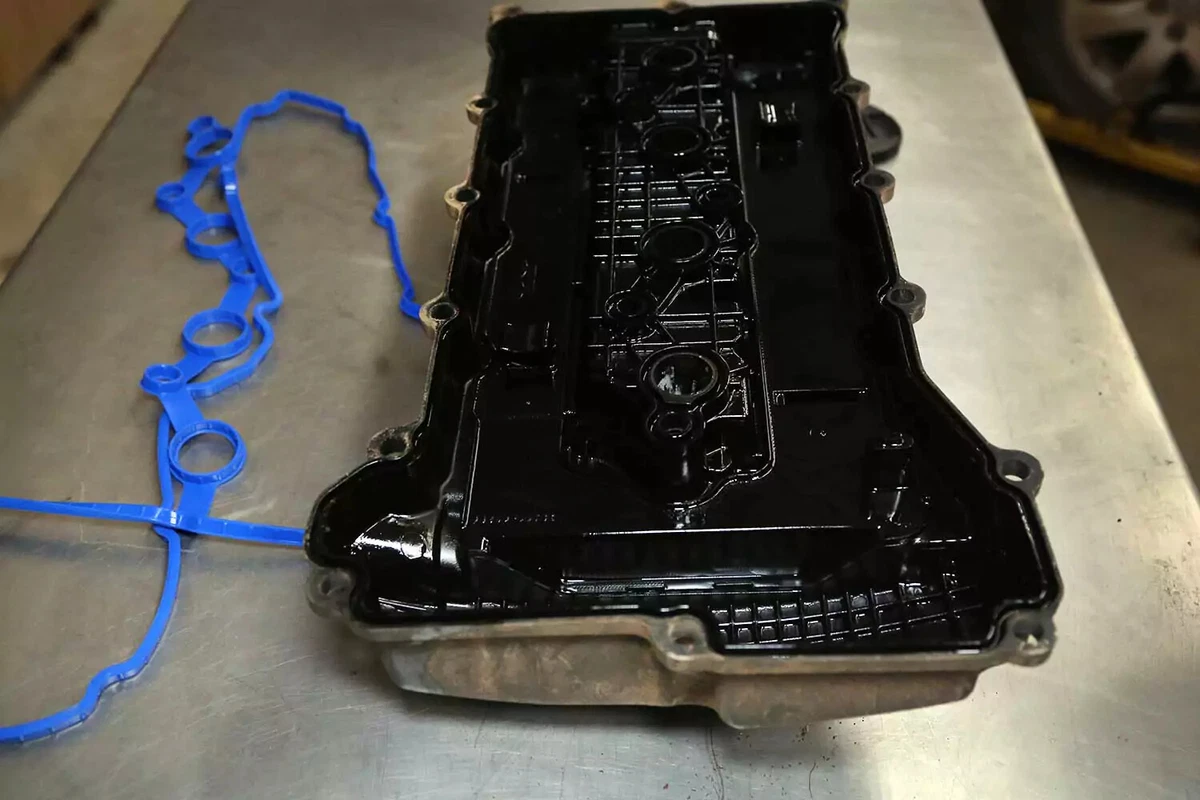
Silicone gaskets are installed dry without gasket sealer.
Your replacement gasket set may come with additional parts for sealing spark plug towers or other cover openings. If the gasket is next to a seal or camshaft plug, it might require a dab of gasket sealer. Check your repair manual for specific instructions.
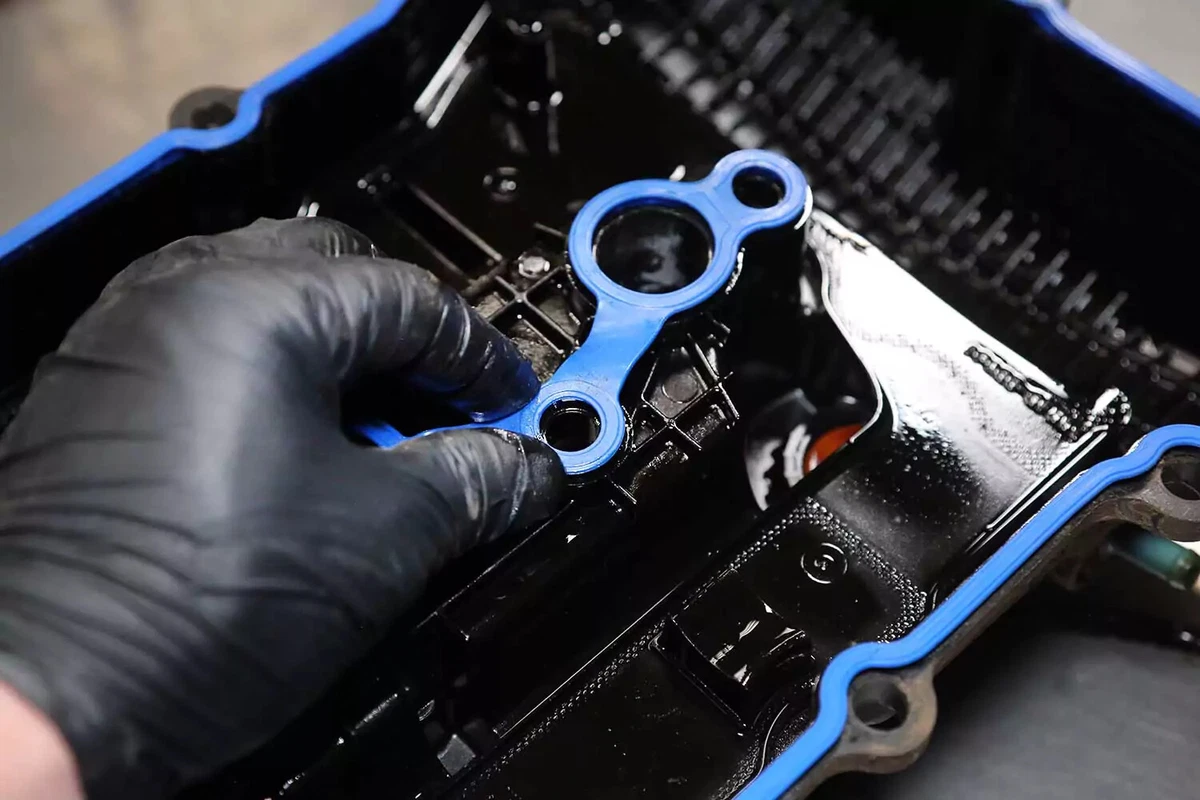
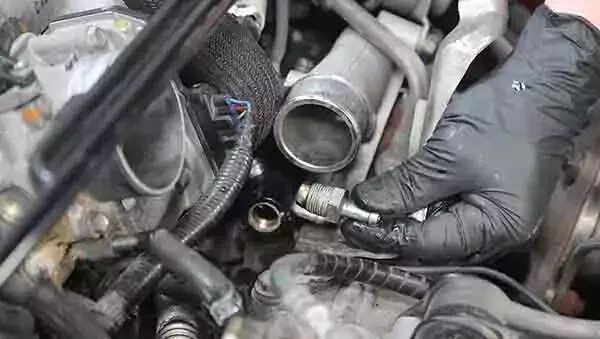
Install seals for the spark plug towers on the valve cover. Our gasket used an integrated seal, but some engines use separate O-rings or gaskets.

Before putting the cover back on the engine, clean the mating surface on the cylinder head with a clean towel. To make it easier, you can spray the towel with brake cleaner.
If your engine has cork gaskets, the old gasket will leave some gasket material or sealer behind. Use a gasket scraper to remove the residual material and clean the surface with a towel.
Remove debris from the engine interior. Ensure there are no lines, wires, hoses, or other items between the two mating surfaces. Then, lower the valve cover with the new gasket installed on the engine.

Install the original hardware to the engine. Thread them in until they are snug. Your cover may have a specific tightening order, which you can find in your vehicle repair manual. Otherwise, tighten the bolts from the center out in a crisscross fashion.
If your valve cover has spark plug towers (like our example), the interior bolts are tightened first from the center out. Then, tighten the perimeter bolts snugly in a crisscross pattern.
Valve cover bolts should not be overtightened—just snug plus a half-turn. The typical specification is seven pound-feet of torque. Composite covers will crack, and metal covers can crack or warp. Cracks lead to leaks.

Reinstall the coil packs and mounting hardware in the order designated by your labels. Make the bolts snug, but tighten only by hand. These bolts are delicate.
If you had to remove or relocate any other items, reinstall them now.

Replace the vacuum lines to their original locations. If you don’t replace the vacuum lines, your engine will have a large vacuum leak and not run properly.
Replace the cover and any brackets, braces, or air intake tubes that you removed to access the gaskets.
After replacing your valve cover gasket, reinstall the cover and any brackets, braces, or air intake tubes that you removed to access the gaskets.
At this stage, the job is done. If you have a V-type engine, there will be two covers—one on each side of the intake. We recommend replacing both valve cover gaskets at the same time.
About the author

Share your feedback
This article is meant to provide general guidance only. Automotive maintenance, repair, upgrade, and installation may depend on vehicle-specifics such as make and model. Always consult your owner's manual, repair guide for specific information for your particular vehicle and consider a licensed auto-care professional's help as well, particularly for advance repairs.
Recommended for you
Find answers and inspiration-
A Quick Guide to Valve Cover Gaskets
6 min read -
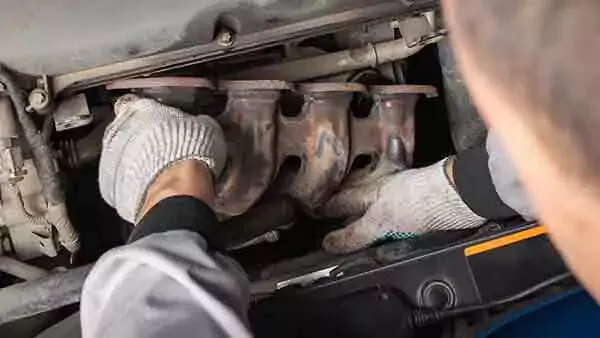
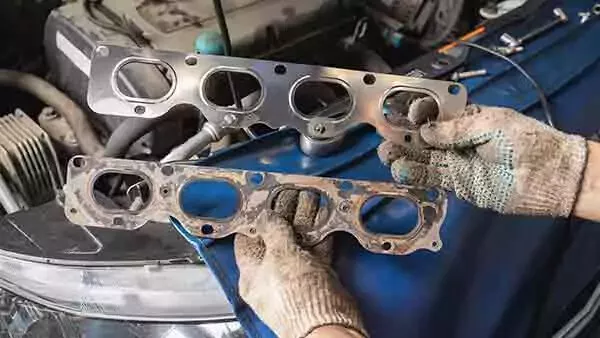
When to Replace Your Exhaust Manifold Gasket
6 min read -

How to Replace an Ignition Coil
6 min read -
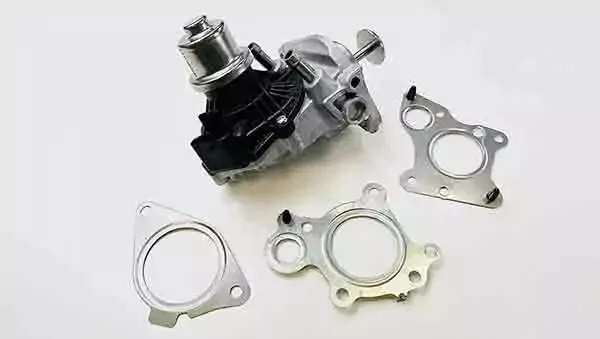
How to Buy the Right EGR Valve and Gasket
6 min read -
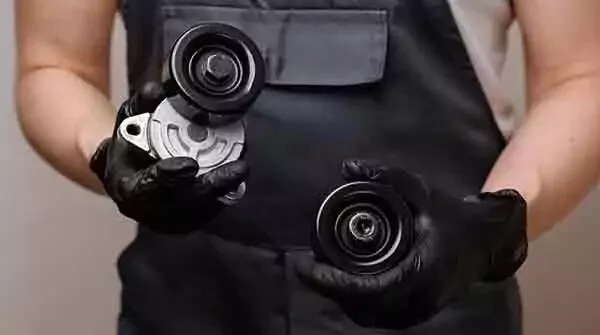
Your Complete Idler Pulley Buying Guide
5 min read -
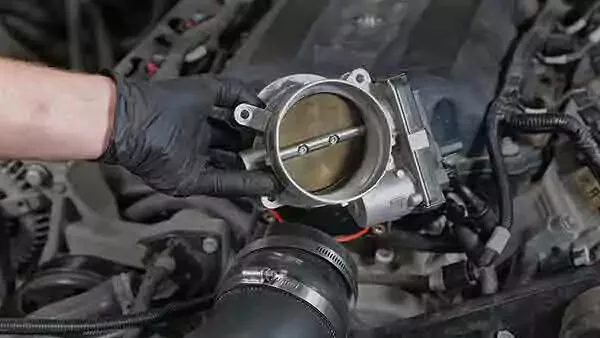
How to Buy the Right Throttle Body
5 min read -

Buying the Right Distributor Cap and Rotor
4 min read -

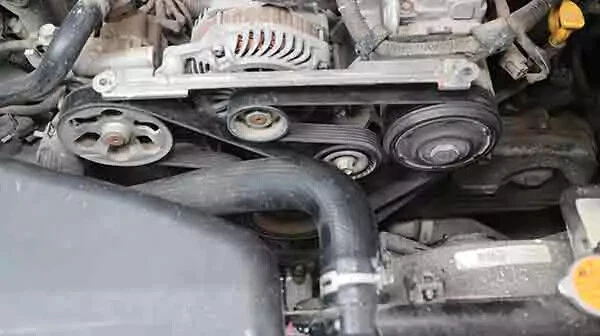
How to Replace a Drive Belt
5 min read -

How to Replace an Intake Manifold Gasket
7 min read -
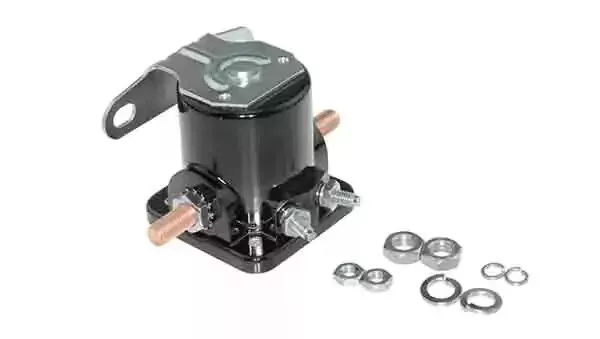
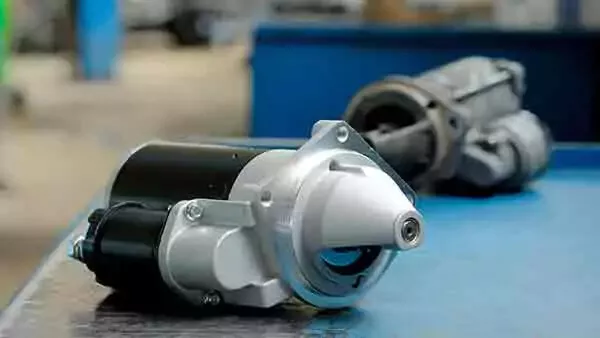
How to Buy the Right Car Starter
5 min read -
Diagnosing Your Serpentine Belt and Tensioner
6 min read -

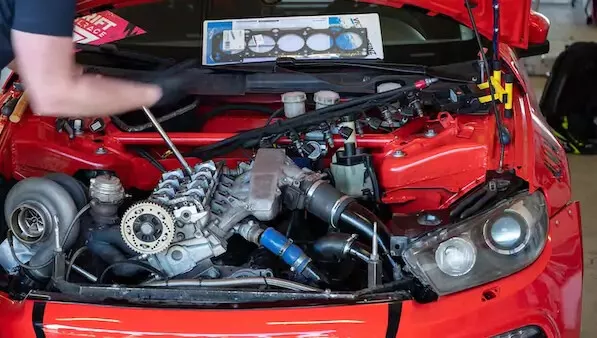
How to Change a Timing Belt
12 min read -
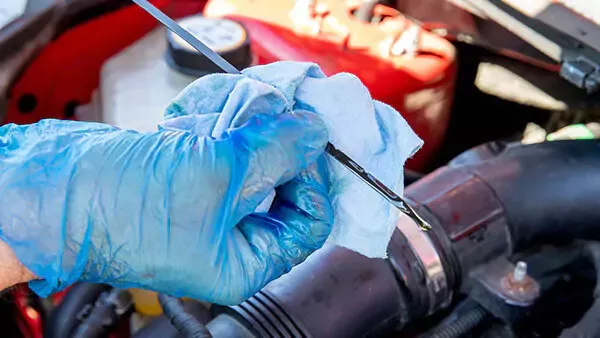
Changing Your Oil: 5 Things to Know
6 min read -

How to Clean Fuel Injectors
8 min read -

Automation How to Change a Car Battery
6 min read -

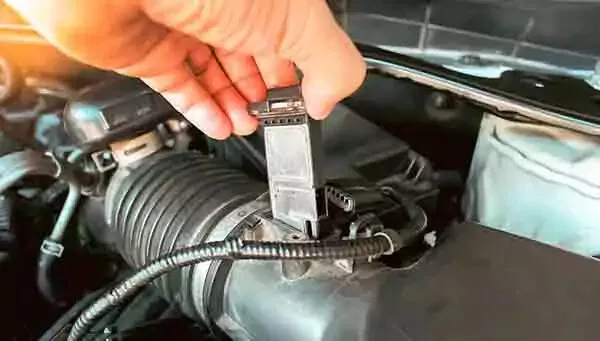
How to Replace a Mass Air Flow (MAF) Sensor
7 min read -

Distributors 101
6 min read -

How to Replace Spark Plugs
7 min read -
Everything You Should Know About EGR Valves
5 min read -
How to Test Your PCV Valve
6 min read -
Buying the Best Portable Car Battery Jump Starter
6 min read -
An Introduction to Cleaning Fuel Injectors
5 min read -

A Deep-Dive Guide to Ignition Wires
7 min read -

How to Replace Engine Mounts
4 min read -
The Right Tools to Clean Your Fuel Injectors
6 min read -

How Do Ignition Coils Work?
5 min read -

Spark Plugs 101
7 min read -
When to Replace Your Drive Belt
6 min read -
Fuel Pumps and How They Work
8 min read -
What to Know About Your Vehicle's Throttle Body
6 min read -
Everything You Need to Know About Fuel Filters
6 min read -

How to Buy the Right Ignition Coils
7 min read -
How to Buy the Right O2 Sensor
5 min read -

How to Replace a Serpentine Belt Tensioner
4 min read -
When to Replace Your Engine Air Filter
5 min read -

How to Replace an Oxygen Sensor
5 min read -
How to Buy the Right Timing Belt and Related Tools
5 min read -

How to Buy the Right Car Distributor
6 min read -

Timing Belts 101
5 min read -

How to Replace an Engine Air Filter
5 min read -
How to Buy the Right Exhaust Manifold Gasket
6 min read -

How to Choose the Best Spark Plugs
5 min read -

How to Replace a Car Starter
7 min read -

What You Should Know About O2 Sensors
6 min read -
How to Buy the Right Valve Cover Gasket
4 min read -

How to Replace a Distributor Cap and Rotor
5 min read -

Understanding Your Car's Idler Pulley
4 min read -

How to Replace a Fuel Filter
7 min read -

How to Replace a PCV Valve
6 min read -
Do You Have a Faulty Mass Air Flow Sensor?
4 min read -
Everything You Need to Know About Car Starters
7 min read -

How to Replace an Exhaust Gasket
9 min read -

Ignition Wire Buying Guide
6 min read -

All About Your Distributor Cap and Rotor
7 min read -

How to Replace a Throttle Body
6 min read -

Spotting Intake Manifold Gasket Problems
7 min read -

How to Change Oil in a Car
8 min read -
How to Buy the Best MAF Sensor
4 min read -

How to Replace an EGR Valve
5 min read -

How to Change an In-Tank Fuel Pump
9 min read
Explore more projects

How to Repair a Chipped Windshield
1 to 2 hours
Beginner
7 min read

How to Replace Brake Fluid
1 to 2 hours
Beginner
10 min read
How to Replace an Ignition Coil
Less than 30 minutes
Beginner
6 min read

How to Replace a Radiator Hose
Less than 30 minutes
Beginner
5 min read

How to Replace Brake Rotors
1 to 2 hours
Beginner
7 min read
How to Replace a Serpentine Belt Tensioner
Less than 30 minutes
Beginner
4 min read
How to Replace a Drive Belt
Less than 30 minutes
Beginner
5 min read

How to Rotate Your Tires
30 to 60 minutes
Beginner
5 min read

How to Refill Windshield Washer Fluid
Less than 30 minutes
Beginner
4 min read
How to Replace an Oxygen Sensor
30 to 60 minutes
Beginner
5 min read

How To Replace Differential Fluid
Less than 30 minutes
Beginner
8 min read

How to Replace Sway Bar End Links and Bushings
30 to 60 minutes
Beginner
6 min read

How to Replace Transmission Fluid and Filter
1 to 2 hours
Beginner
11 min read

How to Replace a Cabin Air Filter
Less than 30 minutes
Beginner
5 min read

How to Change Disc Brake Pads
30 to 60 minutes
Beginner
8 min read

How to Change Windshield Wipers
Less than 30 minutes
Beginner
3 min read
How to Replace an Engine Air Filter
Less than 30 minutes
Beginner
5 min read
How to Clean Fuel Injectors
1 to 2 hours
Beginner
8 min read

How to Replace Shock Absorbers
30 to 60 minutes
Beginner
8 min read
How to Change a Car Battery
Less than 30 minutes
Beginner
6 min read
Automation How to Change a Car Battery
Less than 30 minutes
Beginner
6 min read
How to Replace a Mass Air Flow (MAF) Sensor
Less than 30 minutes
Beginner
7 min read

How to Replace a Clutch Master Cylinder
1 to 2 hours
Beginner
11 min read

How to Flush and Change Engine Coolant
30 to 60 minutes
Beginner
6 min read
How to Replace a Distributor Cap and Rotor
30 to 60 minutes
Beginner
5 min read

How to Check Tire Pressure and Change a Tire
Less than 30 minutes
Beginner
9 min read
How to Replace a Fuel Filter
30 to 60 minutes
Beginner
7 min read
How to Replace a PCV Valve
30 to 60 minutes
Beginner
6 min read

How to Replace a Brake Caliper
1 to 2 hours
Beginner
7 min read

How to Replace an Idler Pulley
30 to 60 minutes
Beginner
4 min read

How to Change a Headlight Bulb
Less than 30 minutes
Beginner
6 min read
How to Replace an Exhaust Gasket
1 to 2 hours
Beginner
9 min read
How to Replace a Throttle Body
30 to 60 minutes
Beginner
6 min read
How to Change Oil in a Car
Less than 30 minutes
Beginner
8 min read

How to Replace an Alternator
1 to 2 hours
Beginner
11 min read
How to Replace an EGR Valve
30 to 60 minutes
Beginner
5 min read

How to Jump Start a Car
Less than 30 minutes
Beginner
9 min read